Updating Scheduler & PWC
No manual un-install of an existing Scheduler is necessary before downloading and installing an updated version. During the update process, the interactive installation wizard automatically un-installs the current installation.
All existing configurations and settings will carry over to the updated version. Any previously installed plug-ins will automatically be selected during the update process requiring no action by the user. However, if an additional or new plug-in(s) is being installed, it will have to be selected during the update process. The InstallAware screen will display the plug-in list with the previously installed plug-ins chosen, at which time you will need to select any additional or new plug-ins for installation.
A new registration key will be required if additional or new plug-ins are being installed during an update to Scheduler. Contact your Client Services Representative for more information.
Suppose you have either a registered or unregistered version of PWC software installed. In that case, you can automatically update it to the latest version by selecting the Install PWC option provided during the update of Scheduler software.
The option to update PWC only displays if the Scheduler installer detects an existing instance of the PWC.
-
1. It is necessary to launch the Scheduler, stop the service, and close the Scheduler before installing the updated version. All Window Book, Inc. products should be closed, and services shut down.
-
Download the latest version of Scheduler from the Scheduler Download page.
-
After the download is complete, navigate to the downloaded file on the computer or server using File Explorer, right-click on the file and select Run as administrator.
-
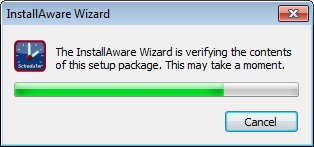
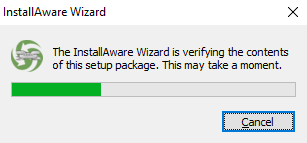
The InstallAware Wizard will begin to run some automatic system checks.
-
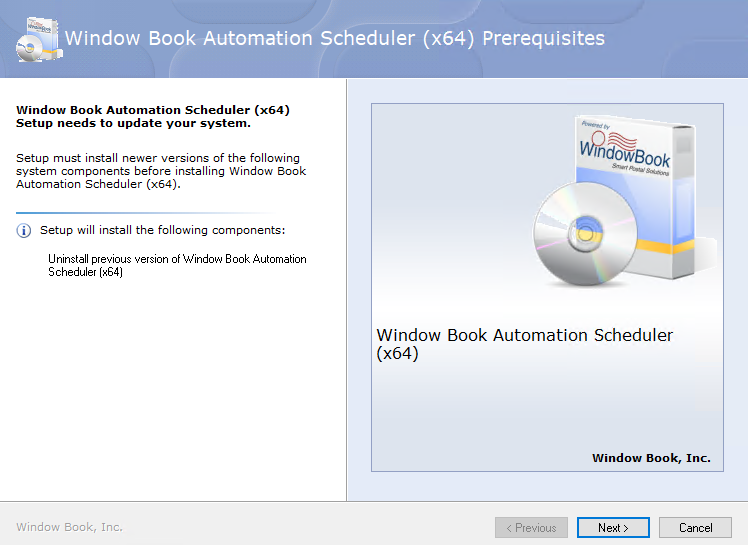
The Window Book Automation Scheduler (x64) Setup needs to update your system screen will appear. Click Next to continue.
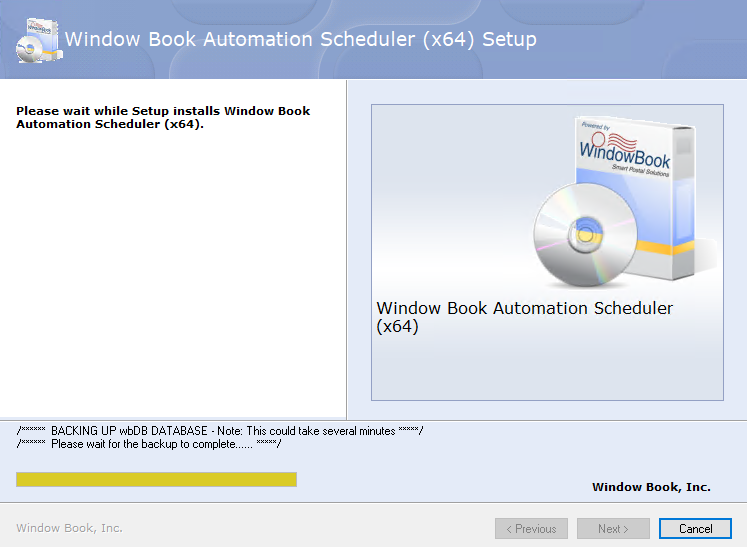
The Please wait while Setup installs Window Book Automation Scheduler (x64) screen will appear. It will take a few moments to move on to the Welcome screen.
-
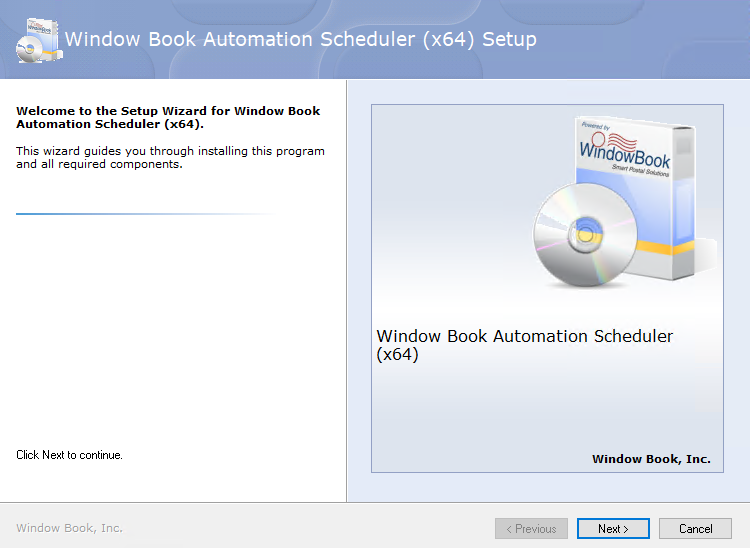
The Welcome to Setup Wizard for Window Book Automation Scheduler (x64) screen will appear; click Next to continue.
-
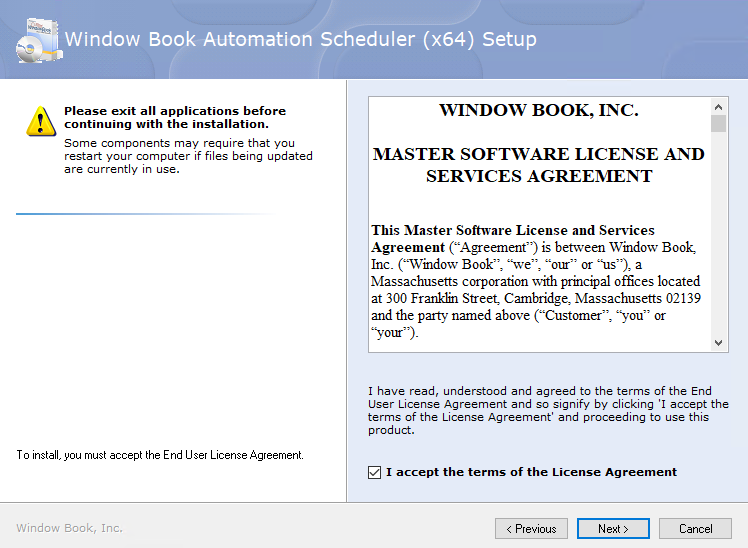
When the Please exit all applicationsscreen appears, select the I accept the terms of the License Agreement checkbox. Click Next to continue.
-
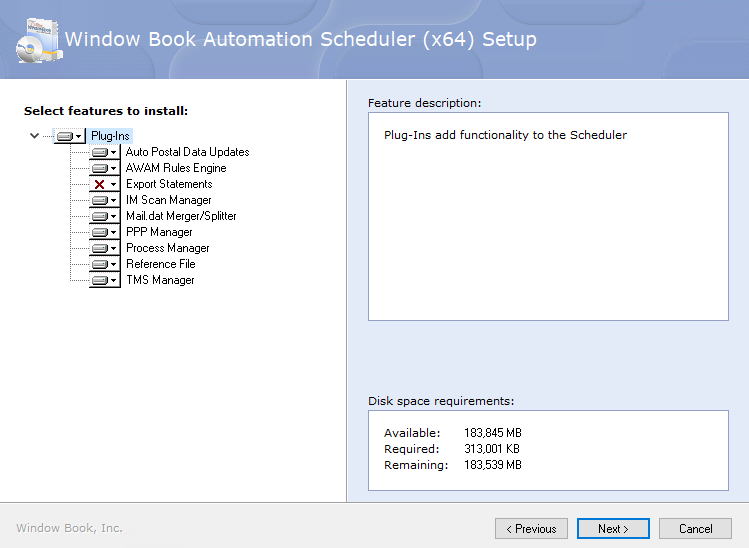
The InstallAware Wizard will then list the Plug-Ins already installed.
If you are adding additional plug-ins, click the drop-down to the right of the Plug-In. Then select the option: Will be installed on local hard drive, or Entire feature will be installed on the local hard drive (either will work).
-
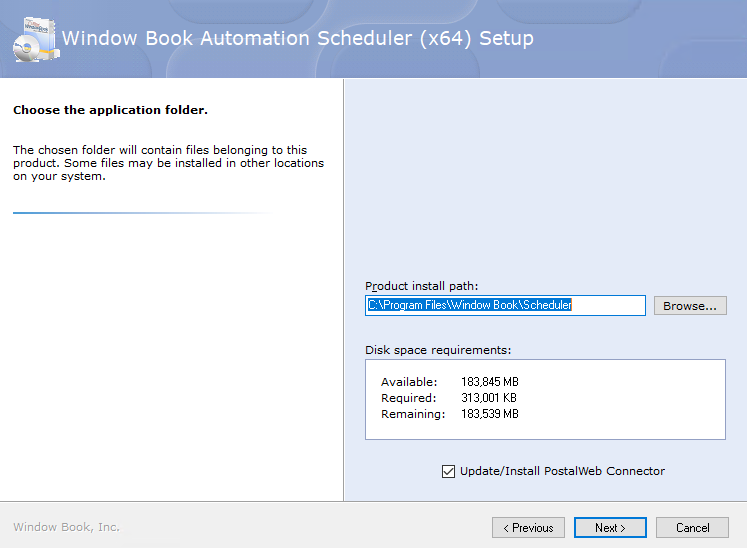
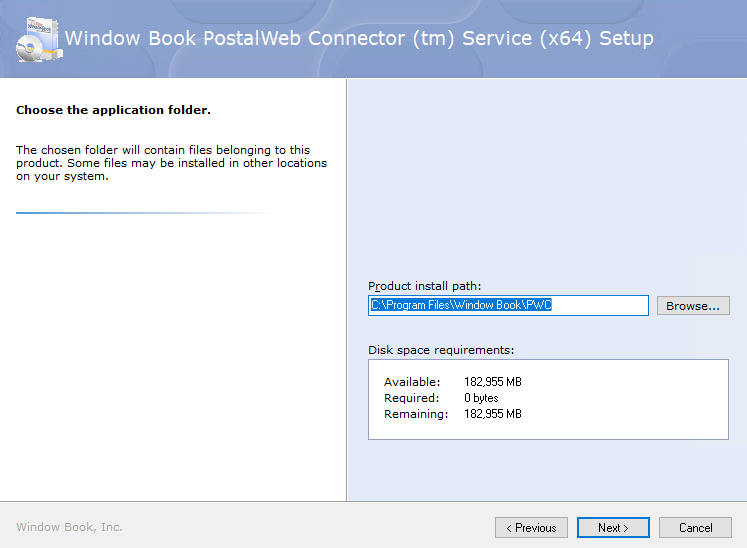
The Choose the application folder screen will appear with the Update/Install PostalWeb Connector checkbox selected. Click Next to continue.
The installer knows where the software is installed, so do not change Product install path.
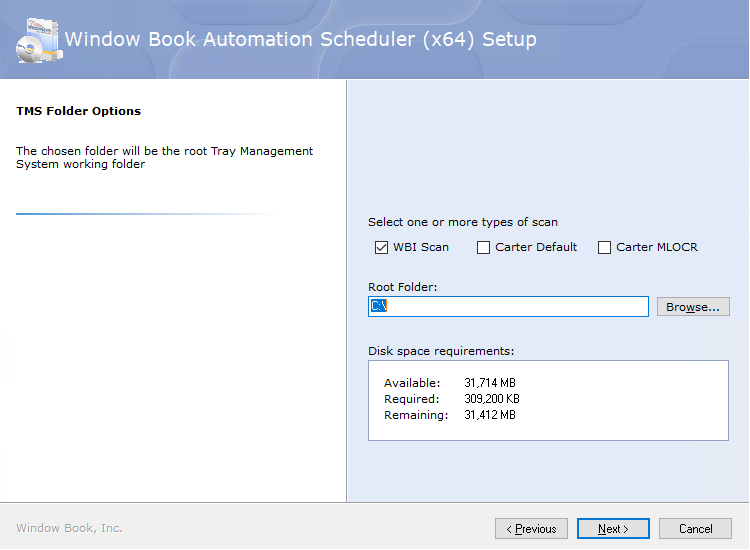
If you have TMS as a plug-in, the following screen shown will be the TMS Folder Options screen. Click Next to continue.
-
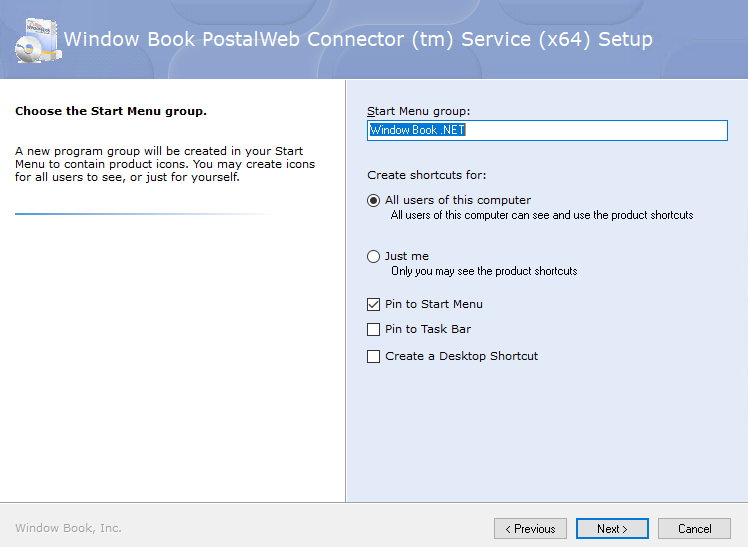
The Choose the Start Menu group screen will display; click Next to continue.

-
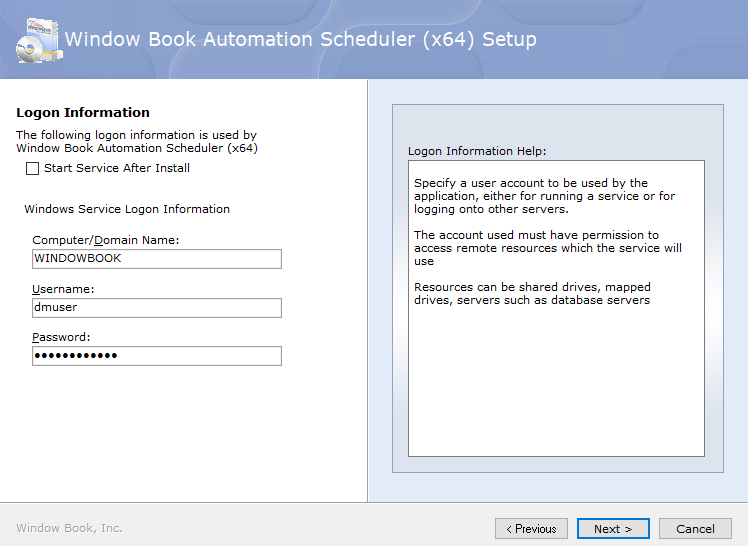
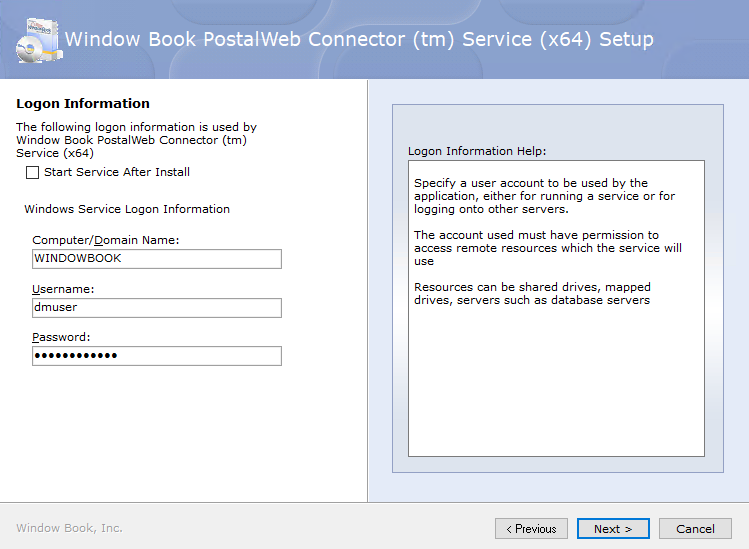
The Logon Information screen will appear. The Username will default to the login ID used to log onto that same computer. Change to the Username and enter the Password used for the ‘Window Book Scheduler’ service. Click Next to continue.
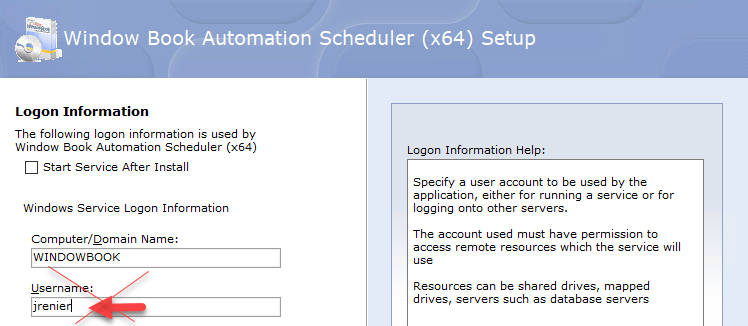
Depending on the server or computer’s settings, errors may occur if the Start Service After Install checkbox is selected. Therefore, do not select the option to start the service after install.
-
A PWC question - credentials dialog will appear; click Yes if the credentials are the same for both products.

-
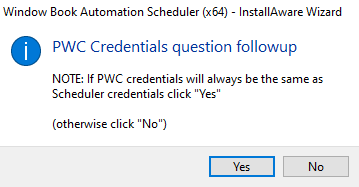
If this is your first time updating Scheduler, a PWC Credentials question followup dialog will appear. If it is the same credentials, click Yes.
-
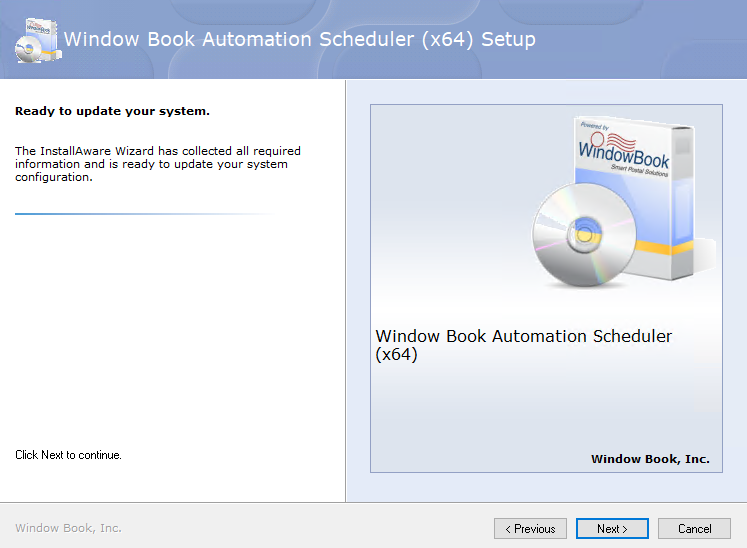
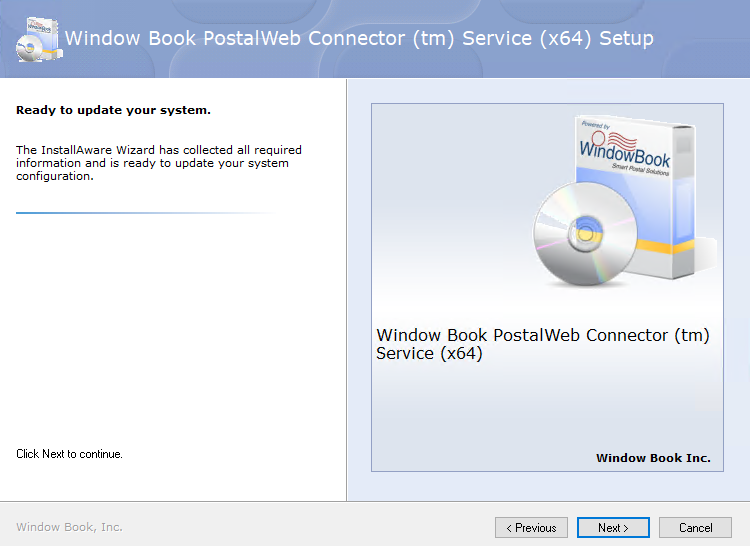
The Ready to update your system screen will display. Click Next to continue.
The Please wait while Setup installs Window Book Automation Scheduler (x64) screen will appear. It may take a few moments to update.
-
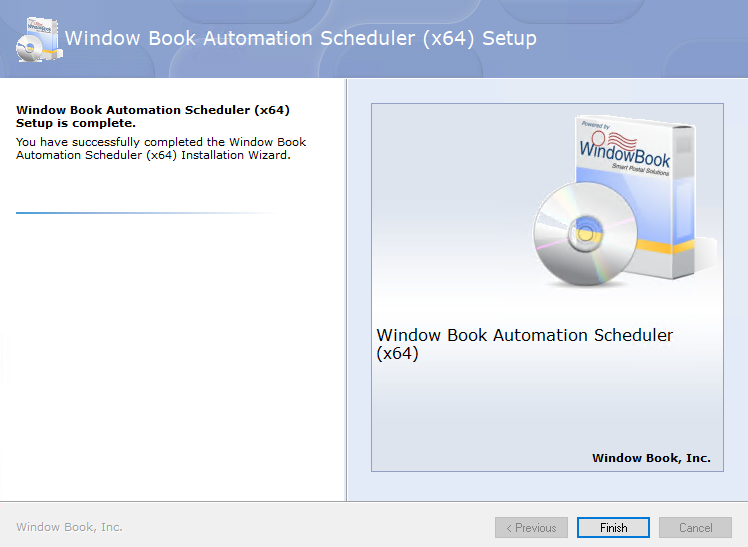
The Window Book Automation Scheduler (x64x) Setup is complete will display. Click Finish.
The InstallAware Wizard will display for PWC.
-
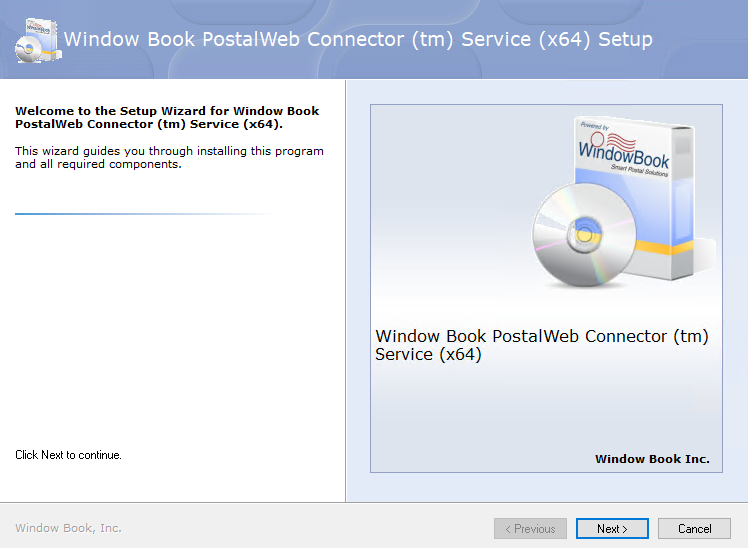
The Welcome to Setup Wizard for Window Book PWC (tm) Service (x64) screen will display; click Next to continue.
-
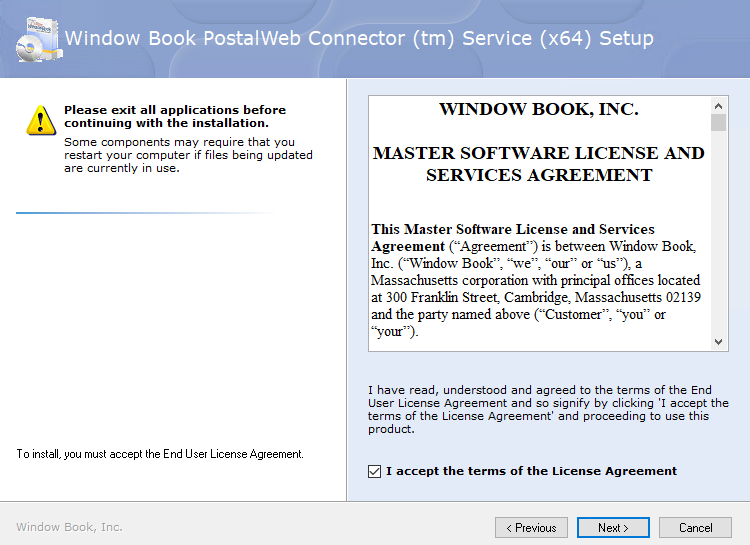
The Please exist all applications before continuing installation screen will appear, select the I accept the terms of the License Agreement checkbox. Click Next to continue.
-
The Choose the application folder screen appears, click Next to continue.
-
The Choose the Start Menu group screen displays. Click Next to continue.
-
The Logon Information screen displays the Username and Password already populated in Step 11. If you have the same credentials for Scheduler and PWC, click Next to continue.
-
The Ready to update your system screen appears. Click Next to continue.
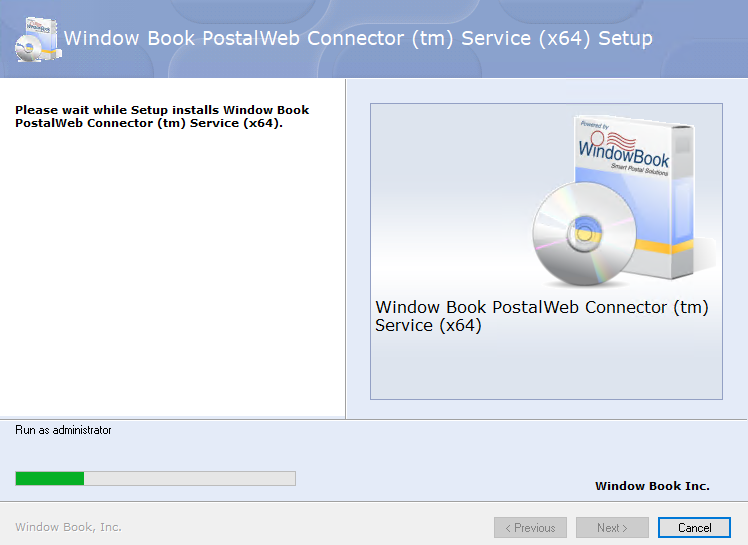
Please wait while Setup installs Window Book PWC (tm) Service (x64) screen displays. It may take a few moments to make the updates.
-
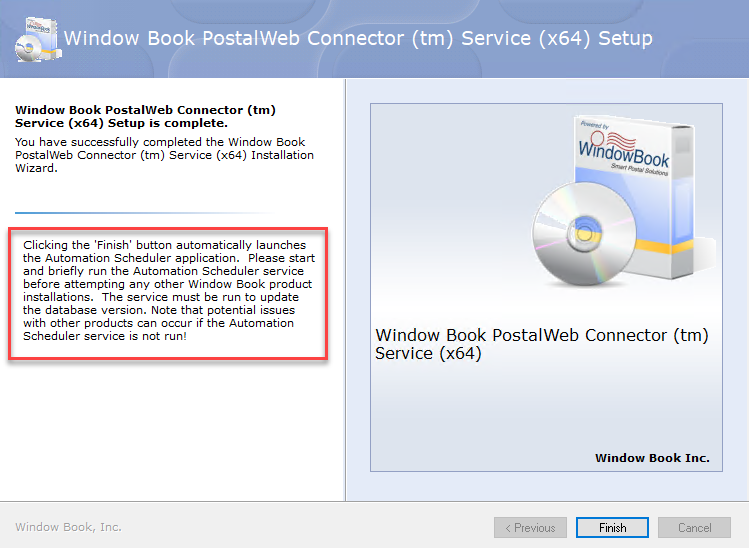
When the Window Book PWC (tm) Service (x64) Setup is complete screen appears, read the instructions. After reading, click Finish.
-
Launch Scheduler and
 Start the Service. If additional products need to be updated, after a moment
  Stop the Service again. Also, if updates are complete, remember to launch PWC and Start the PWC Service.
Failing to start/run the Automation Scheduler service for a few moments after the update installation completes can result in potential operational issues for other Window Book products!