Updating DAT-MAIL and PWDD
No manual un-install of an existing instance of DAT-MAIL is necessary before performing a download and installation of an updated version. During the update process, the interactive InstallAware Wizard automatically un-installs the existing installation. In addition, the ‘Window Book DAT-MAIL Database service’ does not need to be stopped before installing an update to the software. The DAT-MAIL MS SQL interactive InstallAware Wizard will automatically stop the ‘Window Book DAT-MAIL Database service’ and then re-start the service once the software update is complete. While updating DAT-MAIL, you have the option to update PWDD, if you have a license for PWDD, we recommend you do the update at the same time.
If there are software updates for Scheduler and/or PWC, complete those updates before updating DAT-MAIL.
The following services should be stopped prior to updating DAT-MAIL, in this order:
-
Window Book Scheduler service
-
Window Book DM Import Daemon service (AWAM)
Stopping the service does not stop a job in the middle of processing. If you try to update DAT-MAIL with AWAM in the middle of processing a job or the AWAM Control Center open, you will get error message shown below.
For additional information on confirming whether AWAM is running, refer to the FAQ under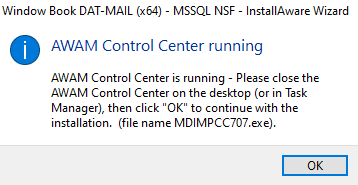
-
Window Book wbSCAN service
When updating an existing instance of DAT-MAIL in a server-with-workstations environment, the physical update need only occur on the server instance. Once the server is updated, all workstations will automatically update the next time the DAT-MAIL software installed on the workstation is launched.
-
Download the software from https://www.windowbook.com/Support/Downloads/DAT-MAIL
-
Once the download is complete, navigate to the folder where it was download and right-click on the file and select Run as administrator.
-
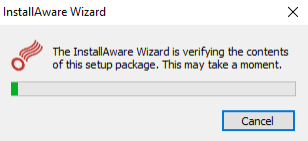
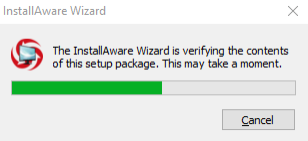
The InstallAware Wizard will begin verifying the contents of the setup package.
-
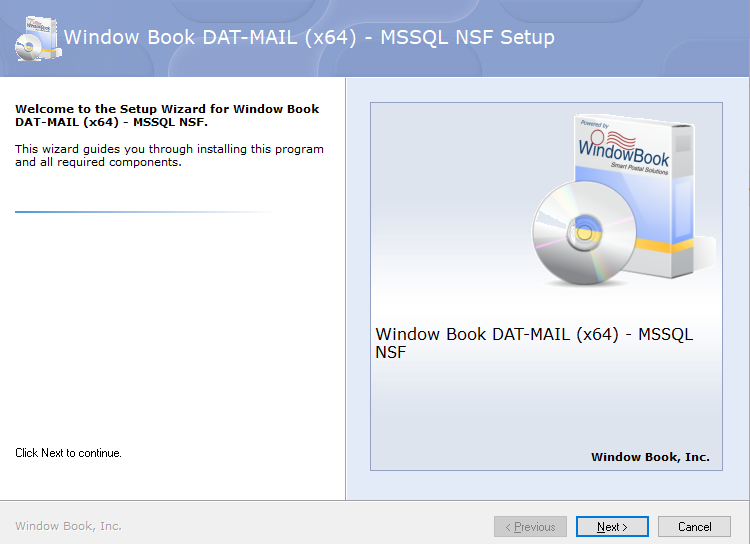
The Welcome to the Setup Wizard for Window Book DAT-MAIL (x64) - MSSQL NSF will appear, click Next to continue.
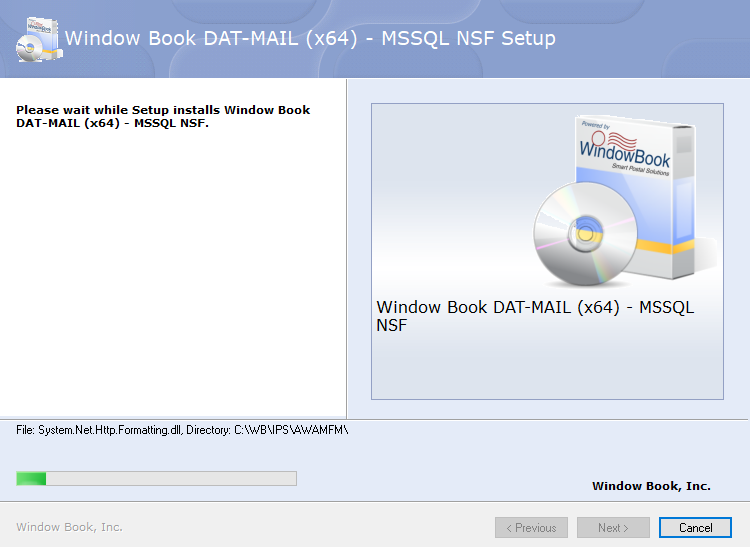
A Please wait while Setup Installs Window Book DAT-MAIL... screen will appear.
-
The Welcome to the Setup Wizard for Window Book DAT-MAIL (x64) - MSSQL NSF screen will appear. Click Next to continue.
-
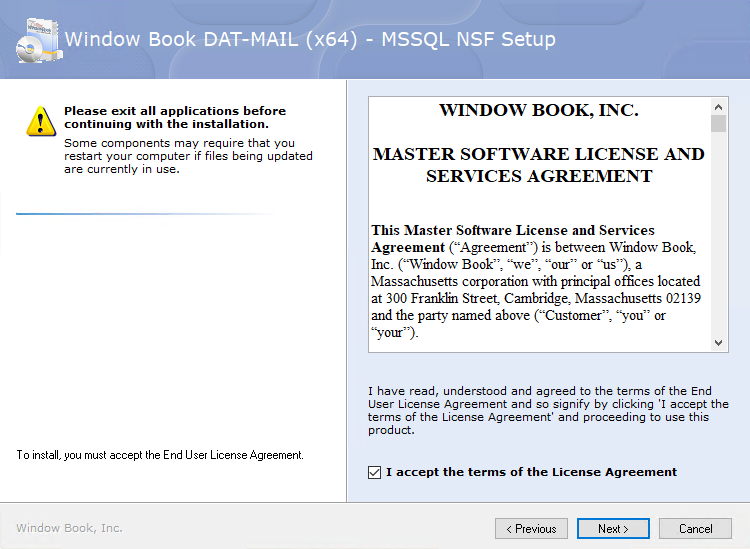
Close any open software applications and select the I accept the terms of the License Agreement checkbox. Click Next to continue.
-
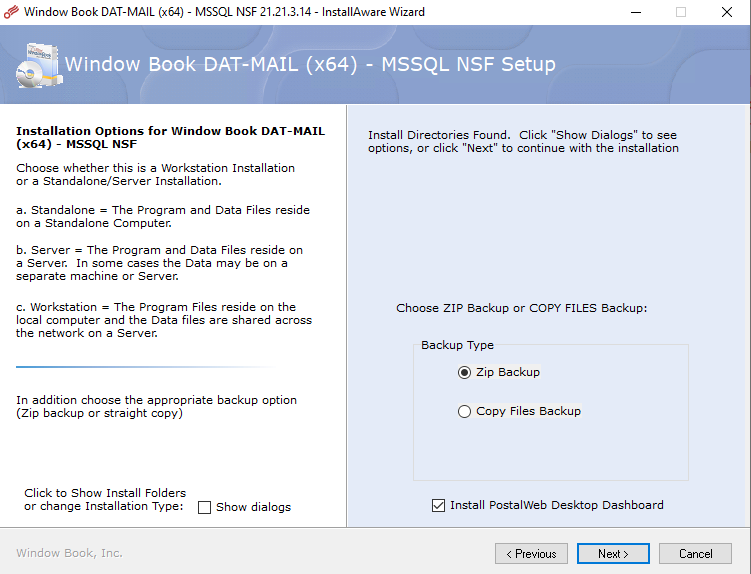
The Installations Options...screen will display, click Next to continue.
If PWDD was installed with DAT-MAIL, the Install PostalWeb Desktop Dashboard checkbox will be selected.
-
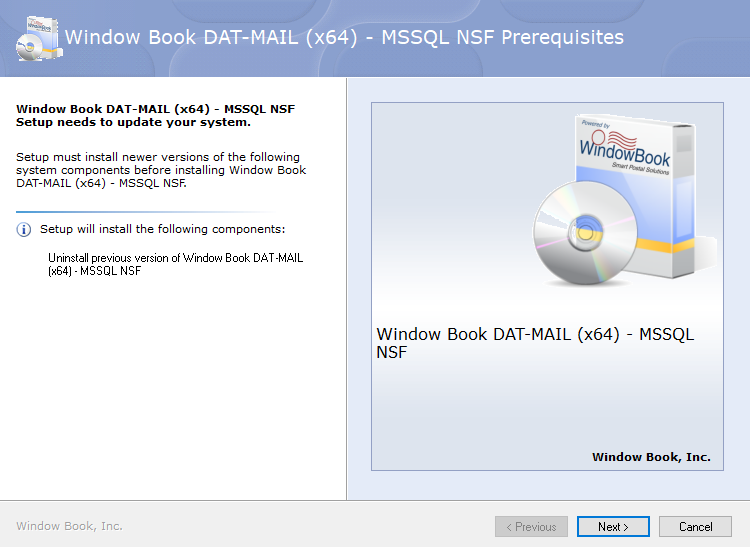
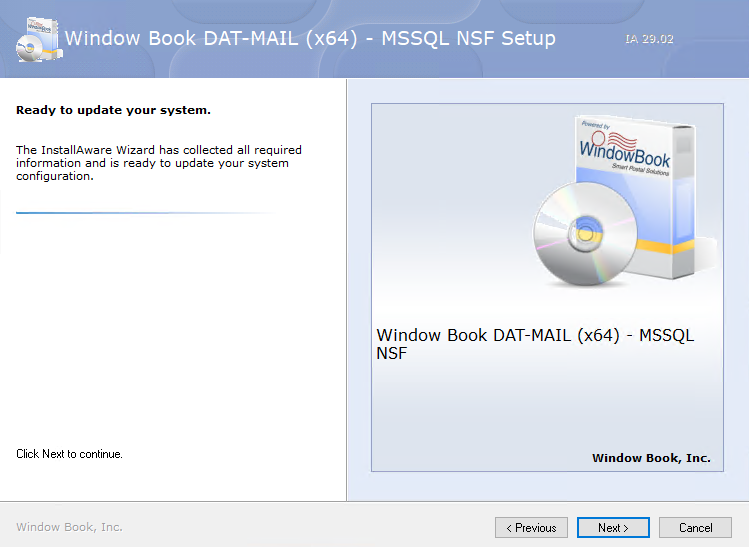
The Ready to update your system screen will display. Click Next to continue.
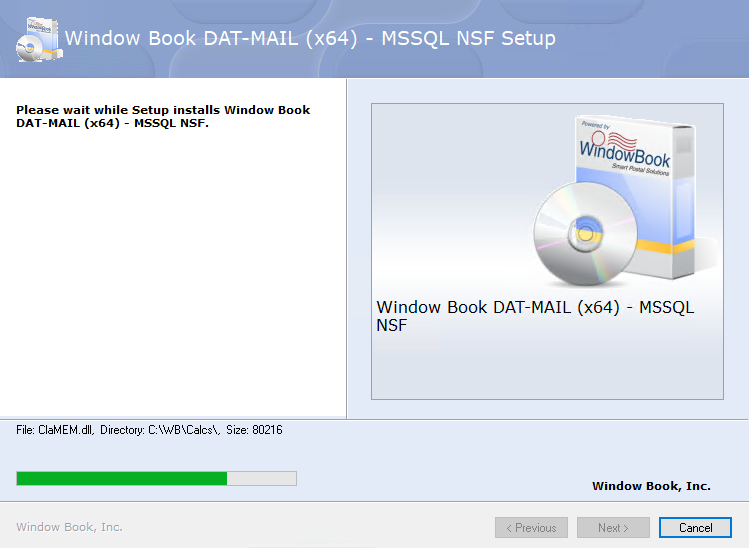
The Please wait while Setup installs...screen will appear and may take a few moments to update.
-
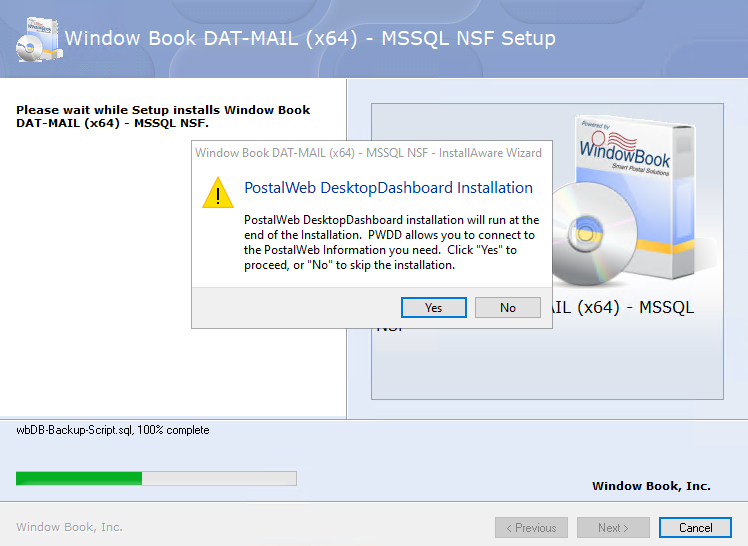
When the PostalWeb Desktop Dashboard Installation dialog appears, click Yes and it will continue to make updates to your system, which will take a few moments.
-
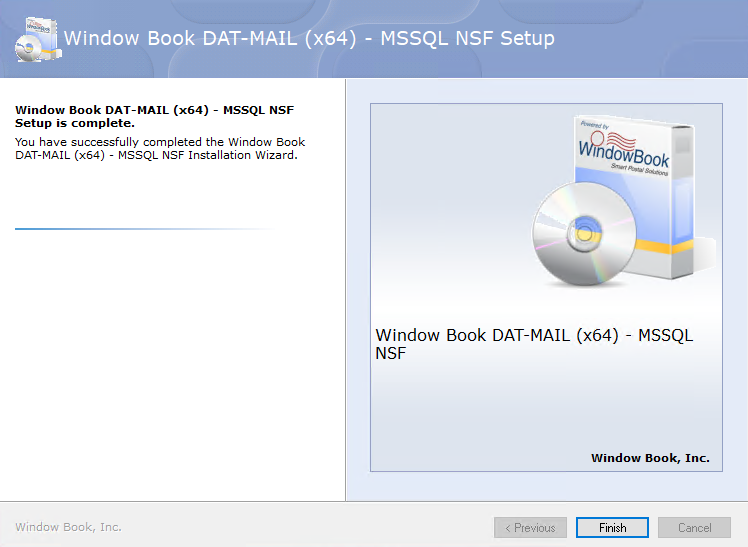
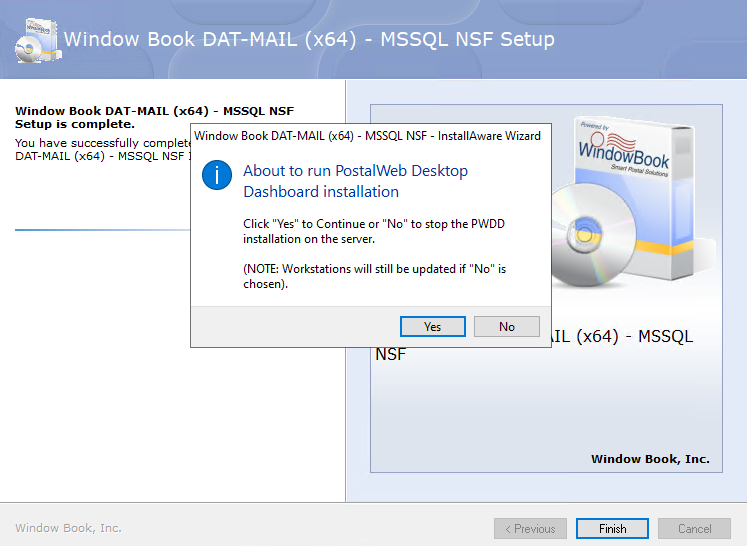
DAT-MAIL setup is complete, click Finish. If installing PWDD, see step 11.
If not installing PWDD, the installer will close.
-
The About to run PostalWeb Desktop Dashboard installation dialog will appear, click Yes to continue.
The InstallAware Wizard will appear.
-
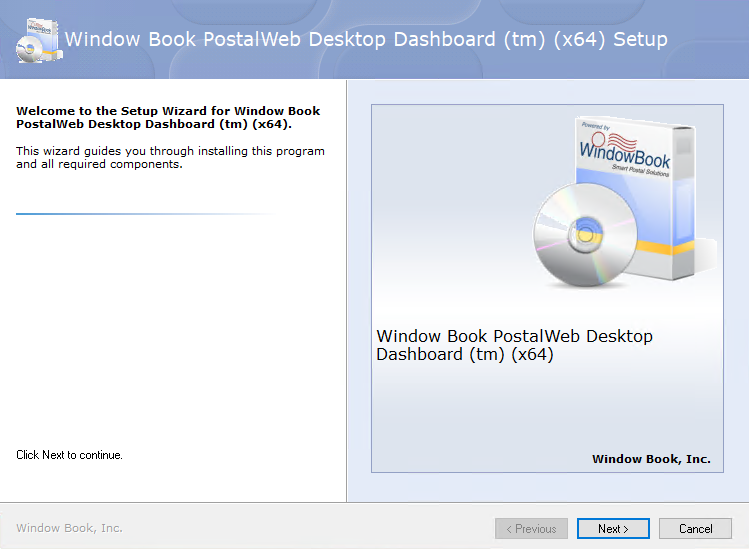
It may take a few moments, but then the Welcome to the Setup Wizard for PostalWeb Desktop Dashboard (tm) (x64) will appear, click Next to continue.
-
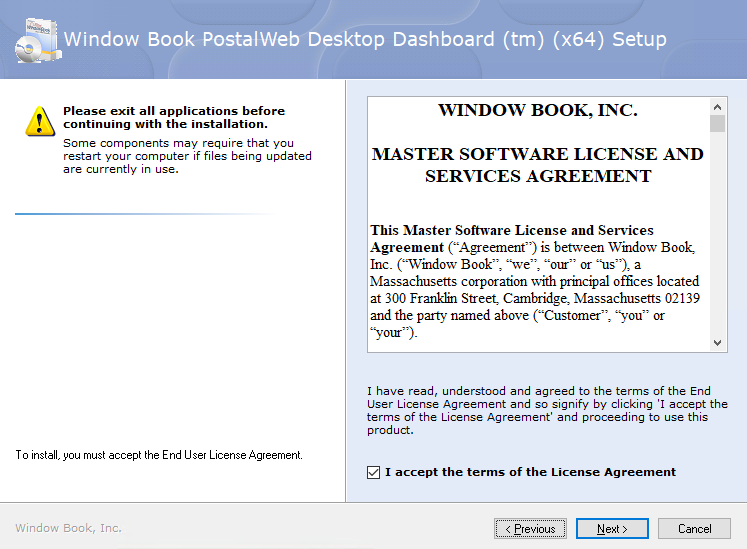
Select the I accept the terms of the License Agreement checkbox. Click Next to continue.
-
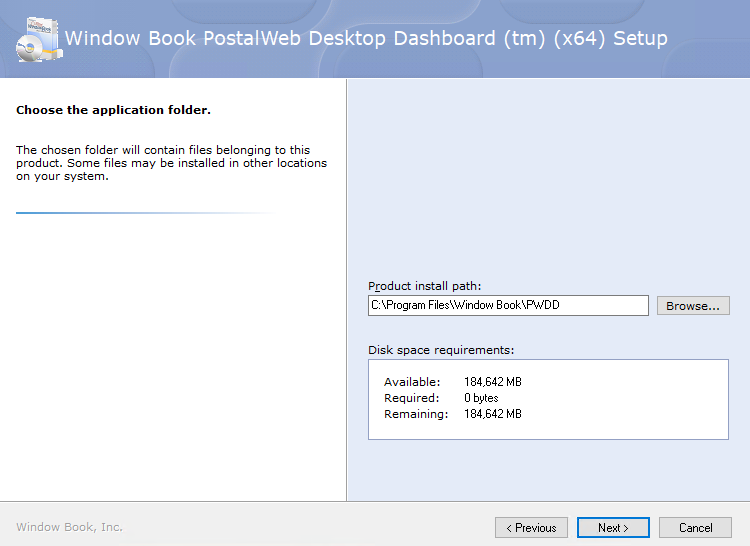
The Choose the application folder screen will display do not change. Click Next to continue.
-
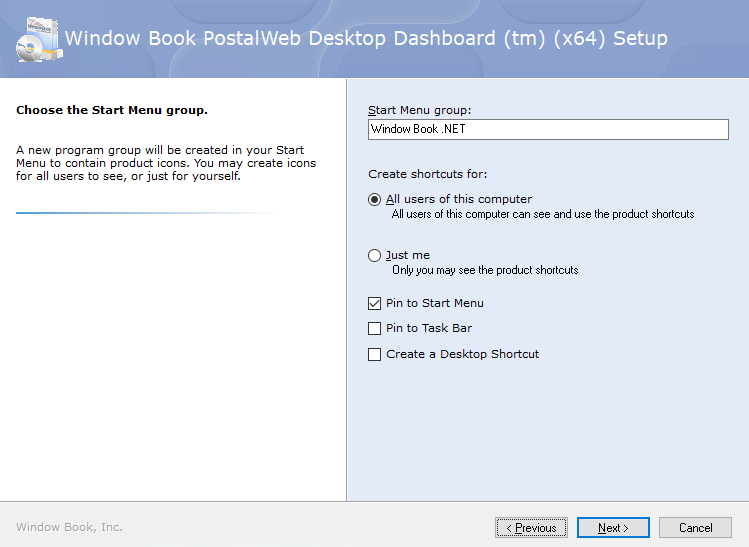
The next screen will ask to create the Start Menu group specified along with some other options to be enabled after the installation is complete. It will remember whether you selected Create A Desktop Shortcut from the initial install, so nothing needs to be changed on this screen, click Next to continue.
-
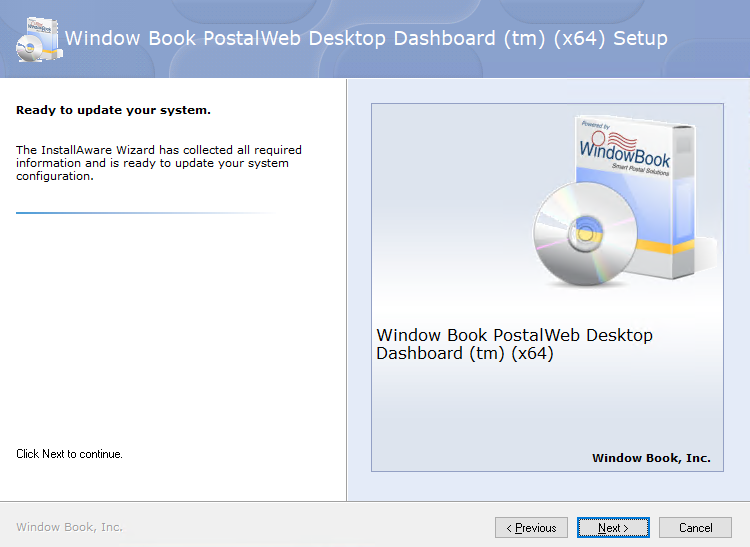
The Ready to update your system screen will appear, click Next to continue.
The Please wait...screen will display and it will take a few moments to complete set up.

-
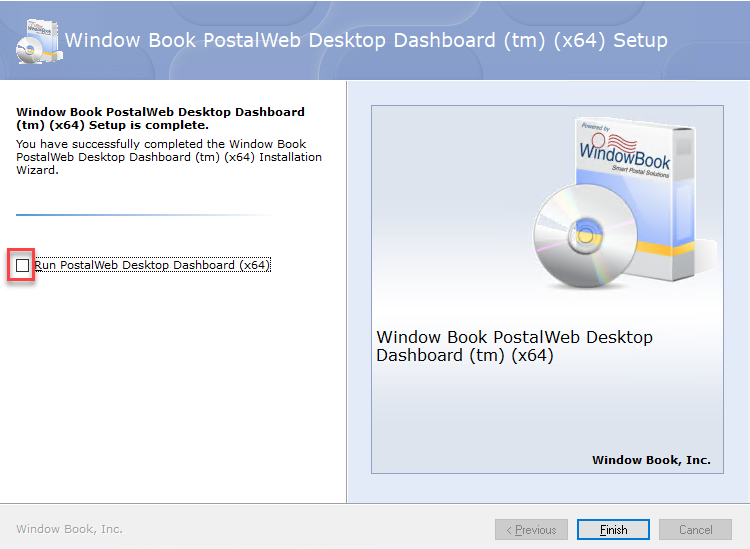
The Window Book PostalWeb Desktop Dashboard (tm) (x64) Setup is complete screen will appear, if you do not want to launch deselect the Run PostalWeb Desktop Dashboard (x64) checkbox and click Finish. Update is complete.