DAT-MAIL - Merge Mail.dat Files
-
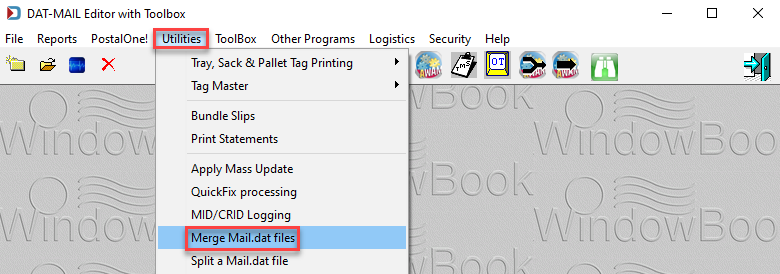
In the DAT-MAIL main menu, go to Utilities > Merge Mail.dat Files.
-
The Select Mail.dat Files to Merge screen will appear, where you decide whether to add a Job Number and Job Name and an Estimated Mail Date and In Home Delivery Date. In this example, we populate some of the information
 .
.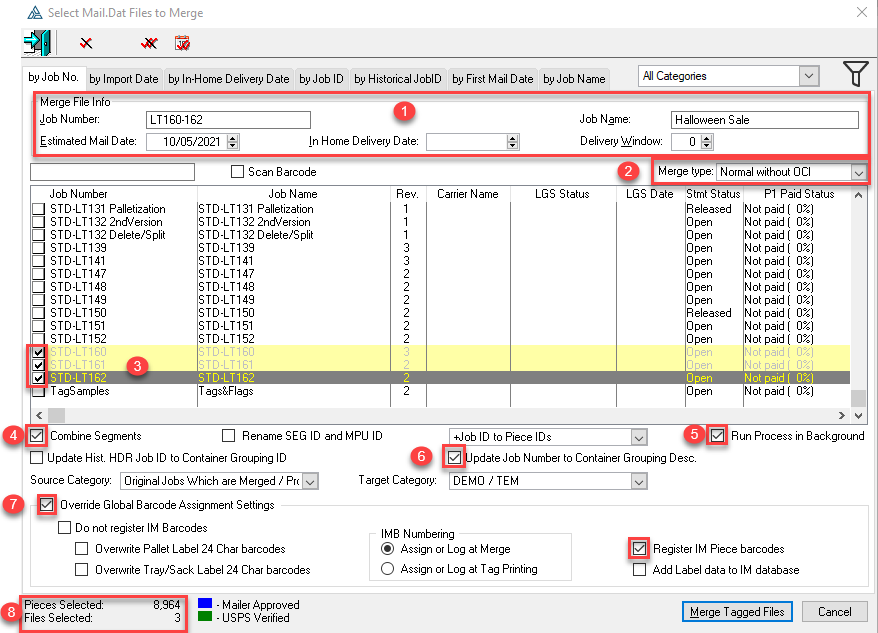
 The Merge type is Normal without OCI since there is no need for this file, and not having the OCI allows the possibility of partial mailings if production runs behind.
 The Mail.dats to merge have been selected.
 Since all three Mail.dats are the same version, the Combine Segments checkbox will be selected.
  So we can continue to process other jobs, the Run Process in Background checkbox is selected.
 We would like to see the original job number on the tray labels, so Update Job Number to Container Grouping Desc. (Description) checkbox is selected. This field is also referred to as Container Grouping ID.
 In Program Setup > Program Settings, we have overwritten pallet and tray/sack label barcodes when jobs are imported, so the Override Global Barcode Assignment Settings checkbox is selected not to overwrite the barcodes. Also, the Register IM Piece barcodes checkbox is selected since we want the IM piece barcodes associated with the merged job.
 Notice above that the total piece count of the three jobs selected is 8,964. We will use this to confirm in the merged job that it has the same piece count.
 -
When ready, click Merge Tagged Files to begin merging.
-
When the merge is complete, you will see the Merge complete! dialog, click OK.
-
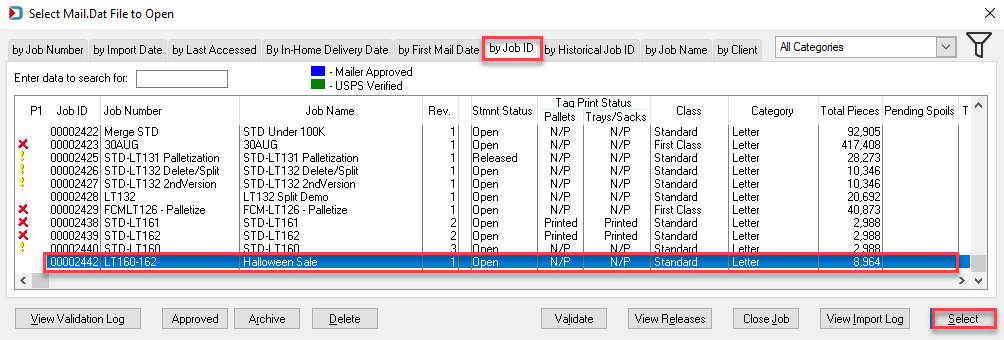
When you go to Select Mail.dat File to Open, you can use whichever tab that makes it easier to find the new job. In this case, we used by Job ID.
-
If you are ready to work on the job, highlight it and click Select.
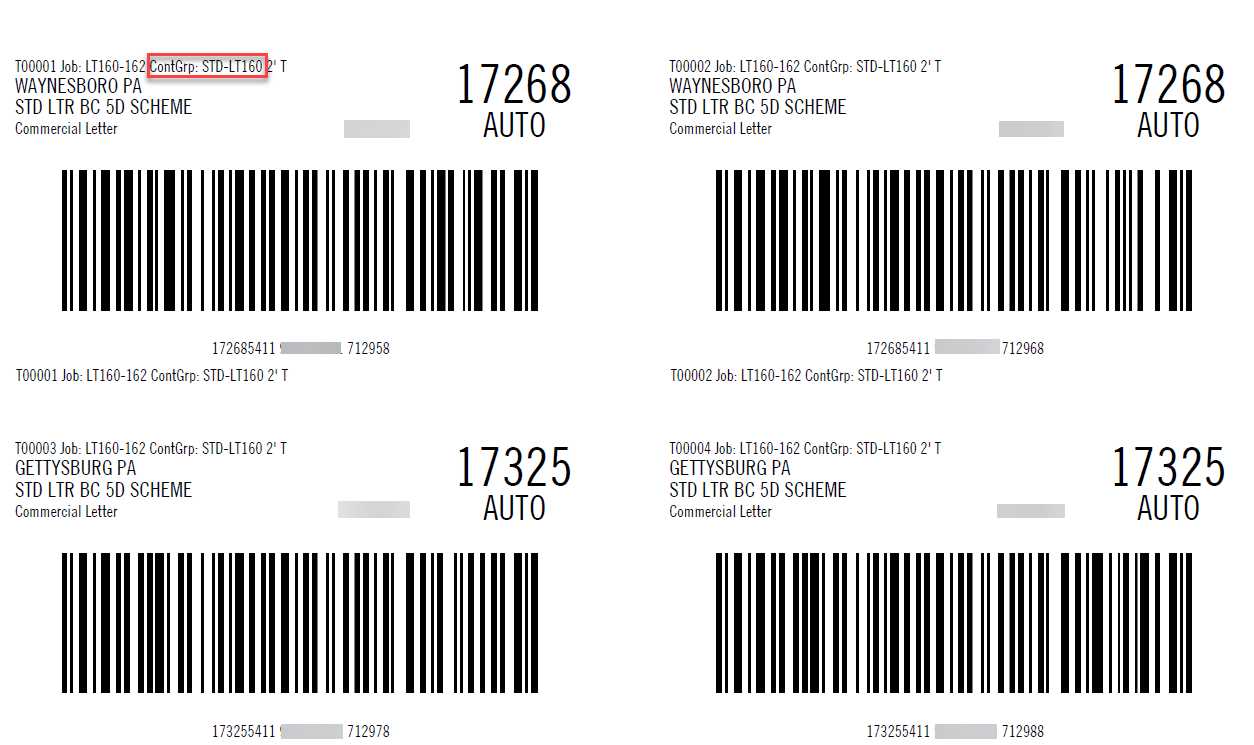
Adding the original Job Number in the Container Grouping ID allows you to print the tray labels in the original job order and see the job number on the tray label.
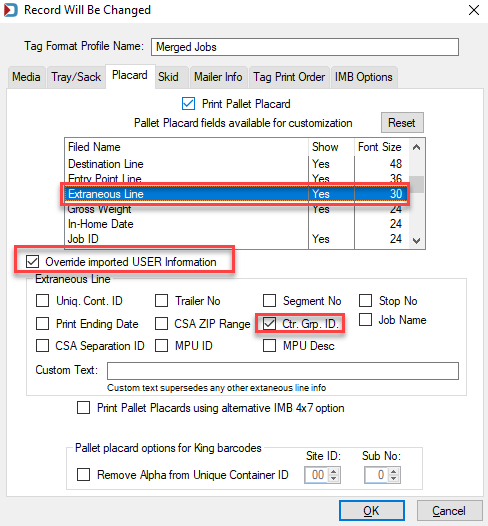
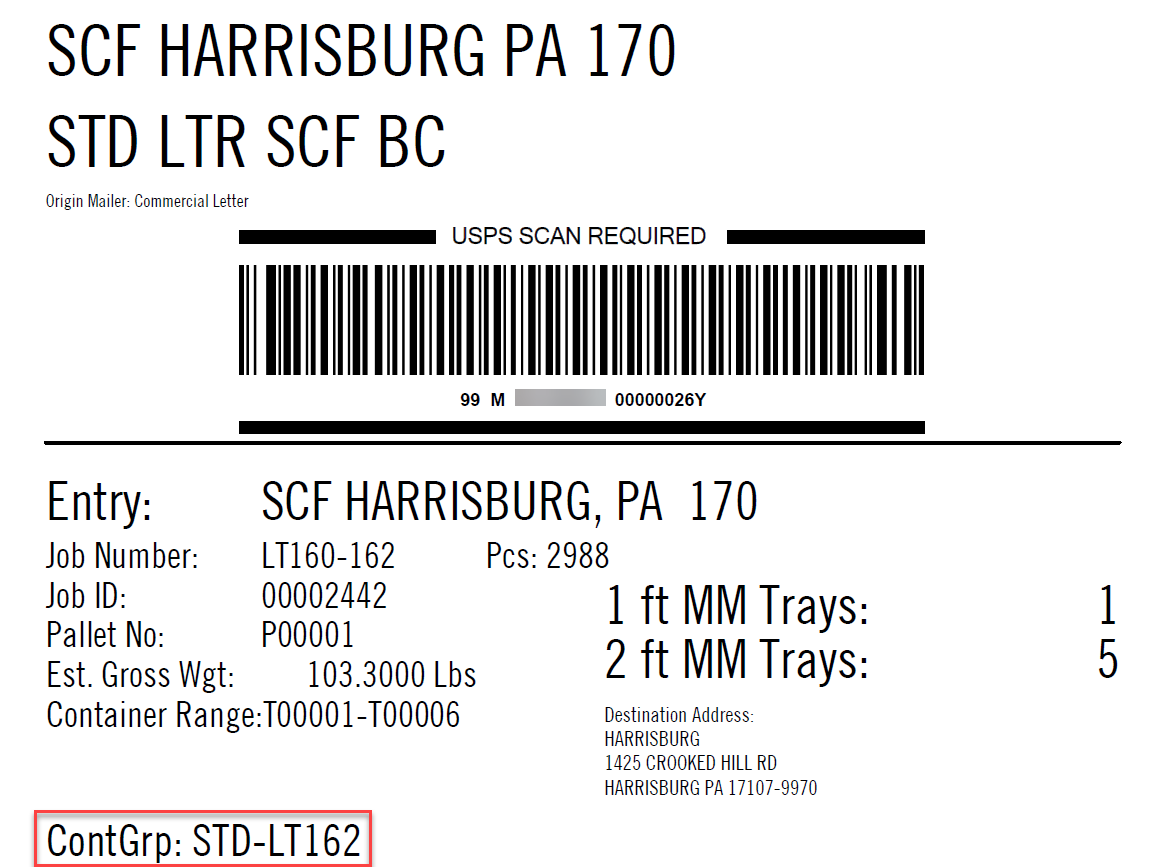
It can also be added to the Extraneous Line at the bottom left of the pallet flag. Make sure Extraneous Line is Yes in the Show column.
Return to Utilities Menu