Step 2 - PostalWeb Connector (PWC) Installation Steps
At this point, Scheduler has been installed and the Window Book Scheduler Service was successfully started. Also, SSMS has been installed. PWC needs to be installed on the same computer or server where Scheduler was installed.
-
Close any open Window Book software application.
-
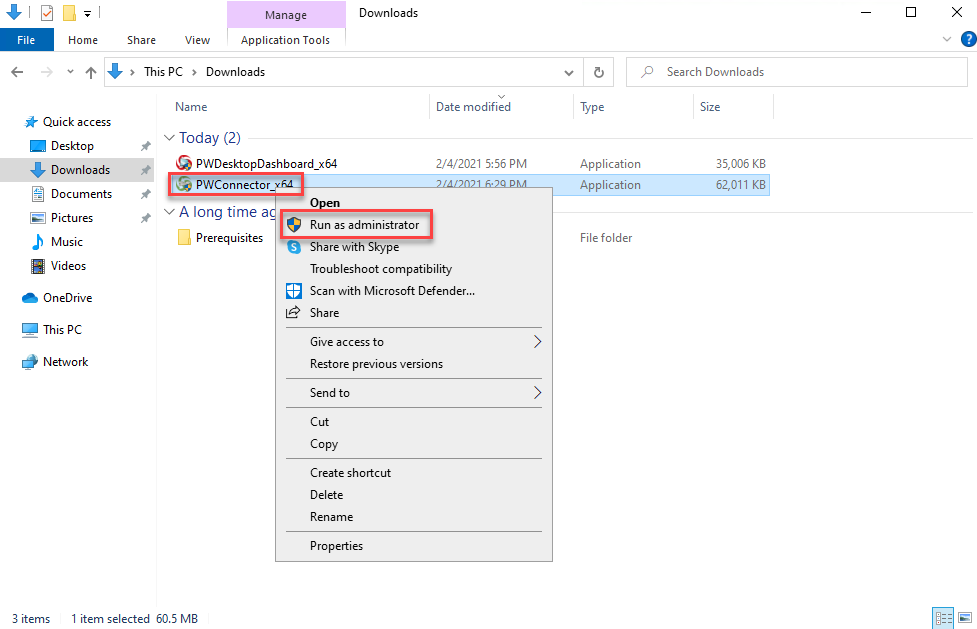
Navigate to the downloaded installation file on the computer or serve, right-click on the file and select Run as administrator.
-
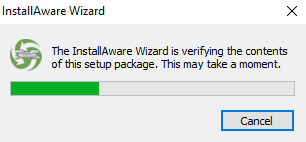
The InstallAware Wizard will begin to run and verify the contents of the setup package. It also confirms whether all the prerequisites are present.
-
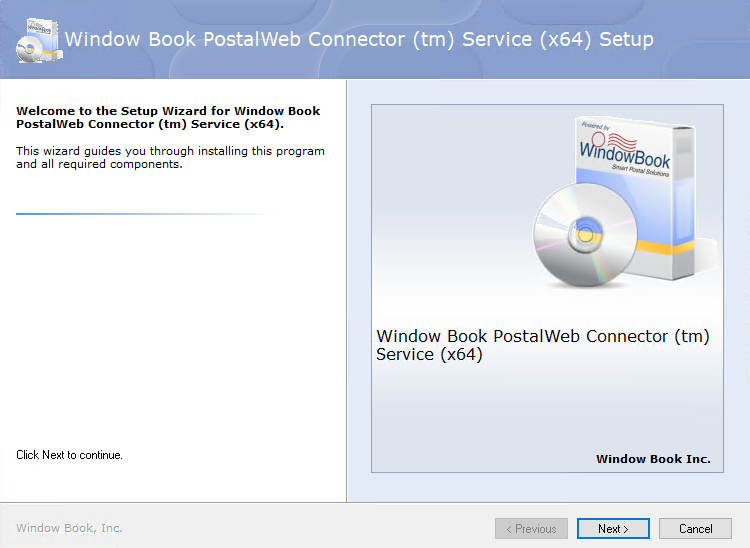
The Welcome to the Setup Wizard for Window Book PostalWeb Connector (tm) Service (64) will appear; click Next to continue.
-
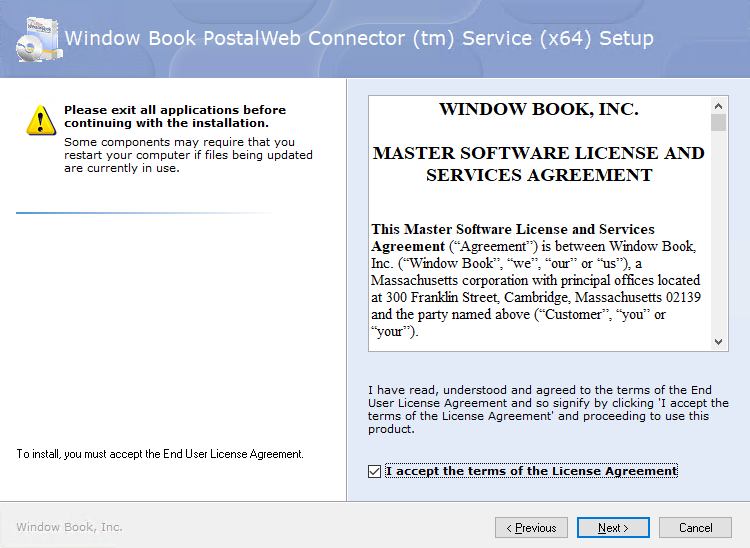
When the Please exit all applications screen appears, select the I accept the terms of the License Agreement checkbox. Click Next to continue.
-
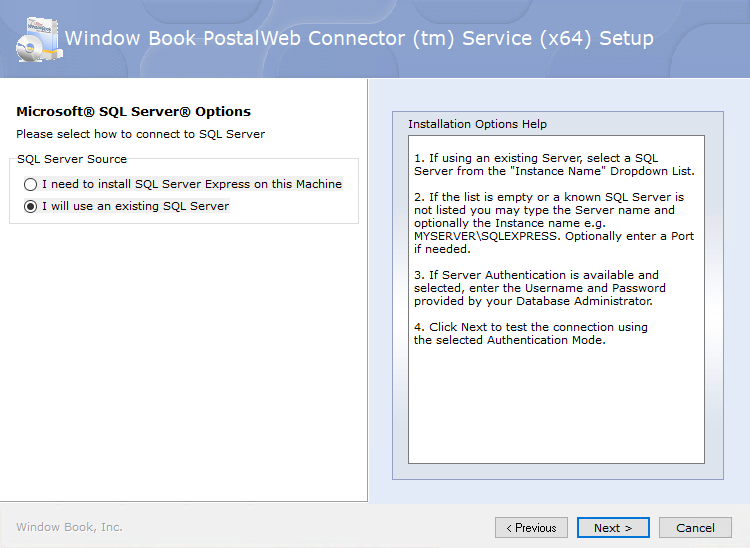
The Microsoft® SQL Server® Options screen will display, you will choose I will use an existing SQL Server since you either installed SQL Server Express when installing Scheduler or already had an existing SQL Server.
-
The Choose the application folder screen will display. Click Next to continue.
Window Book strongly recommends using the default provided. However, if installed on a server where program files are on a different drive changing the drive letter to match is okay, but please leave the path structure.

-
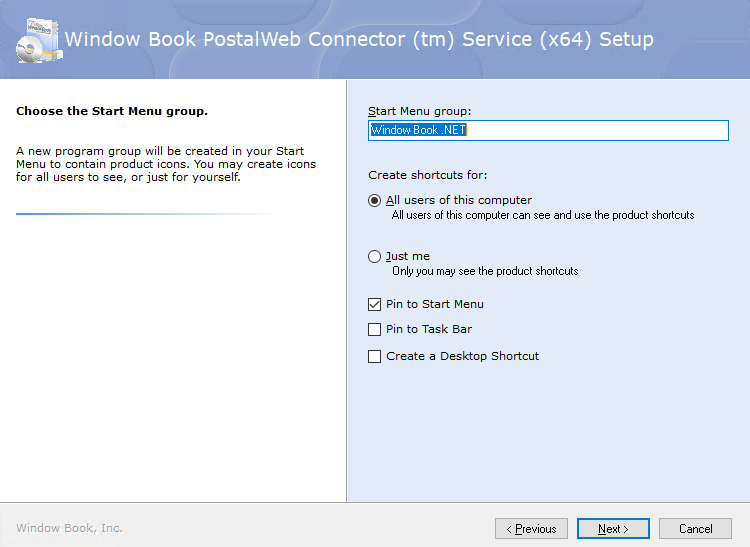
The Choose Start Menu group screen will appear. It has the Start Menu group specified and provides other options to be enabled (for example, Create a Desktop Shortcut). When ready, click Next to continue.
-
The Logon Information screen will display. This is where the installer sets up a service called Window Book PostalWeb Connector service. The steps are below.
Leave the Start Service After Install checkbox deselected. If enabled, depending on the server or computer’s settings, errors may occur during installation that results in the installation not completing successfully.
Windows Service Logon Information:
The Computer/Domain Name will default to the name of the computer or server that the PWC is installed on.
The Username will default to the login ID used to log onto that same computer. Therefore, you need to change the Username to your service-specific logon and then enter its Password.
See Service Log On Permissions for more information.

-
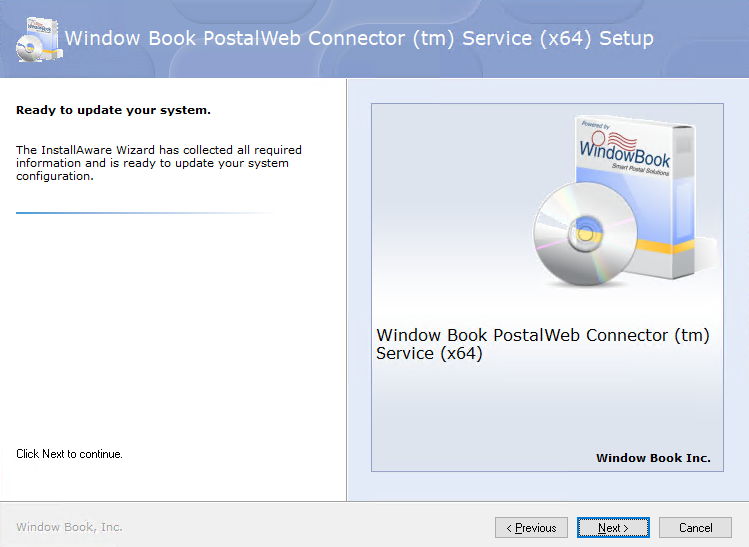
The Ready to update your system screen will appear. Click Next to continue.
Please wait screen will display, and it will take a few moments to complete the setup.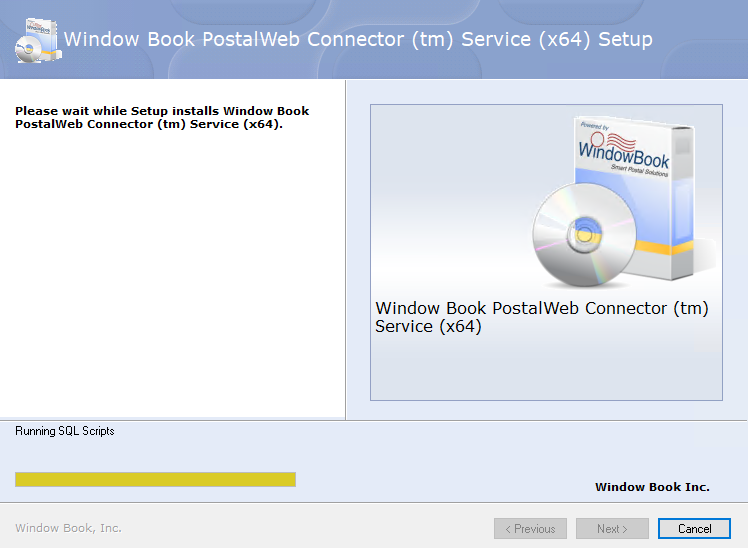
-
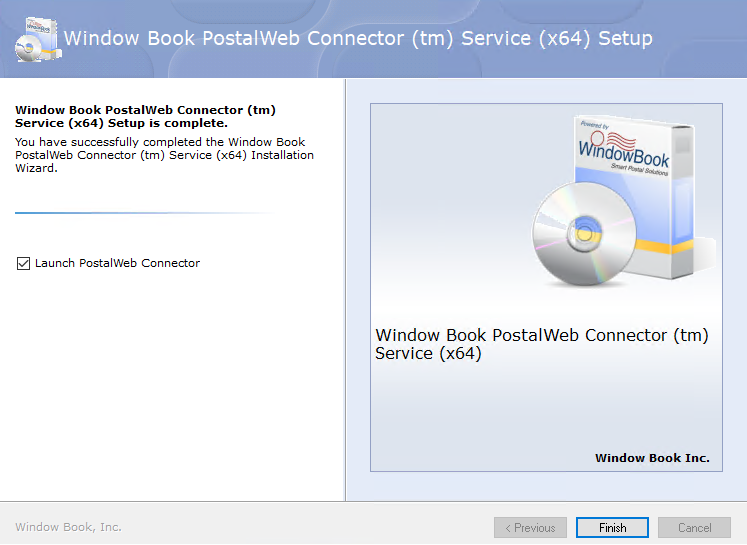
The Window Book PWC (x64) Setup is complete screen will appear, click Finish.
-
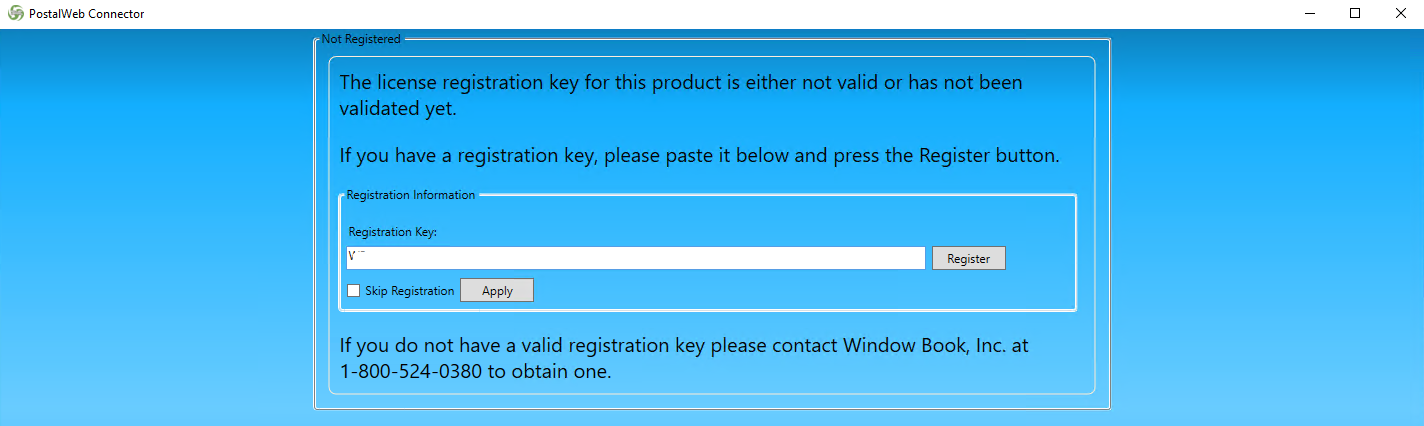
After a few moments, a Not Registered screen display will display. See below for both registered and unregistered versions of PWC.
Registered User - paste or enter the key into Registration Key and click Register.
Unlicensed Version of PWC - select theSkip Registration checkbox and click Apply.
This version is for DAT-MAIL users who want to take advantage of the PostalOne! Customer Data table.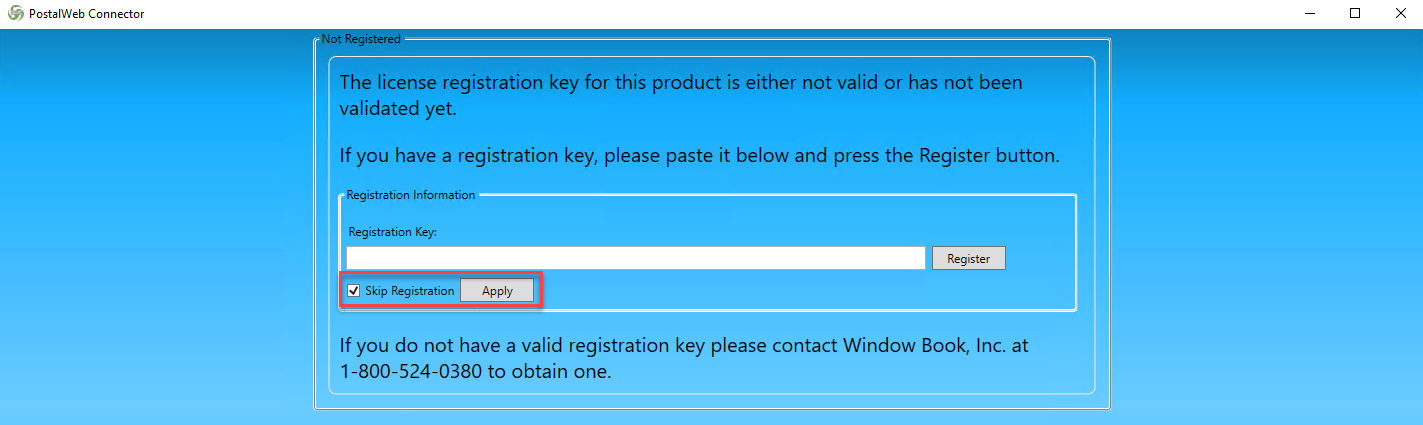
-
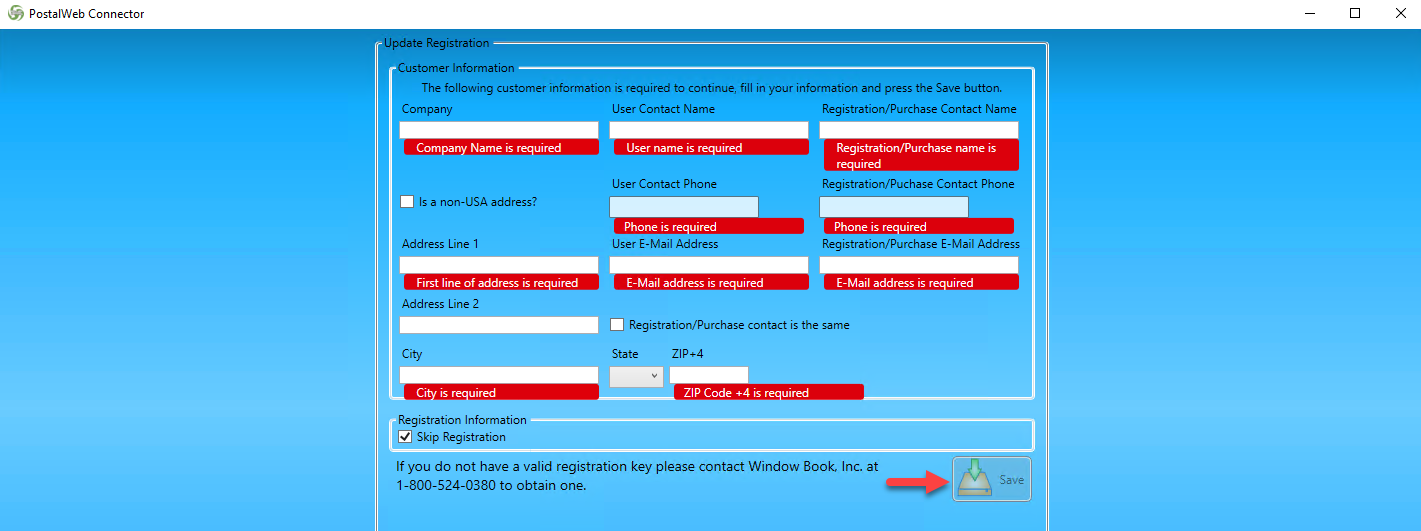
For the registered version and unregistered version, a slightly different Customer Information screen (both shown below) will appear. Complete the required fields and click Save.
Registered Version
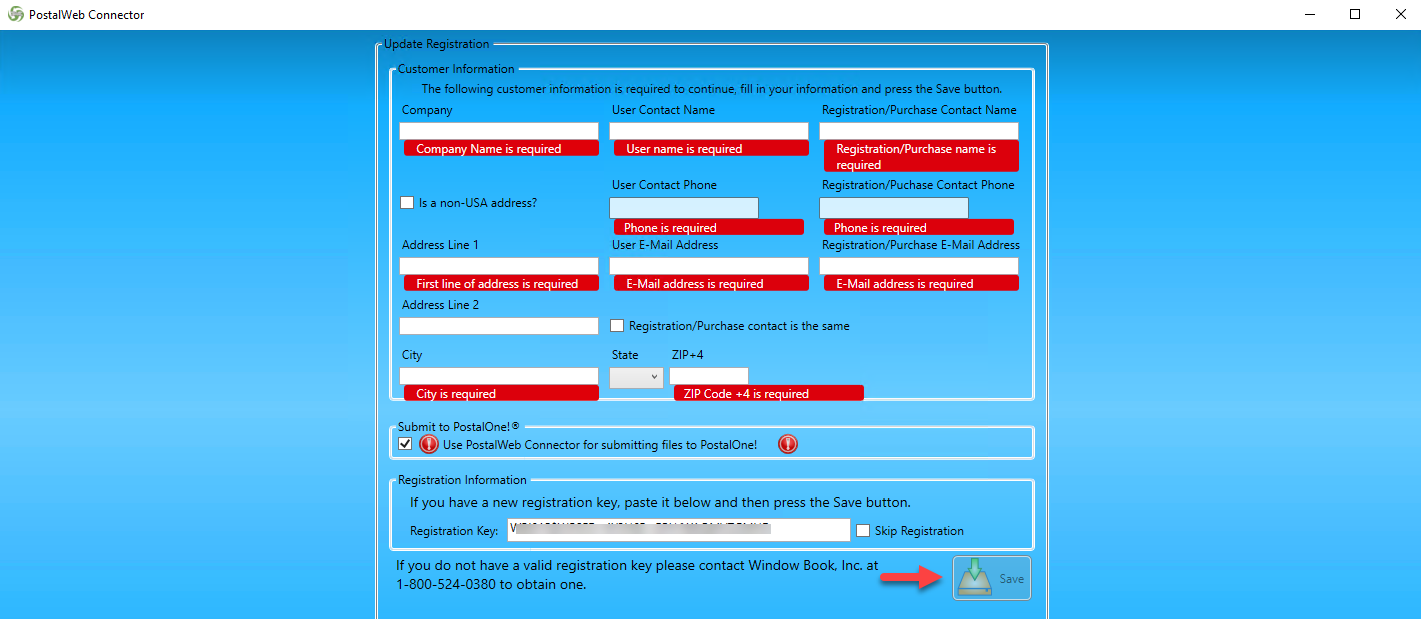
Unregistered Version
-
After a few moments, the main or home PWC screen will display. The installation of the software is complete. The PWC startup Home screen will be different between registered and unregistered versions, images are shown below.
Home Screen - Registered Version
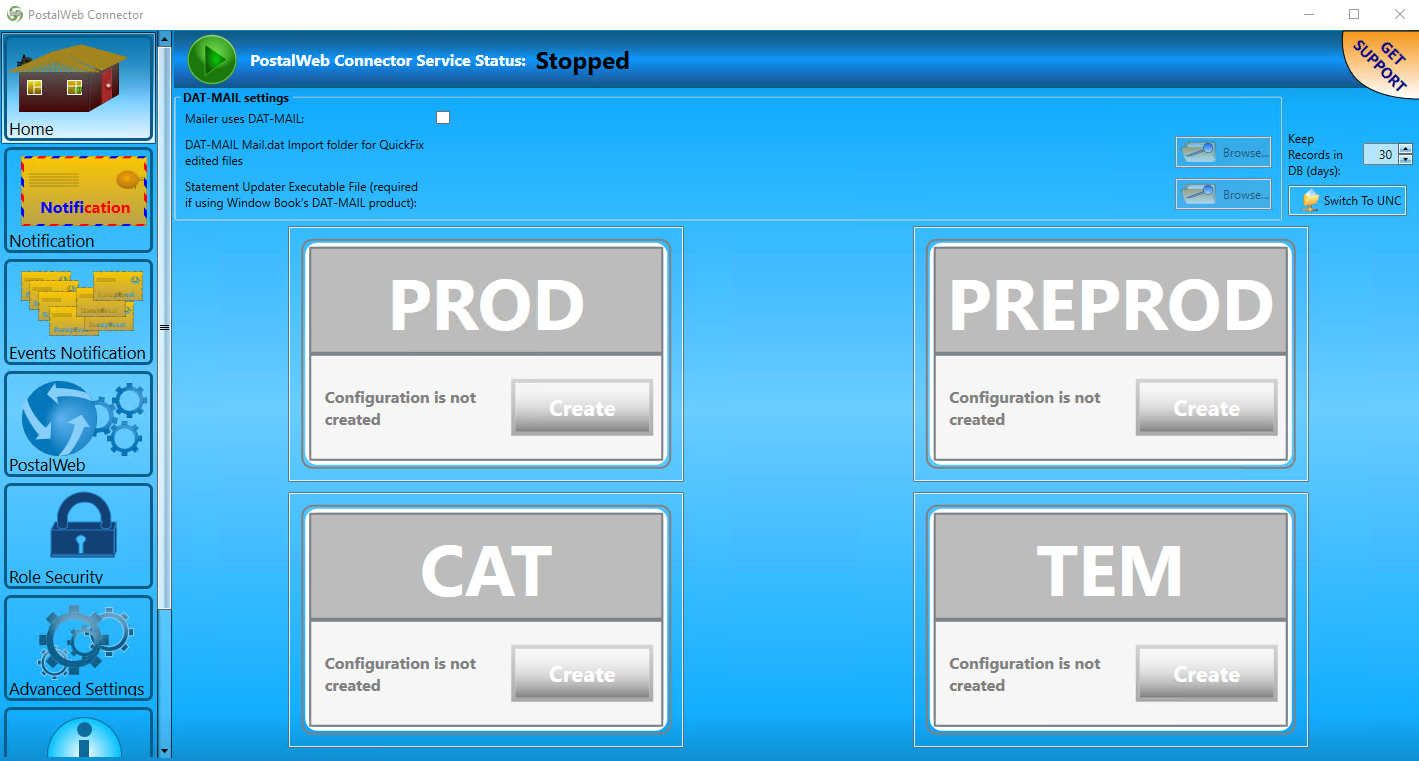 Home Screen - Unregistered Version
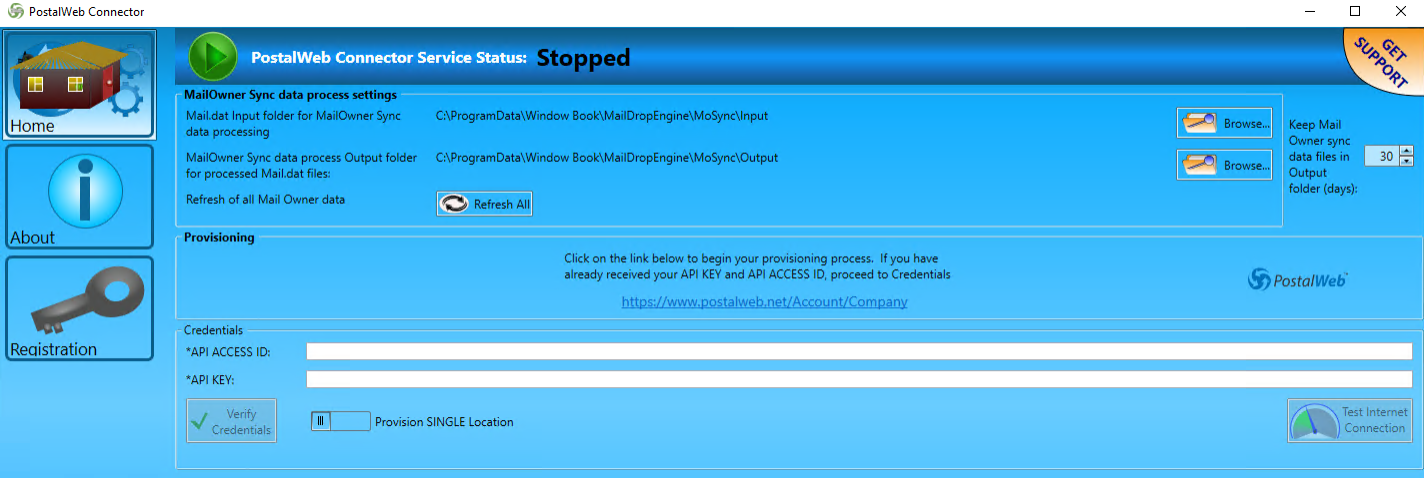
-
For now, close PWC.
DAT-MAIL is next, and there are different installation options, so we will start with this before covering the installation.
Continue Step 3a - DAT-MAIL Installation Types.