Installation
Make sure to read and fulfill the requirements for installing/using wbSCAN before beginning the installation process. Refer to Window Book Product Installation Requirements for more information.
Also, refer to the Window Book Support Portal https://windowbook.na2.teamsupport.com/knowledgeBase for troubleshooting tips.
wbSCAN runs as an “unsecured” application by default. To run it as a “secure” application, please reach out to our Support Team via the Support Portal .
This document assumes that DAT-MAIL has already been installed and configured for use.
Install & Configure the wbSCAN Service
To install the wbSCAN service, perform the following:
-
Check to make sure some other service is not already listening on the port intended for wbSCAN (default is port 80). For example, if there is already another web server installed, this may already be happening. If so, the port that wbSCAN listens to might require changing.
-
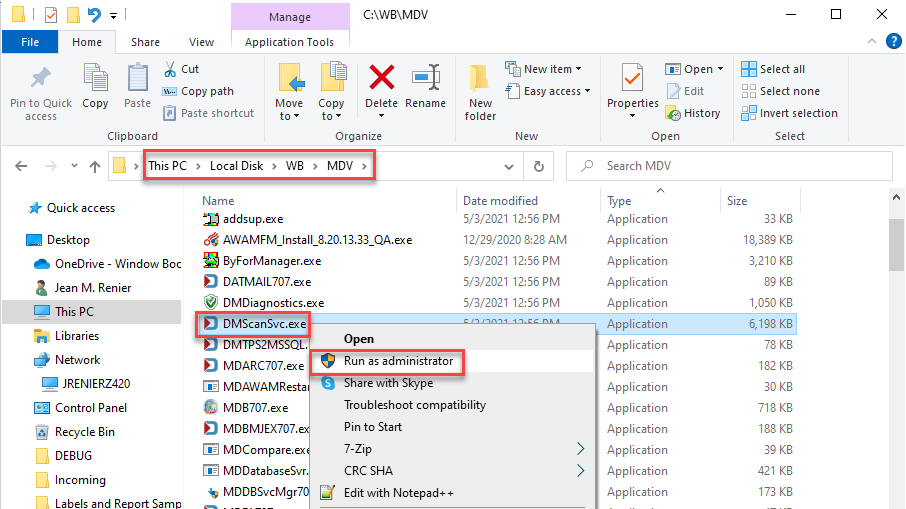
Using File Explorer, navigate to the ‘…\WB\MDV\’ folder on the DAT-MAIL server. Next, locate the DMScanSvc application file and right-click on the file, and select Run as Administrator.
-
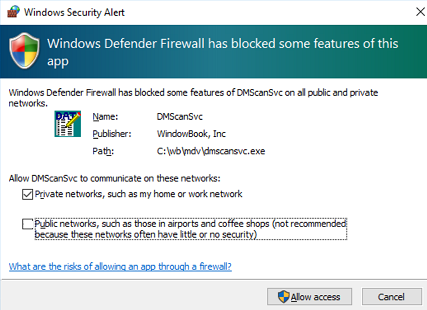
When running the application for the first time, a Windows Security Alert may display. If not already checked, enable the option to allow “DMScanSvc” to communicate by selecting the Private Networks and Domain (if applicable) checkboxes. Click Allow Access to continue.
-
The wbSCAN web server || Insecure Port=NN will display (port 80). If no errors, click Close and proceed to Step 2 below.
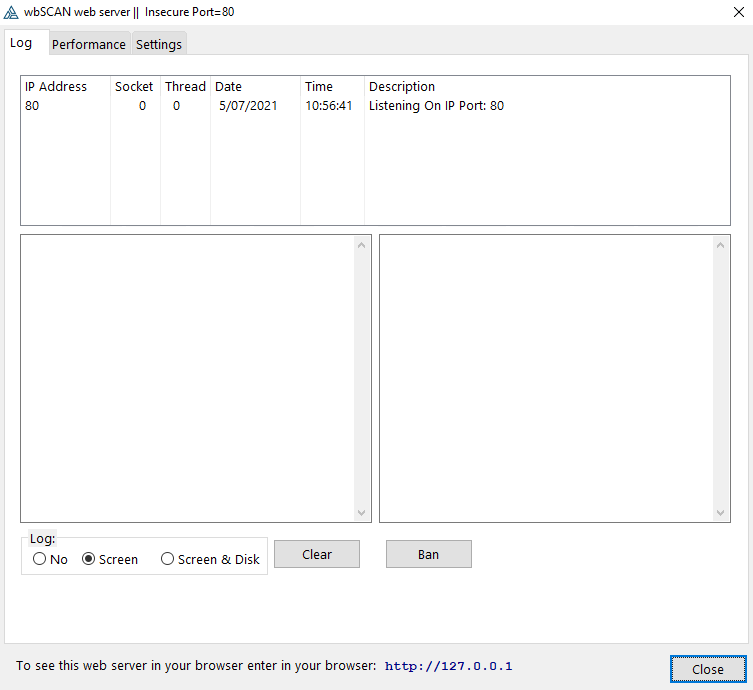
This screen should not contain any errors; particularly, ‘Error 10048’. Example:

The most common source of this error (if it does display) is that DMScanSvc is installed and running. Go to Services and stop the service. The errors will stop.
If you receive an error you do not understand, contact Window Book.
-
-
Install the DMScanSvc service.
-
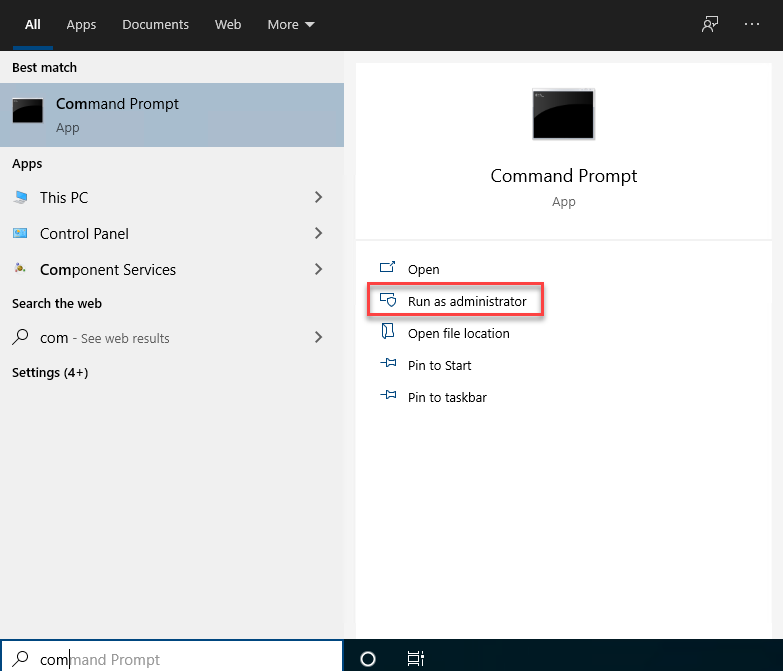
As an administrator, go to a command prompt on the server where DAT-MAIL’s product files are installed (not the data server).
-
Type “cd \wb\mdv” (no quotation marks and a single, blank space between “d” and “\”) on the drive where DAT-MAIL is installed.
-
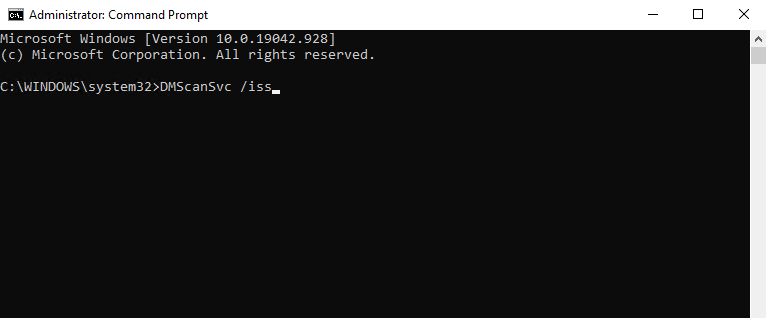
Then type “DMScanSvc /iss” (no quotation marks and a single, blank space between “c” and “/”) and press ENTER on the keyboard. No confirmation will display on the screen when the service is installed.
In the screen image below, DAT-MAIL is installed on the “C” drive. The drive can vary.
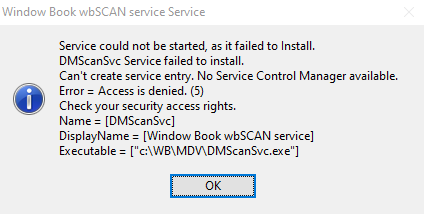
If the log on credentials used on the server does not have administrator rights, the following error will display. Click OK to close the dialog. Log on to the server using administrator credentials; repeat Step 2 in its entirety.
-
-
Change the DMScanSvc login.
-
On the server, launch Services.
-
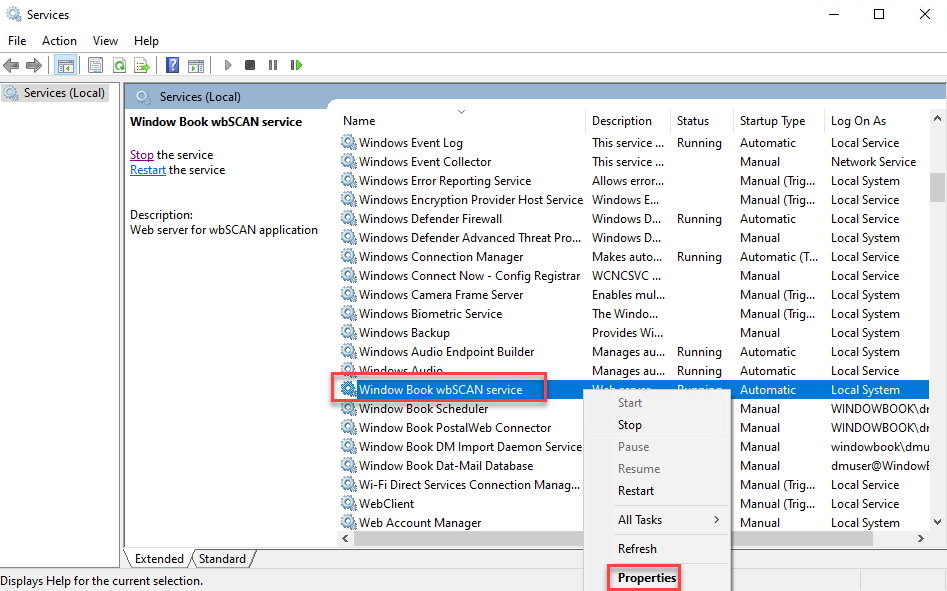
Locate Window Book wbSCAN service in the list. Right-click on the service and select Properties.
-
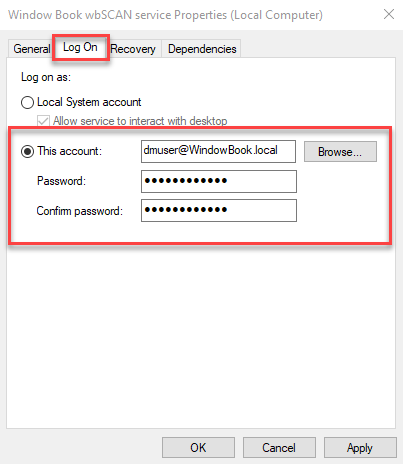
Select the Log On tab and then the This account radio button. Next, enter the login and password you will be using for the Window Book wbSCAN service.
-
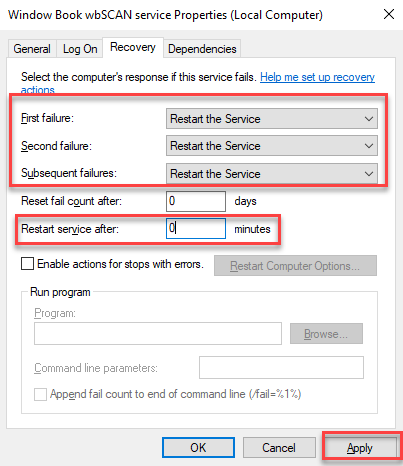
Select the Recovery tab and set the three failure actions to Restart the Service.
In addition, make sure the Restart services after field is set to 0 minutes.
When finished, click Apply.
-
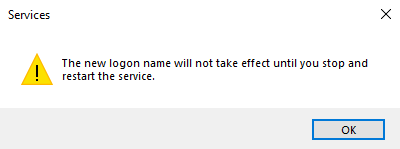
A Services dialog will display confirming that the "The new logon will not take effect until you stop and start the service." Click OK to resolve the dialog.
-
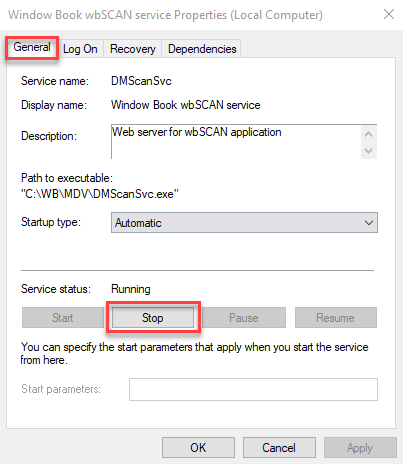
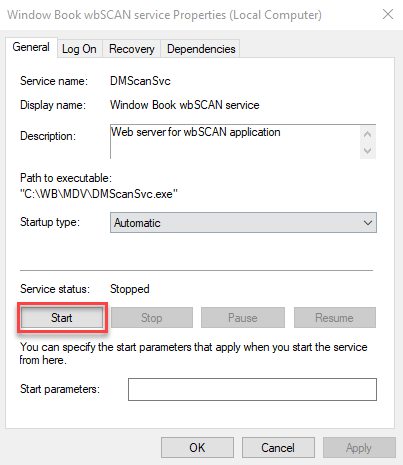
Select the General tab. Click Stop to stop the service. Once the service is stopped, click Start and make sure there are no errors returned. Click OK when finished.
-
-
Test wbSCAN.
-
Open a web browser (use Chrome if it is available).
-
Enter “127.0.0.1” (no quotation marks) as the web address.
-
The wbSCAN user interface (UI) will display. Click Login.
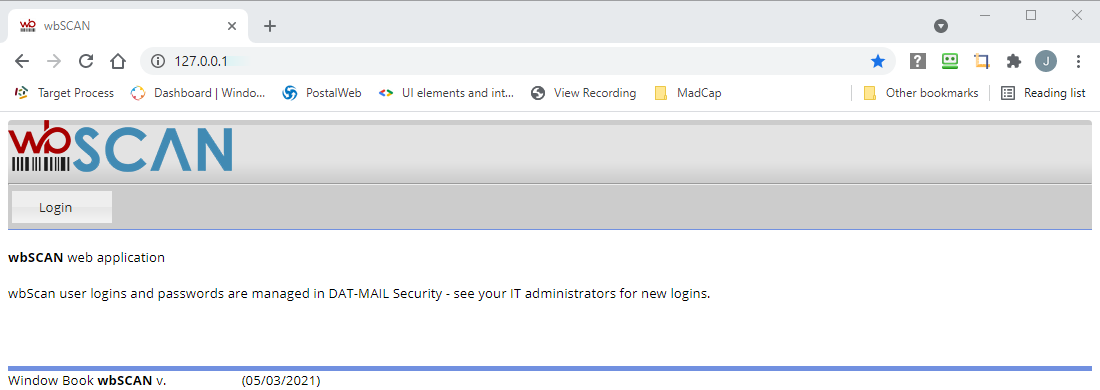
If the message "Your current DAT-MAIL registration is not authorized to access wbSCAN" displays after attempting to login to wbSCAN, the key used to register DAT-MAIL does not include rights to wbSCAN. Contact Window Book Client Services to obtain an appropriate registration key.

-
Enter the login credentials dictated by the Security function in DAT-MAIL: Login = ADMIN, password = ADMIN. Click Login.
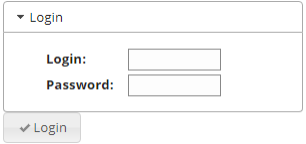
You can control who gains access to the wbSCAN application through the Security function in DAT-MAIL. You can also change the default “ADMIN” login credentials. Refer to the DAT-MAIL Security User Guide for more information.
After logging in, the wbSCAN main or home screen will display.

-
Determine and Access Private IP Address
-
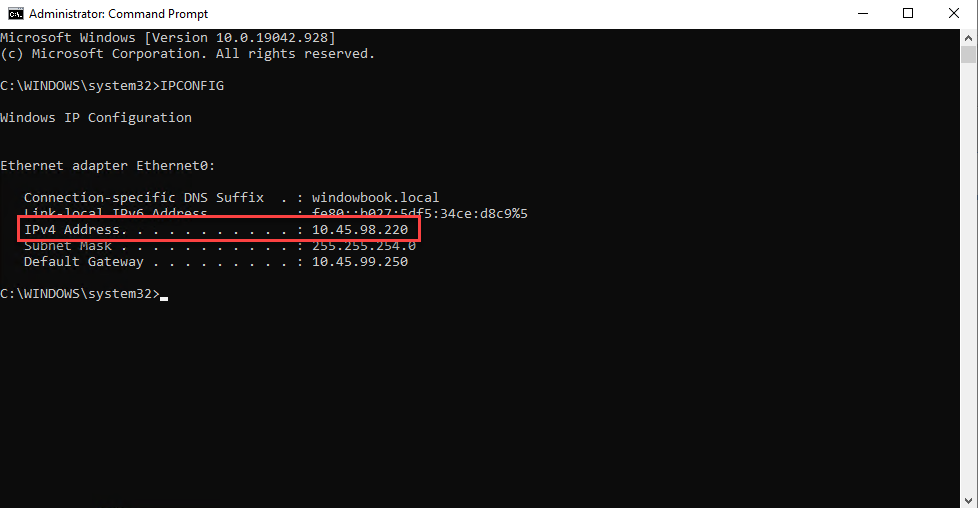
Determine the private IP address of the server.
-
On the server, launch a command prompt.
-
Type IPCONFIG and press ENTER on the keyboard.
-
Write down the IPv4 IP address.
-
-
Access wbSCAN from a network device.
-
On a network device, open a web browser (Window Book recommends using Chrome if it is available).
-
Enter the IPv4 IP address from Step 5 above as the web address.
-
Bookmark this in the browser as wbSCAN.
-
For mailers using wbSCAN for quality assurance/verification purposes only, the installation and setup of wbSCAN are complete. For user instructions, refer to the DAT-MAIL™- wbSCAN™ - User Guide.
Continue Additional Setup - Session Time Out