Updating Software
Entering a registration key is not required when updating an existing, registered installation of the PostalWeb Connector (PWC).
The Window Book Scheduler and PWC services must be stopped before PWC can be updated. If there is an update of the Scheduler, use the Scheduler installer and install PWC when prompted. To stop these services, open Scheduler and PWDD, then click  Stop and close the program.
The only time you would be installing PWC on its own is if there was not a release of Scheduler, which is rare.
Updating an existing installation of the PWC to the latest version should be conducted in the same manner as the initial or first-time installation (refer to Installation Sequence for more information).
-
The user would begin by downloading the newer software version from Window Book’s website. For example, if installing both Scheduler and PWC, go to Download Scheduler and go to Updating Scheduler & PWC for instructions. If no update of Scheduler, then navigate to Download PWC to download the software update.
-
Once the download is complete, close any Window Book, Inc. products and services. Then navigate to the folder where it was downloaded, right-click on the file, and select Run as administrator.
The installation wizard screens for updating the software are self-explanatory and mirror some of those displayed during the initial installation. When updating an existing instance of PWC software, make sure to specify the same settings during the update install process that the software is currently using (for example, product installation path). The installation wizard’s “Logon Information” screen will display during the update installation. Window Book does not recommend enabling the option to Start Service After Install. Also, you must use the same Computer/Domain Name, User Name, and Password used during the initial install. If you do not know what it is, stop and find out before continuing.
Please see the step-by-step instructions below:
-
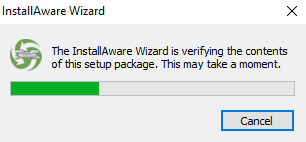
The InstallAware Wizard runs and begins verifying the contents of the setup package.
-
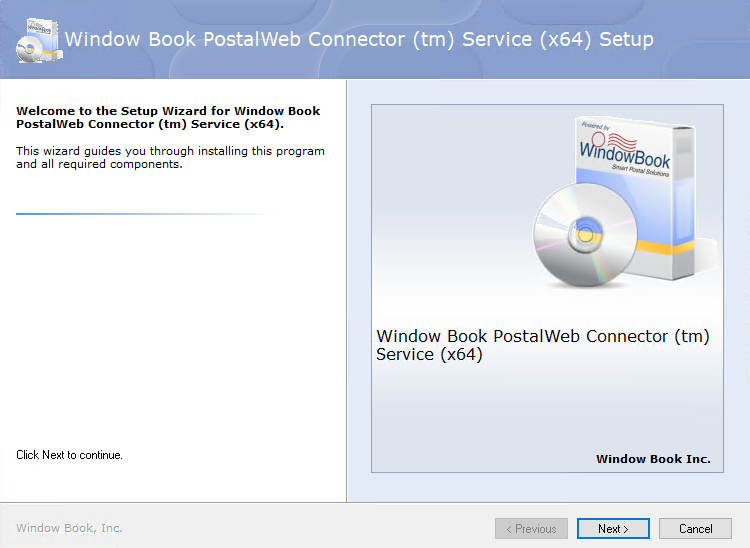
The interactive InstallAware wizard is ready to begin the installation process. Click Next to continue.
-
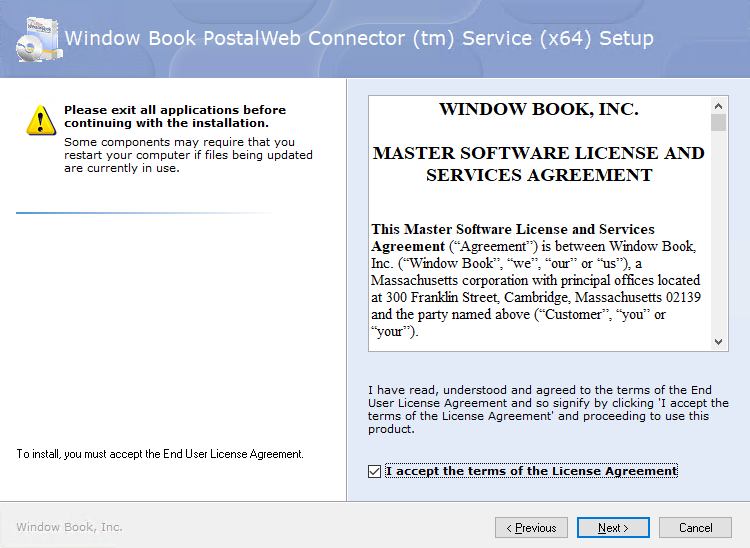
When the Please exit all applications before continuing with the installationscreen appears, select the I accept the terms of the License Agreement checkbox. Click Next to continue.
-
The Choose the application folder screen will display. Do not change. Click Next to continue.

-
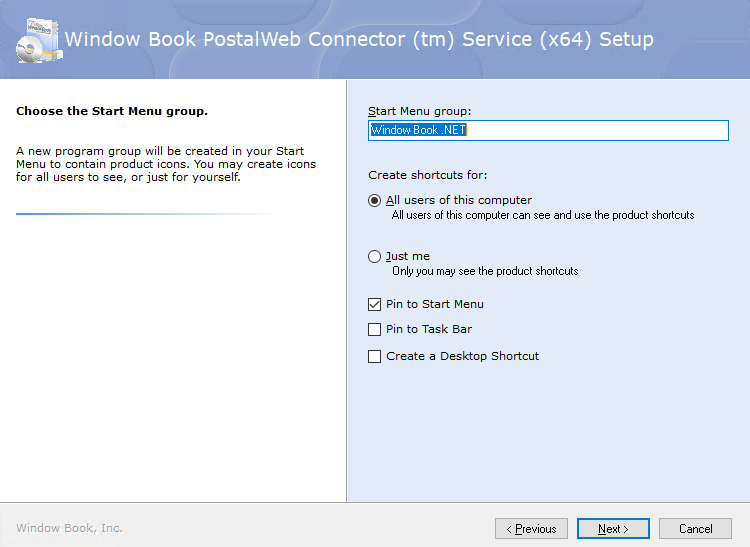
The next screen will ask to create the Start Menu group specified and some other options to be enabled after the installation is complete. It will remember whether you selected Create A Desktop Shortcut from the initial install, so nothing needs to be changed on this screen; click Next to continue.
-
The Logon Information screen will display. Window Book strongly recommends not selecting the option to Start Service After Install. Enter the same Computer/Domain Name, User Name and Password used during the first time install. Unfortunately, it will not default to the correct information unless signed on as that user.
Typically, the service account will not be the same as the user account used to install the software, so each time the software is installed, you will need to change it to the correct information.

-
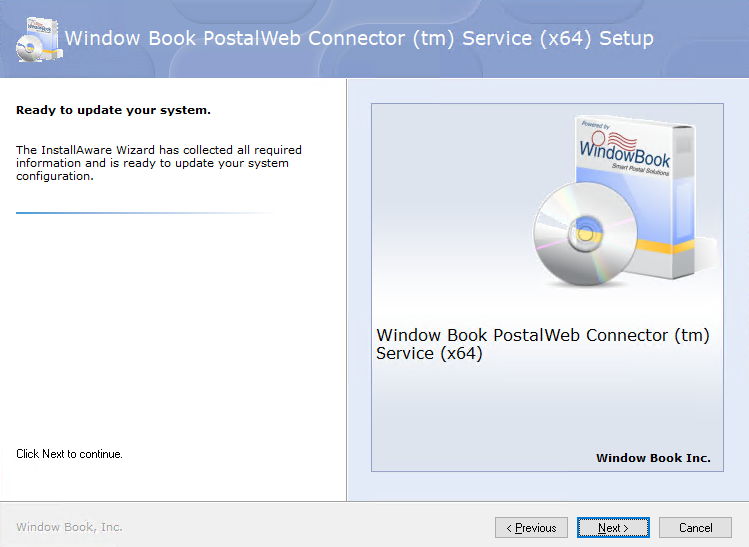
The Ready to update your system screen will appear. Click Next to continue.
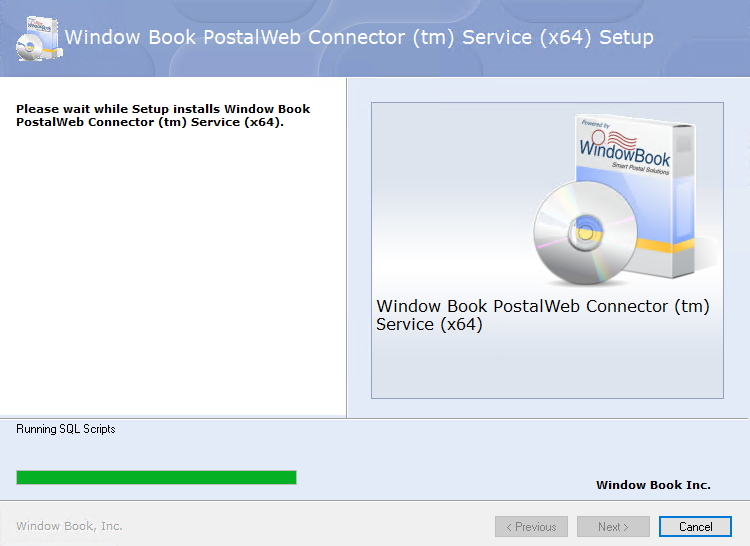
The Please waitscreen will display, and it will take a few moments to complete the setup.
-
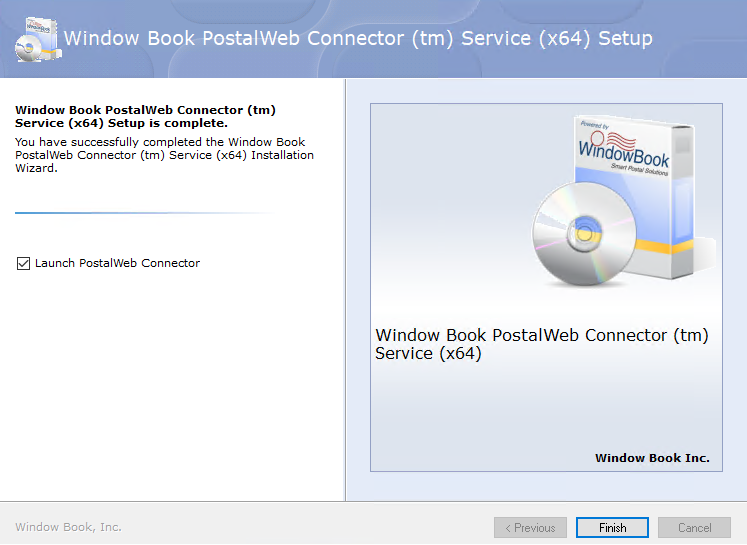
The Window Book PWC (x64) Setup is complete screen will appear, click Finish. The installation wizard will close, and after a few moments, PWC launches, displaying the main or home screen. The update is complete!
-
If no other Window Book needs to be installed, click
 Start to start the service. Also, restart the Window Book Scheduler service.