Mail.dat Merger Plug-In
The Mail.dat Merger plug-in runs the ‘wbMDMgr.exe’ program, which imports multiple Mail.dats into an MS SQL Server database, merges them into a single data file set, and exports them to a single Mail.dat. DAT-MAIL or any other post-presort software can then import the exported Mail.dat.
The plug-in also allows the Client to configure the pre-process merging of your files before being imported into DAT-MAIL.
To configure the Mail.dat Merger plug-in, do the following:
-
Open Scheduler and
 Stop the Service.
 -
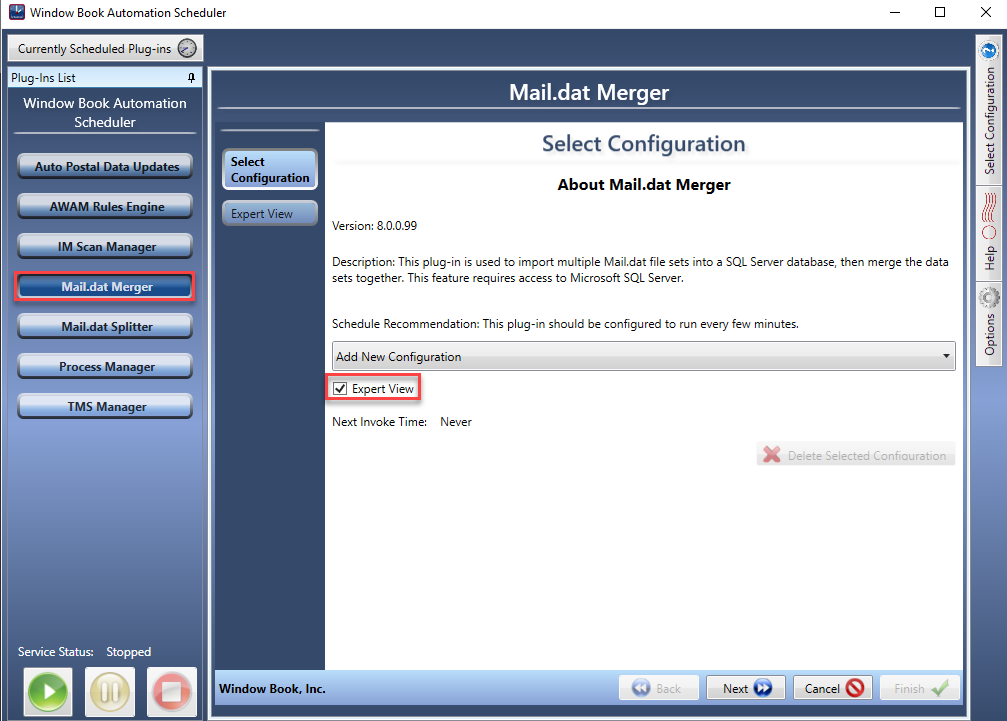
Click the Mail.dat Merger on the left.
The Select Configuration screen will display.
Select the Expert Viewcheckbox and click Next to continue.
-
The Expert View screen will display. Enter a name specific to the configuration being created and specify when and how often the plug-in’s process will run. Click Next to continue.
Window Book does not recommend enabling the function to Run at start-up unless directed by a Window Book Support representative. However, if this option is enabled and the Scheduler is stopped and started for whatever reason, the plug-in will run every time the Scheduler starts regardless of the plug-in’s frequency settings.
An explanation of each option or field is shown below the print screen:
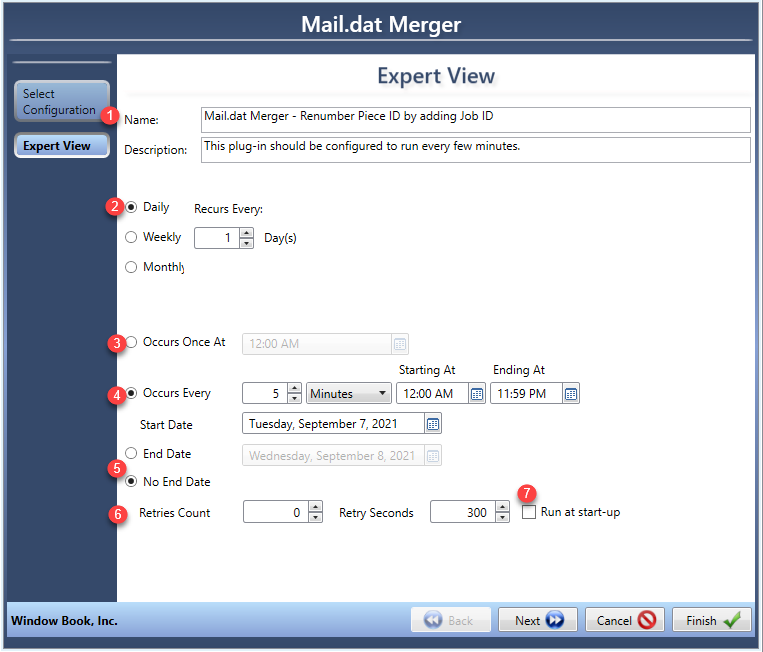
 Recurs every: The default is Daily; leave this setting unless you prefer not to have the Scheduler running every day, then you could change it to Weekly and select the days of the week it should be looking for Mail.dats.
 Occurs Once At: If you only want to look for Mail.dats to merge once a day at a set time, you would select the time here.
 Occurs Every: The default is 5 minutes and the Starting At 12:00 AM and Ending At 11:59 PM. You can adjust to suit your environment. For example, if you run a nightly backup, you change the Starting At and Ending At to ensure the Scheduler is not running.
 End Date and No End Date: The default is No End Date. If you are using this configuration for a specific project and after this time you do not want this configuration to run, you could set an End Date.
  Retries Count and Retry Seconds: Unless a Window Book Support Representative asks you to set a retry count and wait (retry seconds) until it tries again, please do not change.
 Run at Startup: Never select this option unless a Window Book Support Representative asks you to do so.
 -
The Folders screen will display. This screen requires the Client to create a series of folders that the plug-in process and the post presort software will monitor. After setup is complete, click Next to continue. If the Client uses DAT-MAIL, these folders should be created under the ‘WB’ folder on the computer or server, where DAT-MAIL’s data folders reside, within a directory specific to the plug-in (for example, 'MDMerger').
In a server-with-workstations environment, use UNC paths when specifying file folders. In addition, create/use file folders located within a shared and available directory. For example, Window Book recommends creating folders within the main ‘WB’ directory. For assistance with UNC Paths, see the Support Portal Knowledge Base - https://windowbook.na2.teamsupport.com/knowledgeBase (login is required).
If the Client does not use DAT-MAIL, then the folders can be created on the root directory of the computer or server; however, in a server-with-workstations environment, these folders will need to be shared so that all workstations that have the post presort software installed will have access to them.
An explanation of each field is shown below the print screen:
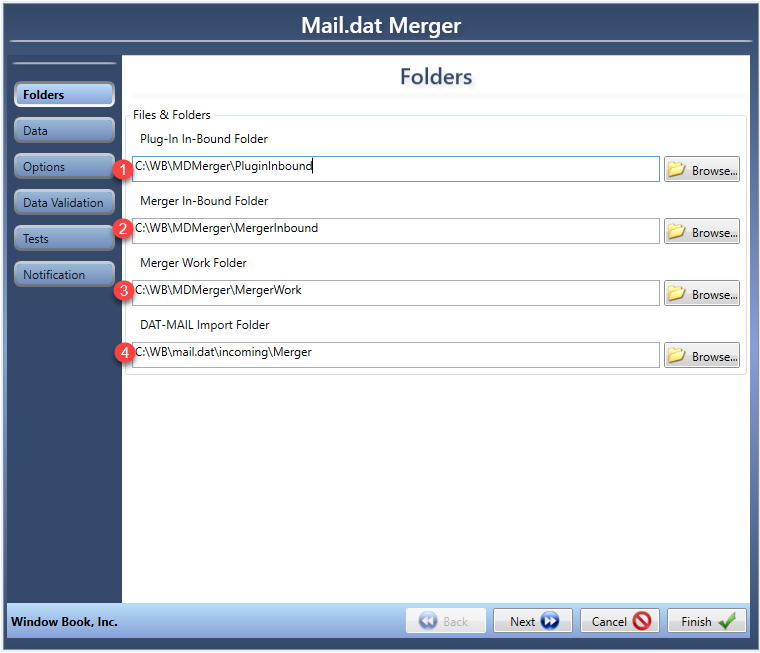
 Plug-In In-Bound Folder: This folder is where the Mail.dat files (in .zip file format) are placed that are to be merged. The plug-in monitors it. Merger In-Bound Folder: The .zip files found in the Plug-In In-Bound Folder are moved to this Merger In-Bound Folder. After moving them, the plug-in unzips them and begins processing the individual Mail.dat files. If the processing fails, the source Mail.dat zip file is moved to a ‘Rejected’ sub-folder automatically created by the plug-in. Merger Work Folder: The .zip files found in the Merger In-Bound Folder are moved to this Merger Work Folder, at which time the functions selected or enabled in the Options screen are performed (screen shown below), and files are merged. DAT-MAIL Import Folder: When files are merged to create a file set in the Merger Work Folder, the .zipped file sets are moved to this DAT-MAIL Import Folder where AWAM picks them up for importing into DAT-MAIL.
 -
The Data screen will appear. The only required field is Merged Data Set Job ID Prefix enter a prefix that help identify these merged Mail.dat. After setup is complete, click Next to continue.
Below the print screen is an explanation:
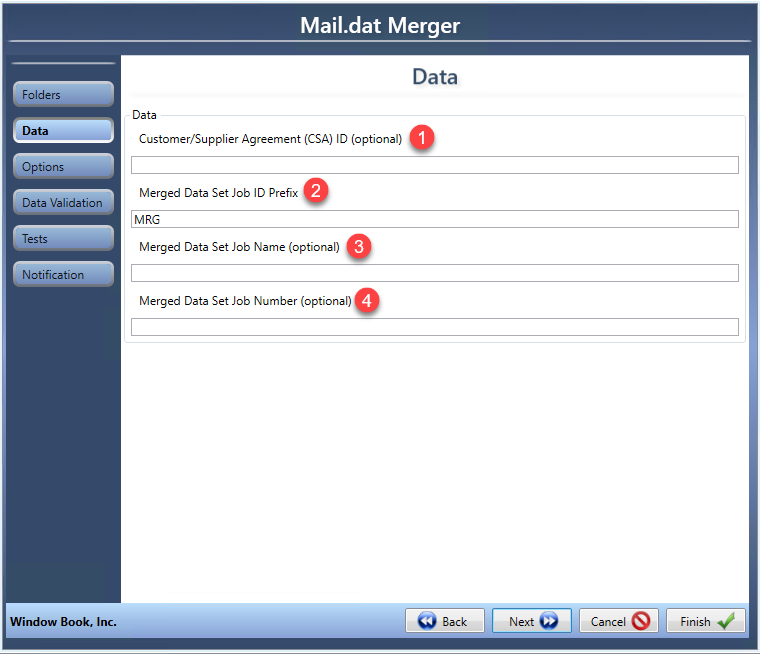 Customer/Supplier Agreement (CSA) ID (optional): If the presort software does not include your CSA ID in the Mail.dat Segment file, enter the CSA ID here. When a value is provided, the Mail.dat Merger plug-in will include it in the merged Mail.dat Segment file. Merged Data Set Job ID Prefix: Enter the text that will be included as a prefix to the merged name portion of the merged Mail.dat names (for example, MRG). This field is required. Merged Data Set Job Name (optional): This is an optional field and can remain blank. Merged Data Set Job Number (optional): This is an optional field and can remain blank.
 -
The Options screen will display. The options screen contains options/functions that can be applied to the merged Mail.dat. When setup is complete, click Next to continue.
An explanation of each option or function is shown below the print screen:
The description of each option will start with the left column top to bottom and then move to the second column.
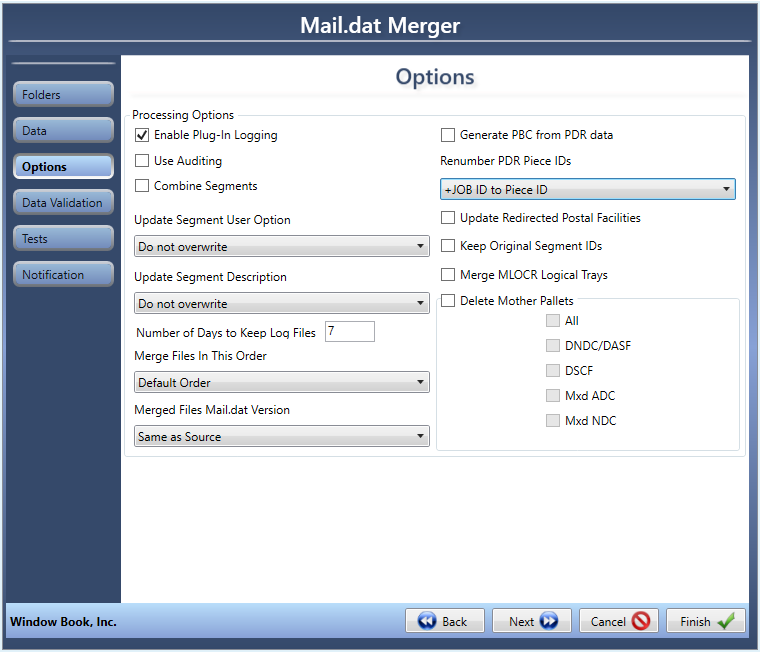
Enable Plug-in Logging: Select this checkbox to enable message logging to the Window Event log. This option is typically checked for technical support purposes only.
Use Auditing: Select this checkbox to enable message logging to the SQL Server database.
Combine Segments: Select this checkbox to combine file segments.
Update Segment User Option: Click the drop-down if you would like to populate the Job ID or Job Number in the Segment User field.
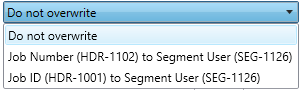
Populating the Segment User field is not available, if Combine Segments option is selected.
Update Segment Description: Click the drop-down list, if you would like to populate the Job Number or Job ID in the Segment Description field.
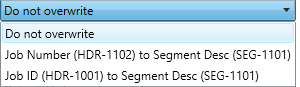
Populating the Update Segment Description field is not available if the Combine Segments option is selected.
Number of Days to Keep Log Files: Enter a value representing the number of days the Mail.dat Merger plug-in will keep the log files generated by the MDR Client read by the plug-in. However, the number of these log files can become quite large and slow processing down. Therefore, the default retention period for log files is seven (7) days.
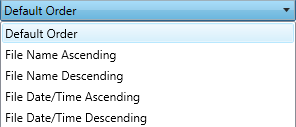
Merge Files in This Order: Click the drop-down if another option besides the default order is needed. For example, the Default Order merges the input files based on file size descending. The other available options are File Name Ascending, File Name Descending, File Date/Time Ascending, and File Date/Time Descending.
Merged Files Mail.dat Version: Click the drop-down to select the version number to be used for the final merged Mail.dat.
If submitting the merged file to PostalOne!, make sure to use a version their system accepts. See the most current USPS Technical Specification for Mail.dat.
Generate PBC from PDR data: Select this checkbox to generate PBC from the PDR data.
Renumber PDR Piece IDs: Click the drop-down to select an option to assign Piece IDs. There are four (4) options - No renumbering of Piece IDs. Sequential renumbering of Piece IDs; +SEG ID to Piece ID; and + JOB ID to Piece ID.
The default option of No renumbering of Piece IDs will not work unless your Company assigns unique Piece IDs across your jobs.
Be advised that for large jobs, a substantial amount of additional memory is used by the Mail.dat Merger plug-in when piece ID re-numbering is turned on.
Update Redirected Postal Facilities: Select this checkbox to enable updating the redirected postal facilities.
Keep Original Segment IDs: Select this checkbox to keep original segment IDs.
Merge MLOCR Logical Trays: Select this checkbox to merge MLOCR logical trays.
Delete Mother Pallets: Select this checkbox to enable to delete mother pallets. Select this checkbox for what type(s) to delete mother pallets for: All, DNDC/DASF, DSCF, Mxd ADC, or Mxd NDC.
-
The Data Validation screen will display. When setup is complete, click Next to continue.
An explanation of each option or function is shown below the print screen:
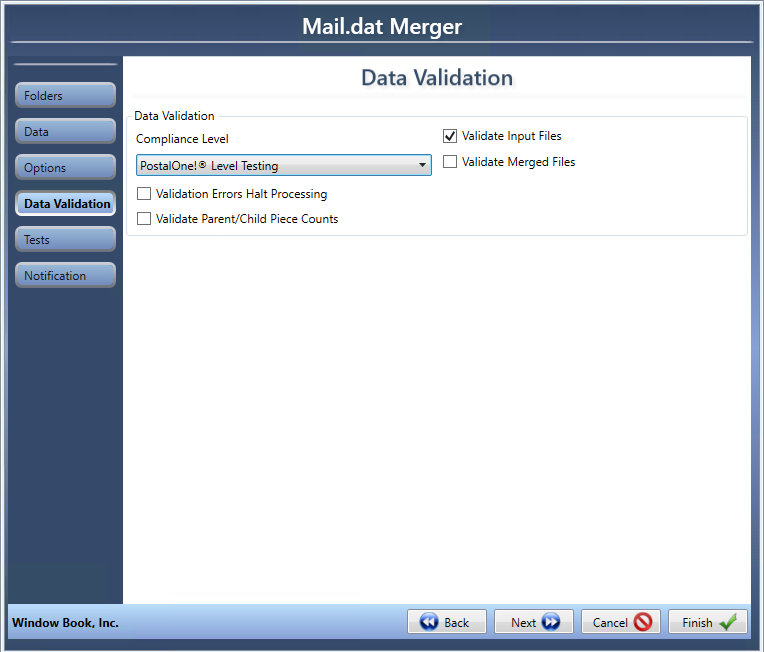
Compliance Level: Click the drop-down to select the compliance validation to be done on the Mail.dat. There are five (5) options - None; Referential Integrity Only; Field Level Validation; Mail.dat Conformance Testing; and PostalOne!® Level Testing. A definition of each is shown below:
- Compliance Level: Select a compliance level from the drop-down to be applied to the Mail.dat files.
- None: No compliance validation is done on the Mail.dat data.
-
Referential Integrity Only: Record counts as reported in the HDR fields checked against other files.
-
Field Level Validation: Basic field content checks (in addition to Referential Integrity checks), including justification. For example, numeric fields should only contain numbers.
-
Mail.dat Conformance Testing: In addition to performing the Field Level Validation checking, the fields are evaluated based upon values that are generally known to be valid for these fields (HDR PQT File Status should be one of O, D, R, N, C, U). The validation may take into consideration other related values. For example, to determine the list of valid zones for the CQT Zone, one needs to consider Class Defining Preparation. If it is Periodicals, we also need to know the CQT 3-Digit /5-Digit Container divisions and the CQT Not County/ In County indicator. Required fields are also checked to make sure they are not omitted.
-
PostalOne!® Level Testing: Fields required by PostalOne! are included. The Conformance tests are performed, and additional fields for PostalOne! are added into the required or not list.
-
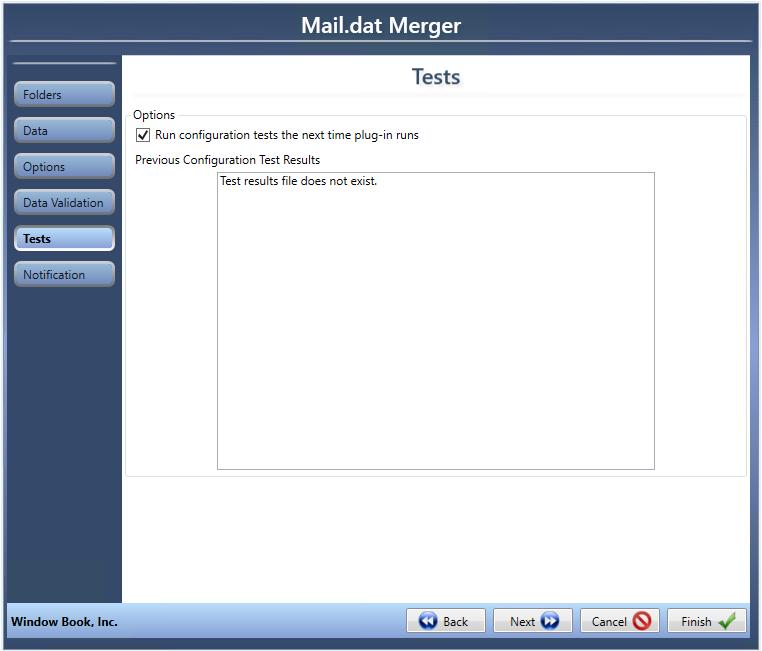
The Tests screen will display. Select this checkbox to Run configuration tests the next time plug-in runs (optional). The test results from the previous test run will display in the Previous Configuration Test Results window. Click Next to continue.
-
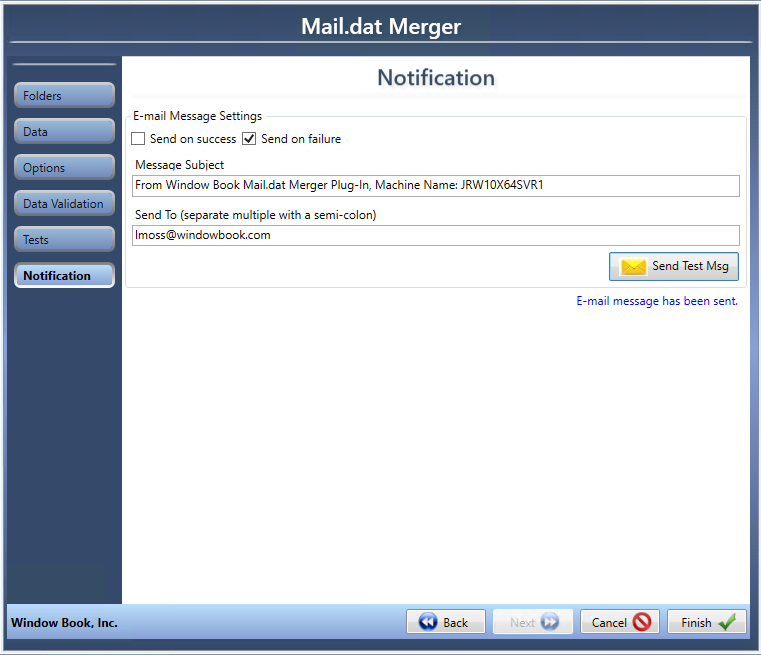
The Notification screen will display. This feature provides automatic notifications to a group of people via email when the plug-in runs and the process completes without encountering errors (Send on success). Plus, show when the process is incomplete (Send on failure). Click Finish when setup is complete.
-
The Finished screen will display. Start
 the service, if finished with setting up plug-ins. Also, Scheduler can be closed.
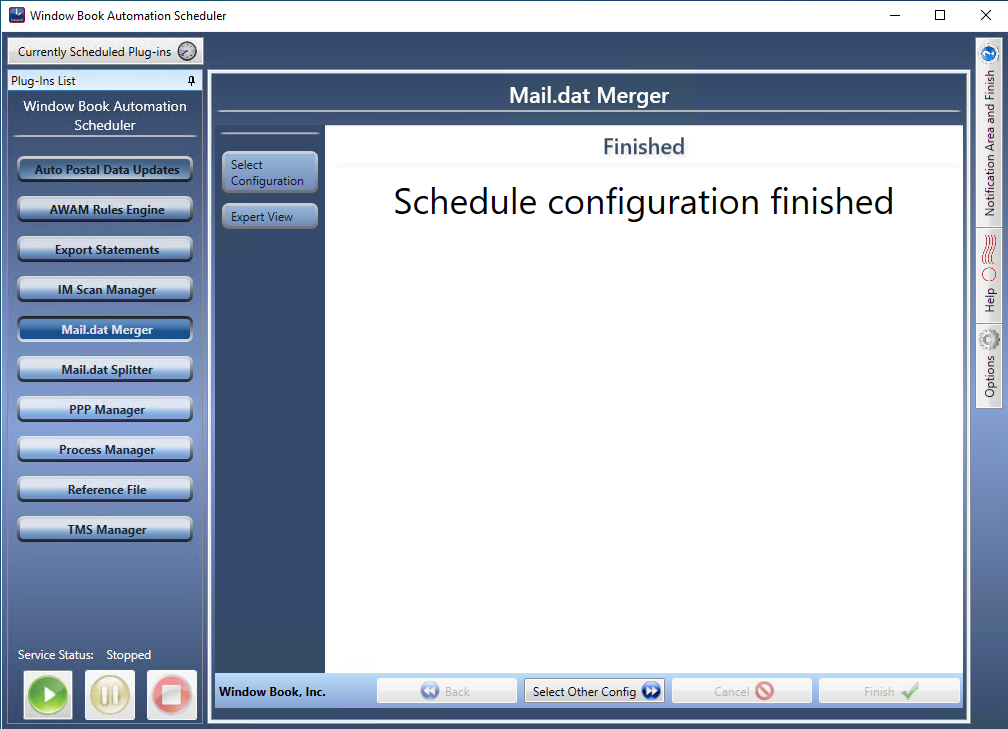
Plug-Ins Available