Activation & Registration
To activate and then register AWAM, perform the following:
-
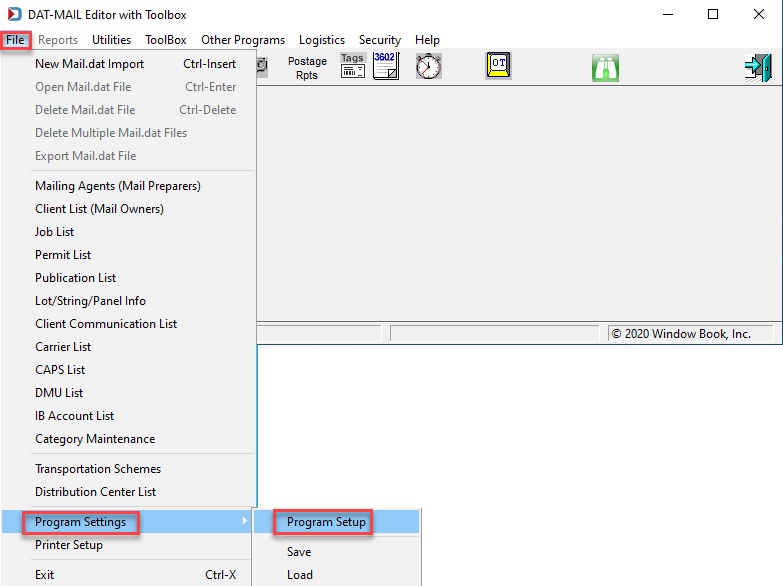
Launch DAT-MAIL on the server or a stand-alone. From DAT-MAIL’s main screen, select File > Program Settings, then Program Setup.
-
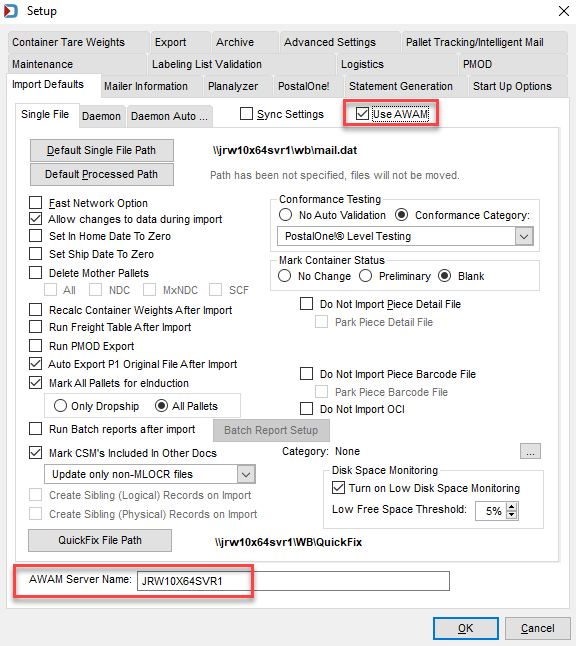
DAT-MAIL’s Setup screen will display. On the Import Defaults tab (default), select the Use AWAM checkbox and enter the server name or a stand-alone name.
-
Click OK to close the Setup screen.
-
On DAT-MAIL’s main screen, note that
 Daemon (clock) icon is replaced with the
  AWAM icon.
 If you do not see the icon change to AWAM, close DAT-MAIL and reopen.
-
Click
 AWAM.
AWAM. -
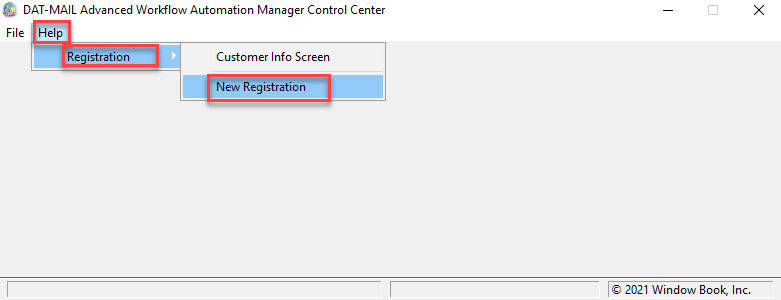
The DAT-MAIL Advanced Workflow Automation Manager Control Center (will refer to this as AWAM Control Center) screen will display. Select Help > Registration > New Registration.
-
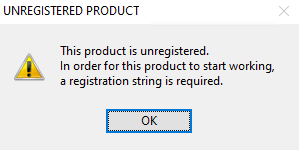
An UNREGISTERED PRODUCT dialog will display. Click OK to resolve or close the dialog.
-
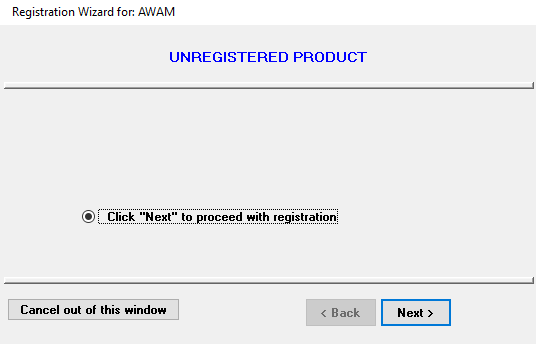
The Registration Wizard for: AWAM dialog will display. Click Next to continue.
-
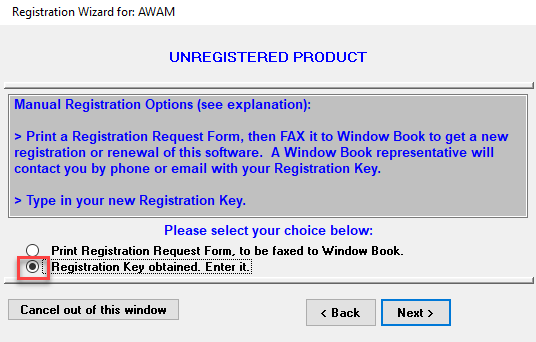
The Registration Wizard for: AWAM dialog will update with two options for registering AWAM. Since this Guide assumes the registration key has already been received from Window Book, select Registration Key obtained. Enter it. and click Next to continue.
-
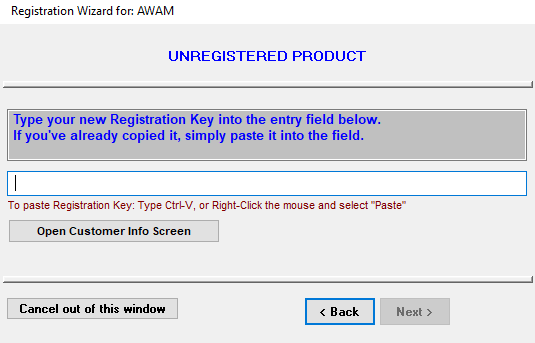
The Registration Wizard for: AWAM dialog will update. Enter the registration key obtained from Window Book in the field provided. Click Next to continue.
-
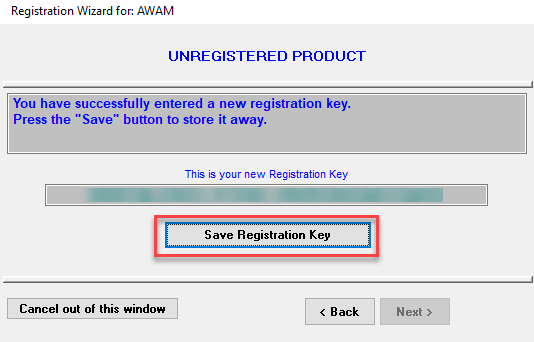
The Registration Wizard for: AWAM dialog will update, displaying the new registration key. Click Save Registration Key.
-
The Finish will display on the Registration Wizard for: AWAM dialog. Click Finish to close the dialog.
-
The NEW REGISTRATION ACCEPTED dialog will display. Click OK to close the AWAM Control Center.
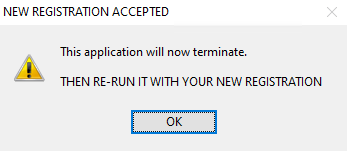
Before launching AWAM, DAT-MAIL must be re-started!
-
Close the DAT-MAIL software and then open it.
-
From DAT-MAIL’s main screen, click the
 AWAM button to launch AWAM.
 -
The AWAM Control Center screen will display.
-
Note that the status message next to START reads “Service is NOT installed.”
Continue Installing the Service