Advanced Navigator - Edit MPA (continued)
Now we will walk through actually editing the MPA. Here are a couple of examples of modifying the MPA.
Change the Permit Number
-
Click
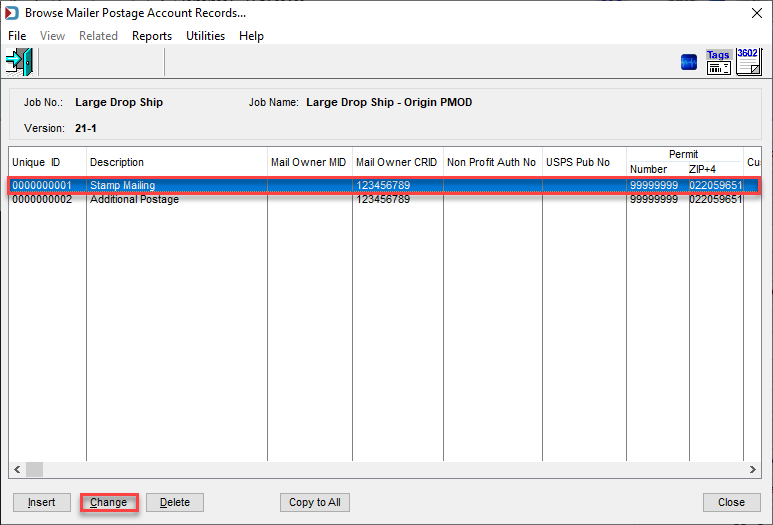
 MPA in the Advanced Navigator view to open the Browse Mail Postage Account Records.
 -
Highlight the MPA that needs changing all click Change.
-
The Changing Mailer Postage Information screen will appear. Click Browse on the appropriate field to access the listing of permits or enter manually.
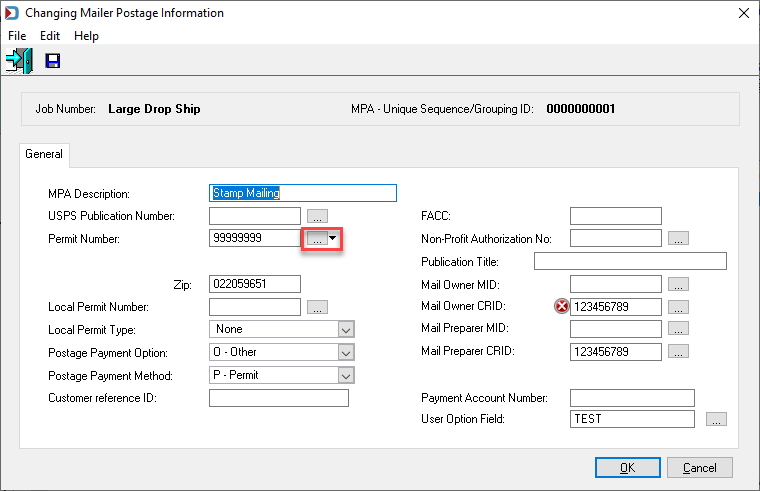
If your company has set up the PostalOne Customer Data table, notice the down arrow to the right of the Browse, you can choose to either look up permits from the Permit List you may have created in DAT-MAIL, or you can select it from the PostalOne! Customer Data table. We recommend using PostalOne!’s data since it shows the information precisely as your USPS representative or BSA set it up.


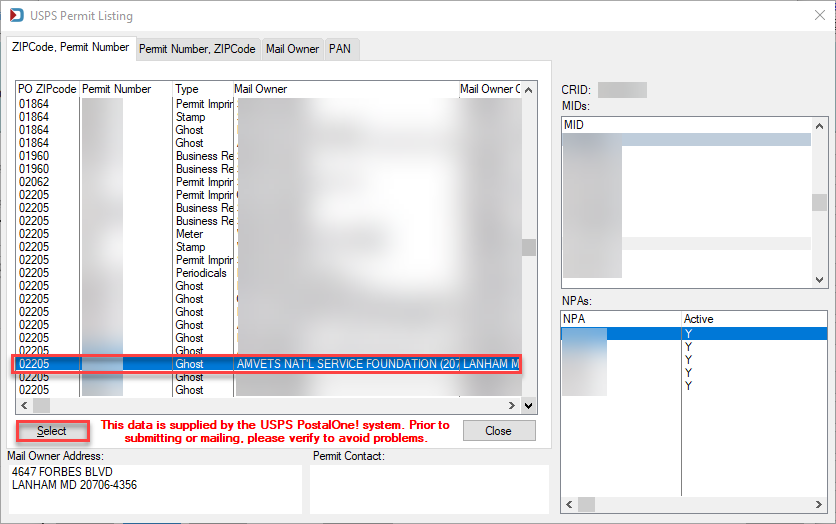
We selected PostalOne Customer Data Permit List, which brings up the USPS Permit Listing. You can change the sort if you are having trouble finding a permit. For example, click the Mail Owner tab, so the Mail Owner names are listed alphabetically.
-
Once you find the permit, highlight it and click Select.
This list provides permits, ghost numbers, MIDs, CRIDs, and NPAs.
-
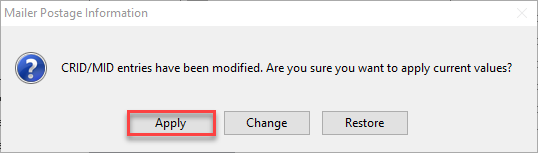
When you click OK, if you changed MIDs or CRIDs the Mailer Postage Information dialog will appear, click Apply to make the changes.
-
You will be returned to the Browse Mailer Postage Account Records window.
-
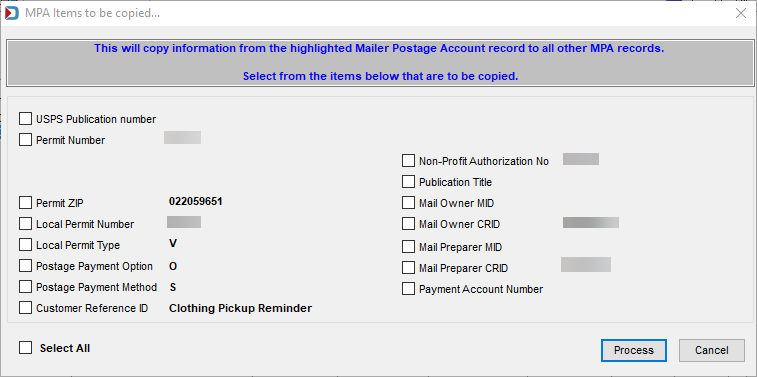
If the only items you changed were the same or most were the same for all MPAs, then you can click Copy to All to update the other MPA or MPAs. When you click on Copy to All, the MPA Items to be copied window will appear. You can select the fields to copy or choose Select All.
-
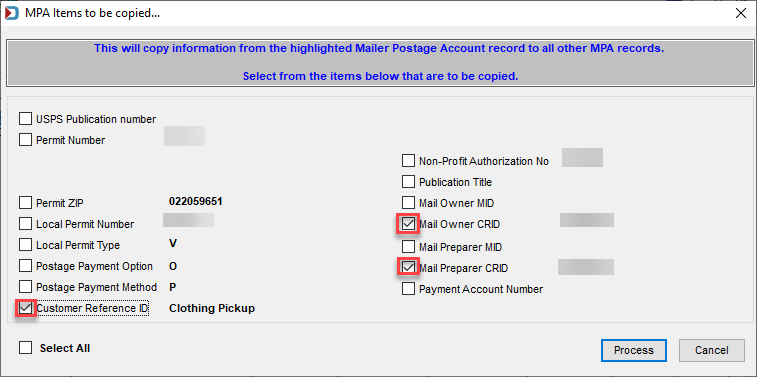
We will select some fields to copy to the other MPA and then click Process in this example.
-
You can either update the other MPAs if applicable and follow the steps above except Copy to All.
-
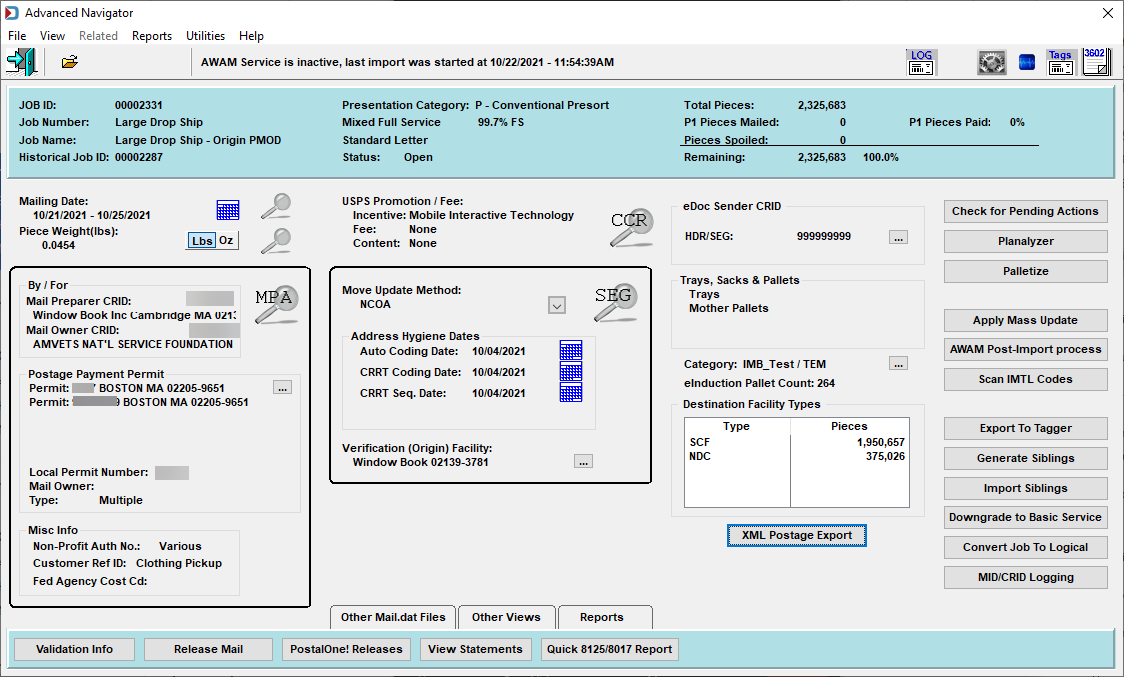
When you close out, you will see your changes in the MPA section of the Advanced Navigator.
Adding Postage Affixed
If you are missing a stamp or meter MPA, you can insert it.
-
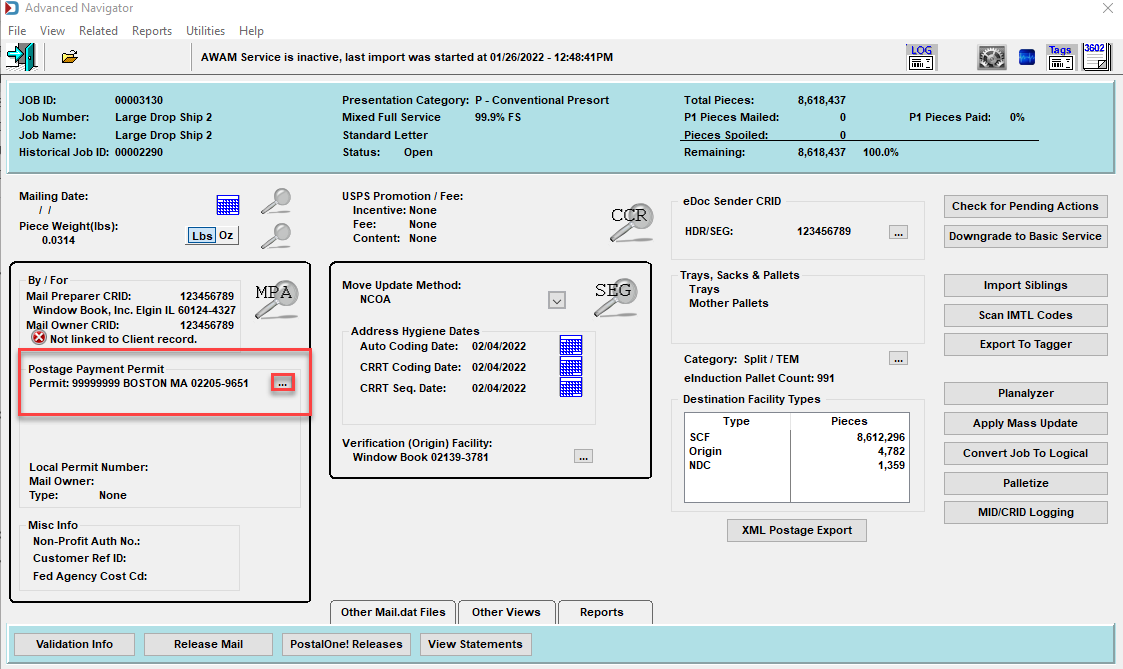
Click on the Browse in the Postage Payment Permit section.
-
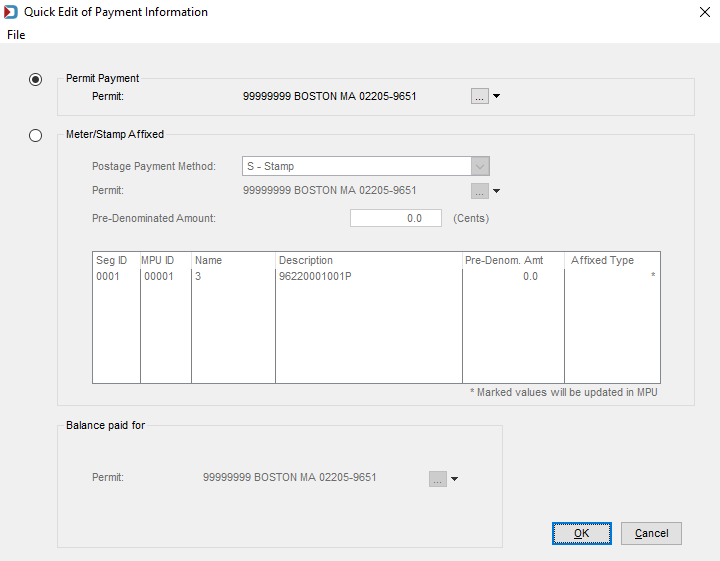
The Quick Edit of Payment Information window will display, select the Meter/Stamp Affixed radio button. Then from the drop-down list, select S-Stamp, C-Metered Correct, L-Metered Lowest, or M-Metered Neither. Select the Stamp or Meter permit and if applicable enter the Pre-Denominated Amount. Once the three fields are updated, click OK.
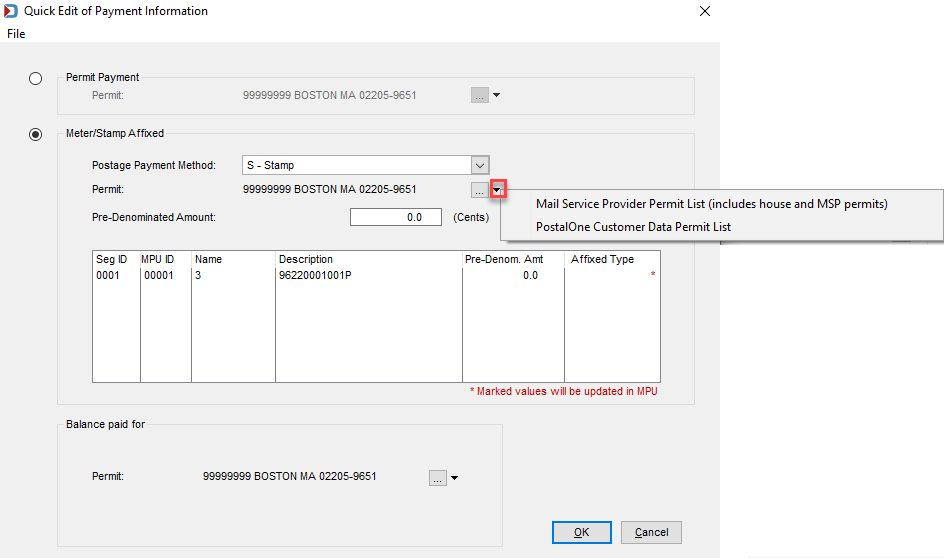
If you click Browse and the PostalOne Customer Data table is enabled, it will bring you to a list of your Mail Owners and your permits. If you click the drop-down arrow, you can select the permit from a list of permits you created (Mail Service Provider Permit (includes house and MSP permits) in the Permit List or select PostalOne Customer Data Permit List.

-
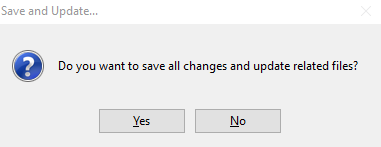
The Save and Update prompt will appear, click Yes.
-
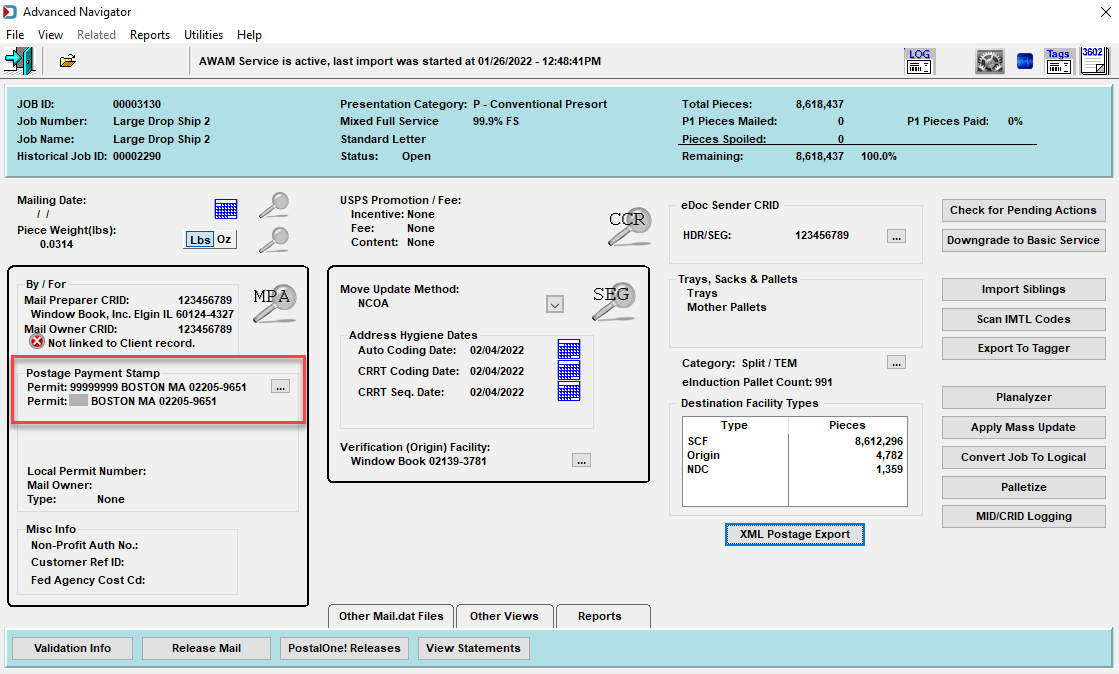
Now you will see two permits listed in the Postage Payment Stamp (formerly called Postage Payment Permit above) section. In this example, a Stamp was added.
Continue Advanced Navigator - Edit SEG