CSM - Add, Change, or Delete Sibling Containers
If you only need to add siblings to a few trays and setting a maximum number of pieces per container does not work for you, this will show how to create or change a sibling. Also, if you make an error and want to delete one or two siblings, this page will cover all three scenarios.

Manually Add a Sibling
After you open the job, click the Other Mail.dat Files tab, in the Advanced Navigator screen, and then click on CSM.

-
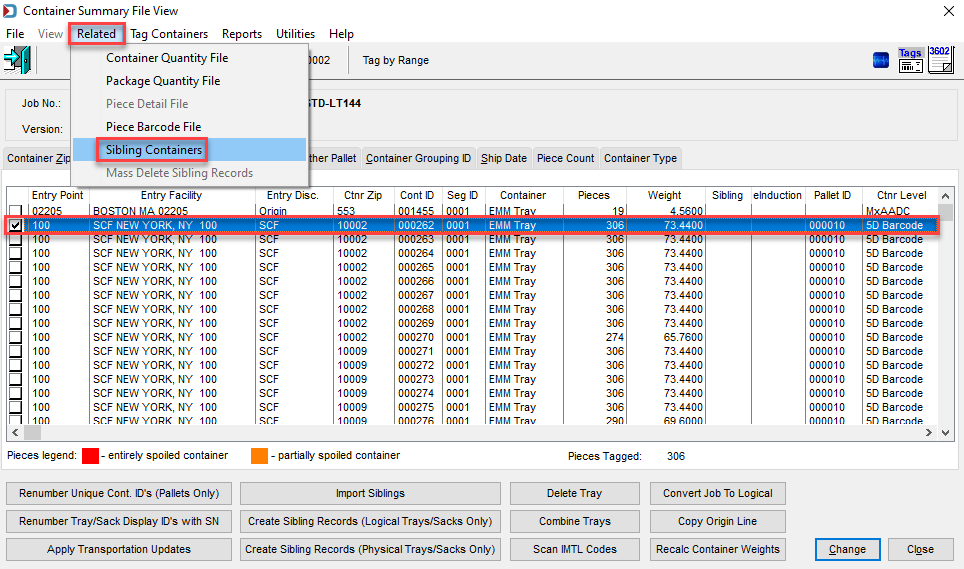
The Container Summary File View window opens. Tag the tray/sack to add a sibling.
-
Then in the Related menu, click Sibling Containers.
-
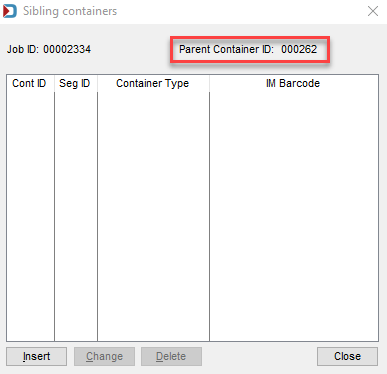
When the Sibling containers window appears, confirm it is the correct tray, click Insert.
-
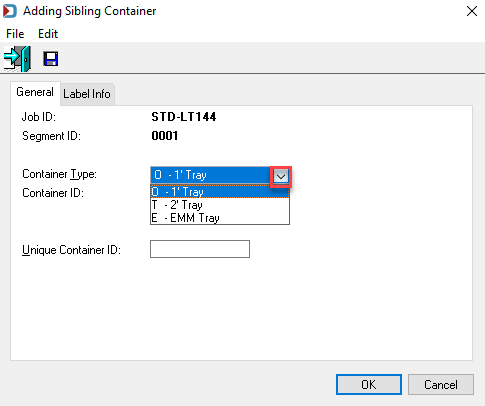
When the Add Sibling Container window appears, using the drop-down list, select the Container Type and enter a Unique Container ID (User Container ID) if applicable. Click OK.
-
Finally, if you need more than one sibling, click Insert and repeat the step above.
Change a Sibling
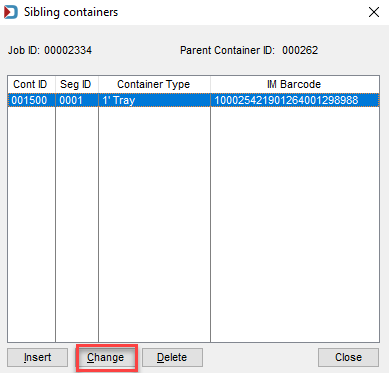
If you are already in the Sibling containers window, you need to change the Container Type, for example. Then, highlight the sibling, click Change and update the sibling.
-
If you discover a change later, then mark the tray with the sibling in the Container Summary File View.
-
Then in the Related menu, click Sibling Containers.
-
When the Sibling containers window appears, highlight the sibling, click Change.
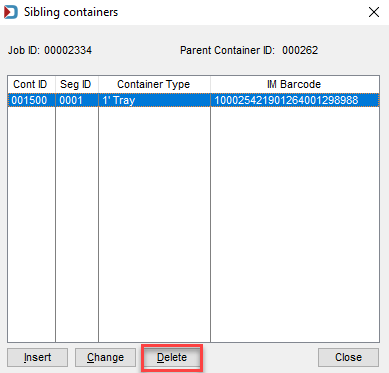
Delete Sibling
If you are already in the Sibling containers window, highlight the sibling, click Delete.
-
If you come back later to delete a sibling, mark the tray with the sibling in the Container Summary File View.
-
Then in the Related menu, click Sibling Containers.
-
When the Sibling containers window appears, highlight the sibling, click Delete.
Return to Advanced Navigator - Reports in Floating tab
See also