Advanced Navigator - Release Mail - Menus
Open the job in Advanced Navigator and select View > Release Mail. The Release Mail screen will open.
We are not covering this in the guide if you are using Generate Statements instead of Only Create Release Files. Due to the disk space Generate Statements takes up, we recommend using Only Create Release Files. Basic concepts are the same for both, but some options and windows appear different. For example, if you want to view a statement, you can generate a Quick Statement using the Only Create Release Files option.
If you close this window, it brings you back to the main DAT-MAIL screen. To return to see your job in Advanced Navigator, select View > Advanced Navigator View.
An explanation of the menus is shown below the print screen:
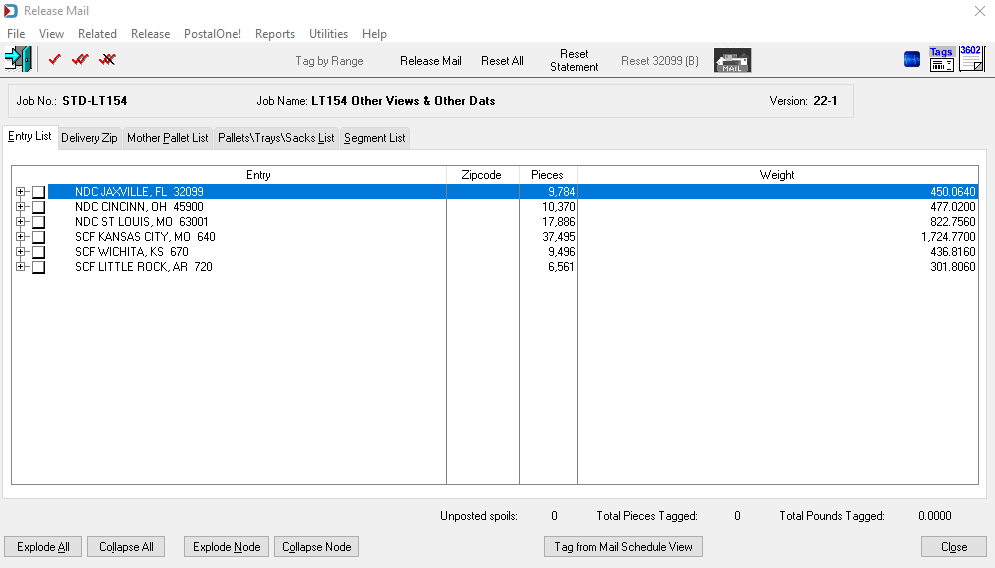
Menus
File menu: This can be used to open another Mail.dat, export the Mail.dat you have open, access the split utility to split your job, or exit this view.
View menu: This is the same as the Advanced Navigator View menu, where you can access all the other available views for this job.
Related menu: This menu is not applicable for this view.
Release menu: This menu has the tags to select mail. The options are Tag Entry, Tag All Containers, or Untag All Containers. Tag by Range is disabled in this menu. And this is also where you can an entry point or points, then select Release to create a PostalOne! submission.
Reports menu: Allows access to the reports available in the Advanced Navigator without exiting this view.
Utilities menu: This allows you access to the Utilities menu in the Advanced Navigator without exiting this view.
Help menu: Window Book has the Help menu in just about every view, so you can create a support ticket without exiting the view. Like our other help menu, it includes checking for a new release of DAT-MAIL and accessing the User Guide.
Continue Release Mail - Icon Bar