Reports > Batch Report Printing
Batch reports can be generated in the Advanced Navigator, but we choose to cover it here because you may want to set up multiple batch profiles and utilize these in AWAM. Also, you can set up profiles in AWAM. Batch reporting lets you generate several reports simultaneously, including tags and flags. Here we will cover how to create a batch report profile and show how multiple batch profiles can be created, so you can save reports to either PDF or send them directly to a printer.
-
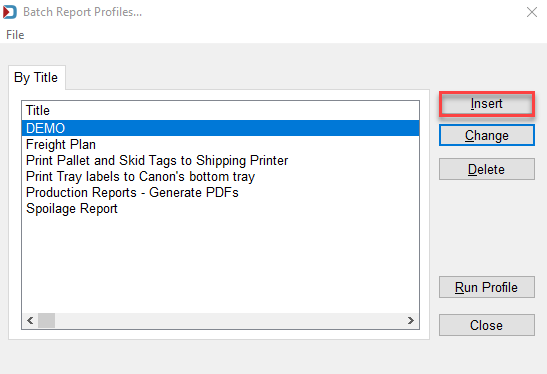
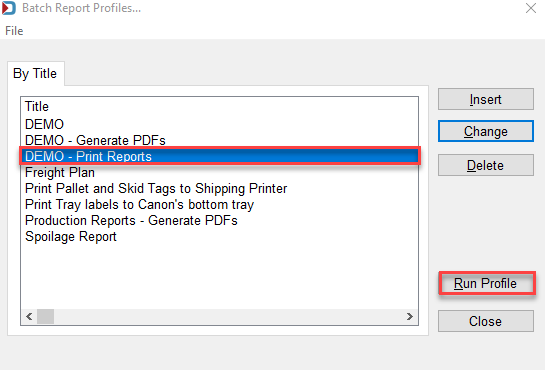
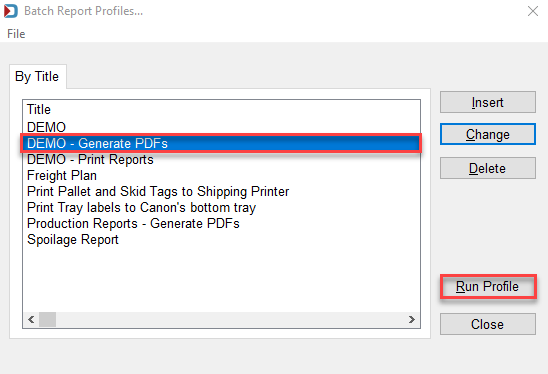
Select Batch Report Printing from the Reports menu to open the Batch Report Profiles window. These can be changed, deleted, or run if you have existing profiles. To look at a profile, highlight the profile and click Change. In this example, click Insert to add a new profile.
-
Choose whether to Print or generate PDFs:
Send Reports to a Printer
-
The Batch Report Selection window will appear, enter a
 Profile Name and select the
  Profile Sort Order.
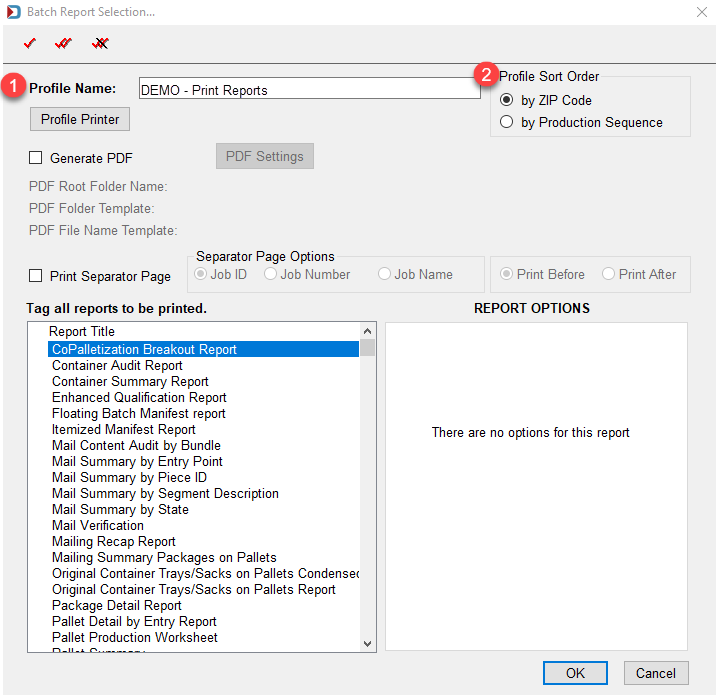
-
If you would like to print the reports, click
Profile Printer and when the Select Printer window appears, highlight the  printer and click
  Select.
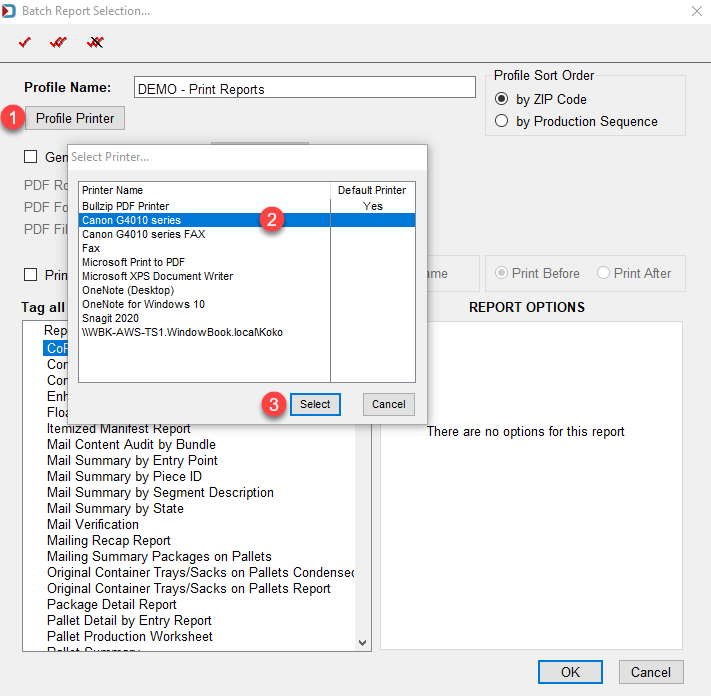
-
Select the
Print Separator Page checkbox if you would like a page separator. Then in the Separator Page Options section, choose when to print the separator page - options and .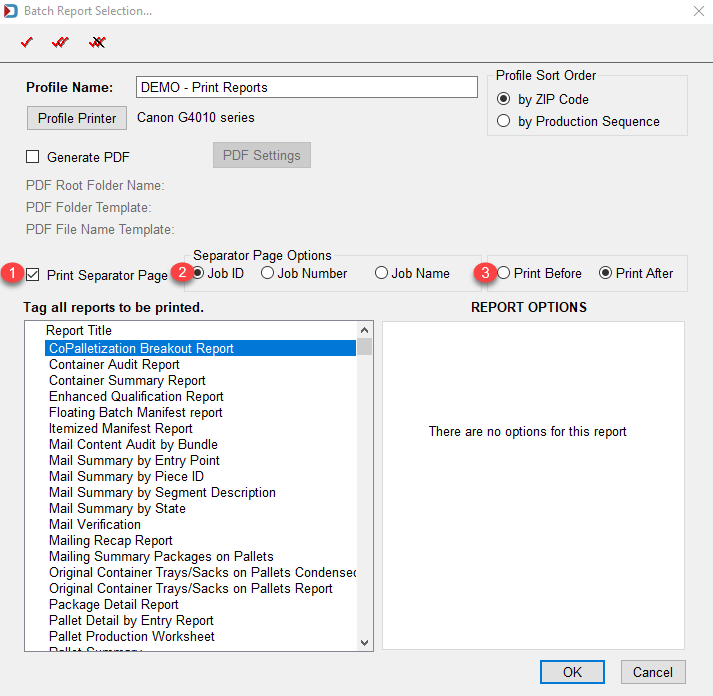
-
In the
Tag all reports to be printed section, select the report by double-clicking and the REPORT OPTIONS to generate the report. Continue selecting reports and click OK when finished.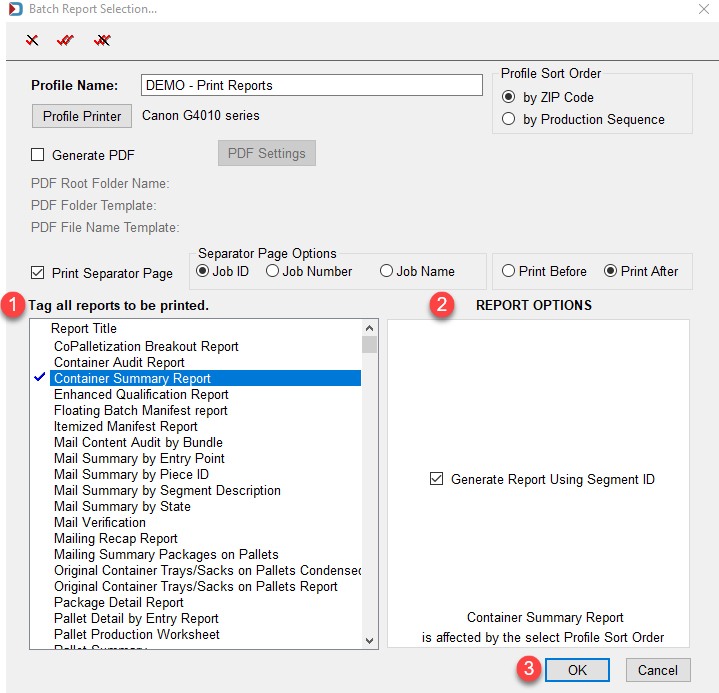
You can set a different printer for Tray, Sacks & Pallet Printing from the printer selected above. We will detail the default printer and format for tags and placards in the Utilities menu.
Tray, Sack & Pallet Printing Section of Batch Report Selection 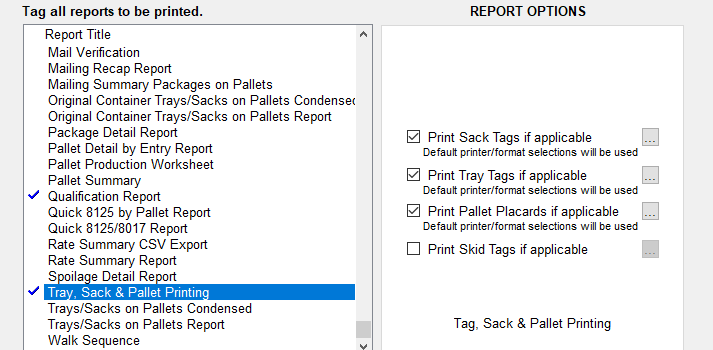
-
After creating a profile, highlight the profile and click Run Profile.
Generate PDFs
-
The Batch Report Selection window will appear, enter a
Profile Name and select the Profile Sort Order.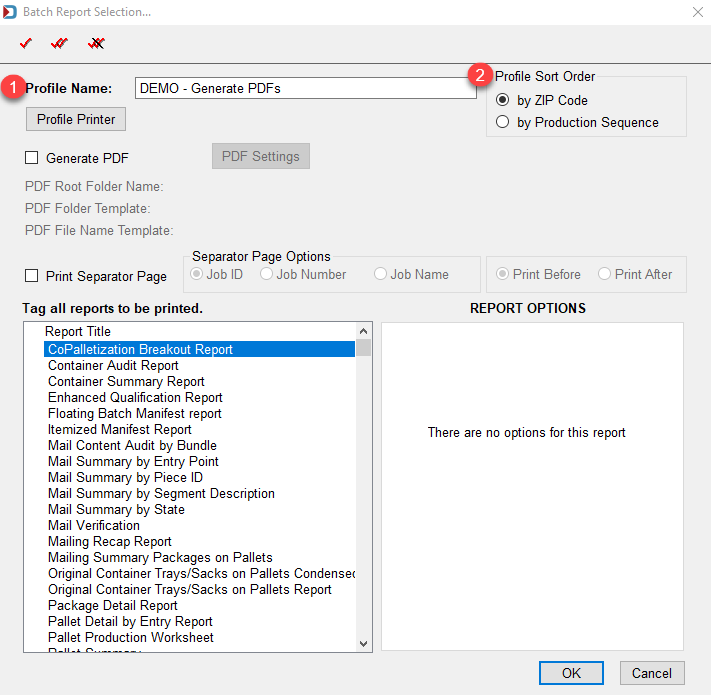
-
Select the
Generate PDF checkbox and click PDF Settings.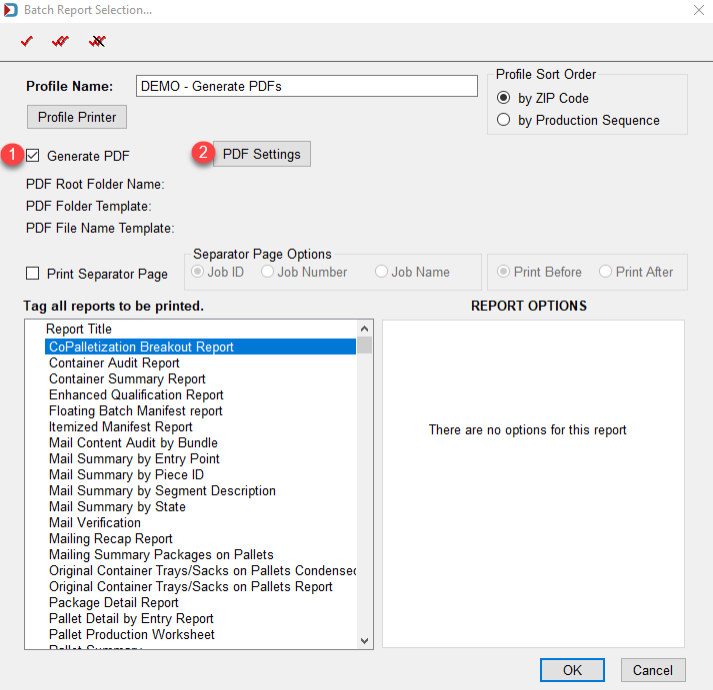
-
When the Export File Defaults window appears, you will need to
select a root folder to save the files and if you want to create subfolders, first select a field to use in the subfolder name. If you want more than one field for the subfolder name, select the delimiter to use and then select the additional field. If you do the above step out of sequence, when you return to the Batch Report Selection window, you will see a \ backslash between the two fields in the PDF Folder Template, creating create a subfolder in the subfolder
 .
.And finally, select the
 filename delimiter and
  filename fields for the PDFs generated. When ready,
  click OK to save.
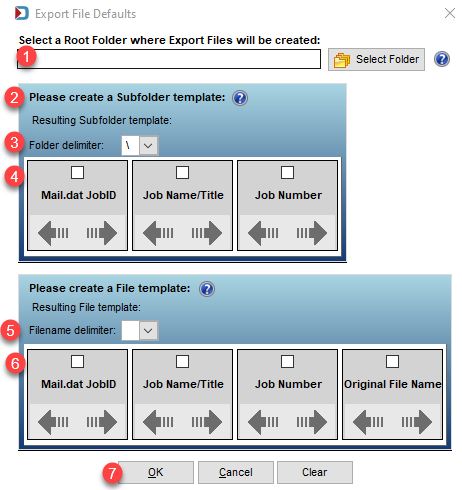
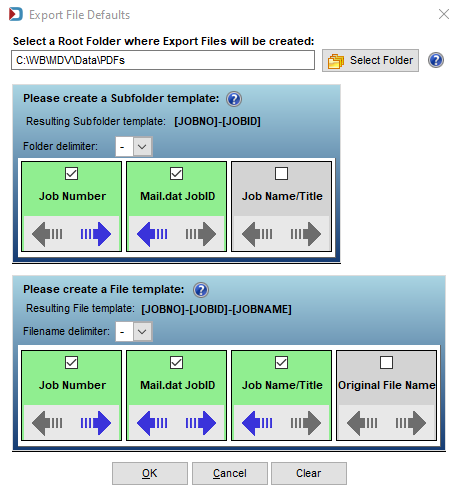
An example of a completed template:
-
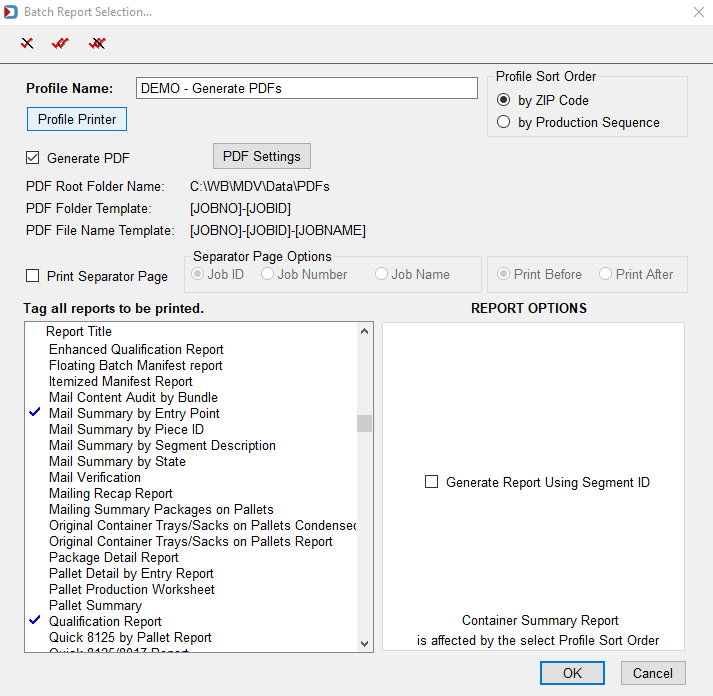
You will be returned to the Batch Report Selection window. In the
Tag all reports to be printed section, select the report by double-clicking and the REPORT OPTIONS to generate the report. Continue selecting reports and click OK when finished.Example of a completed profile:
You are setting a printer for Tray, Sacks & Pallet Printing; it is separate from all the other reports where a PDF is generated. You can set up a print profile for Sacks, Trays, Pallets, or Skid Tags using Microsoft Print to PDF, and it will save the PDFs in the jobs PDF folder. Or send them directly to a printer. Below is a print screen of the tags being set to use "Microsoft Print to PDF." You will need to select this for each tag type you want to save in PDF format. We will detail the default printer and format for tags and placards in the Utilities menu.

-
After creating a profile to generate the reports, highlight the profile and click Run Profile.
Return to Reports Menu