Reports > Custom Report Queries
Want to create your reports from fields in Mail.dat? This feature allows you to select the Mail.dat file where the data will come from and use a Query Wizard to set up your report.
-
Select Reports > Custom Report Queries from the DAT-MAI L main menu.
-
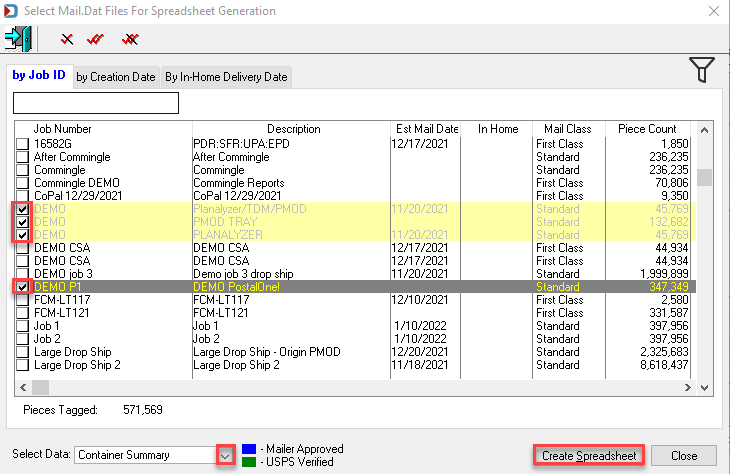
The Select Mail.dat Files For Spreadsheet Generation window will open to select all the jobs included in the report. Once the jobs are selected, select the data you wish to see and click Create Spreadsheet.
-
You will see a Processing window appear. Please wait for it to move to the following prompt.

-
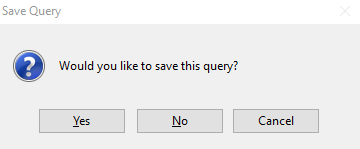
The Query Wizard prompt will appear; click Yes.

-
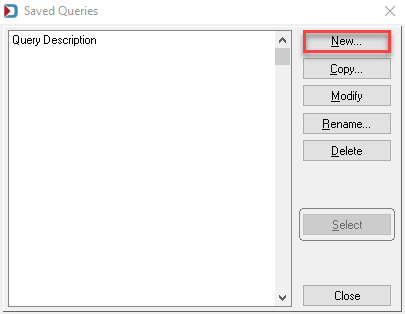
The Saved Queries screen will display. Click New to create a query using the Query Wizard.
-
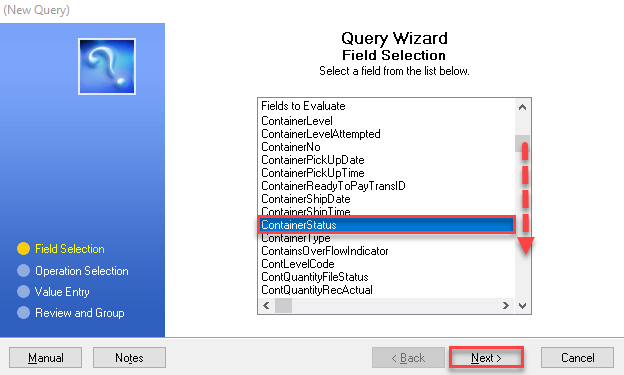
The first screen is the field you want to use to determine whether data is populated in the spreadsheet. In this example, we will select Container Status. First, use the scroll bar to see fields and then after you highlight the field, click Next.
-
In the next wizard window, select the query operation. In this example, we want to see any container record with a blank Container Status. Click Next.

-
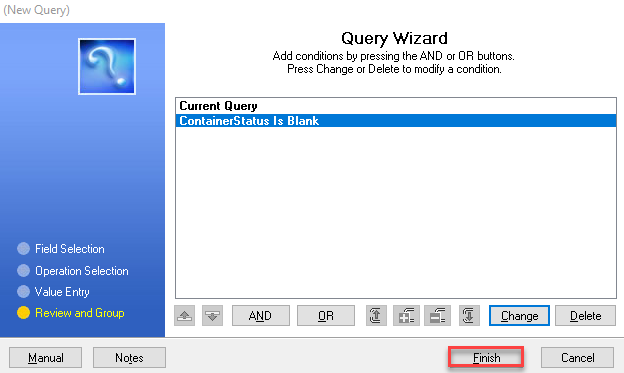
The next screen will show what is currently selected, and you can make a more elaborate expression and include other fields, click Change to add to the condition. Otherwise, click Finish.
-
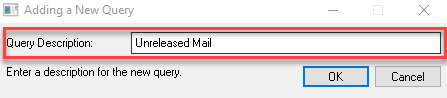
If you would like to save the query, click Yes. If you select Yes, enter Query Description in the Adding a New Query window and click OK.
-
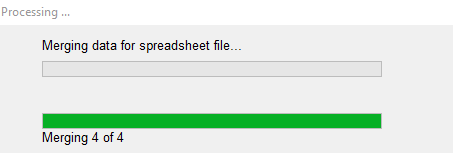
You will see the Processing status window appear.
-
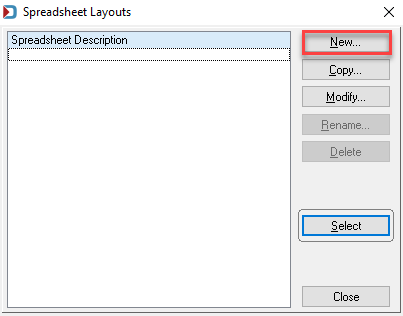
Then the Spreadsheet Layouts window will appear; click New to set the fields to include in the spreadsheet and their order.
-
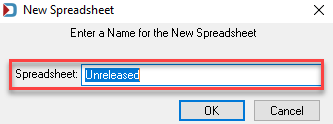
Enter a name for the spreadsheet format and then click OK.
-
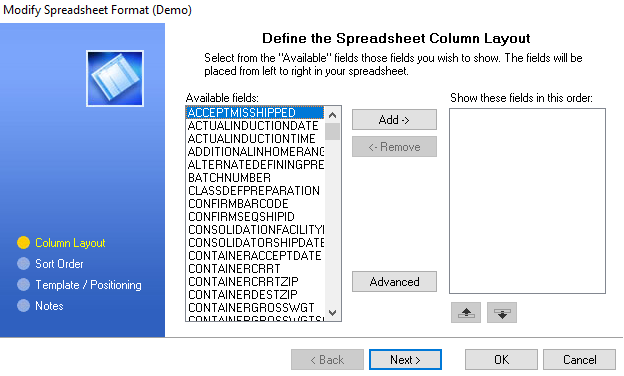
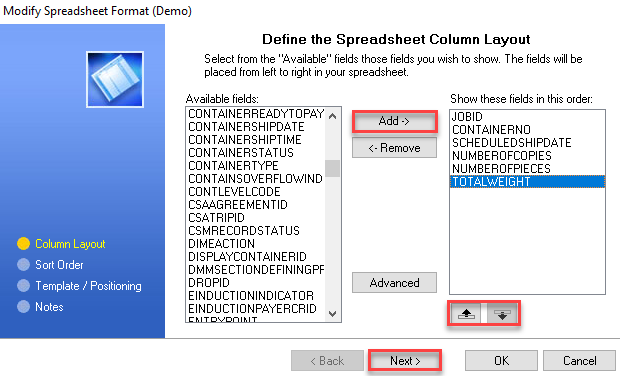
The Modify Spreadsheet Format (Name) will open, highlight each field and click Add to include them on the spreadsheet. Then, click Next to set the sort order.
If you add fields and change the order, highlight the field on the Show these fields in this order box and use the Up and Down arrows to move the field.
Before selection
After selection
-
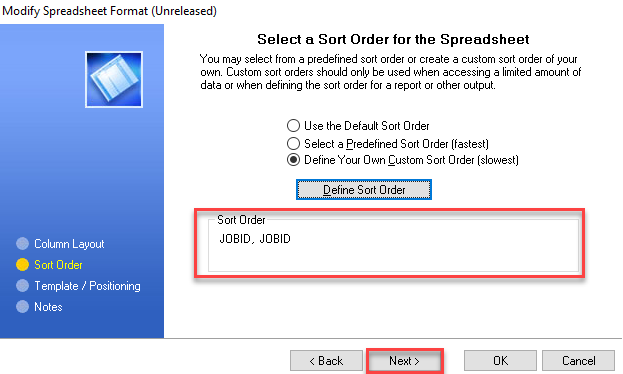
There is no predefined sort order in this example, so the option to Define Your Own Custom Sort Order (slowest) is selected. After selecting this option, click the Define Sort Order to select the order in the data to appear.

-
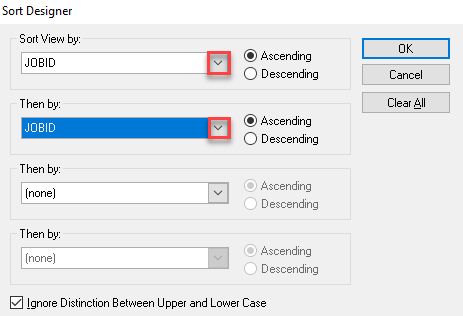
The Sort Designer screen will open. and you can use the drop-down lists to select one or more fields to sort by. When ready, click OK.
-
Confirm the order is correct and click Next.
-
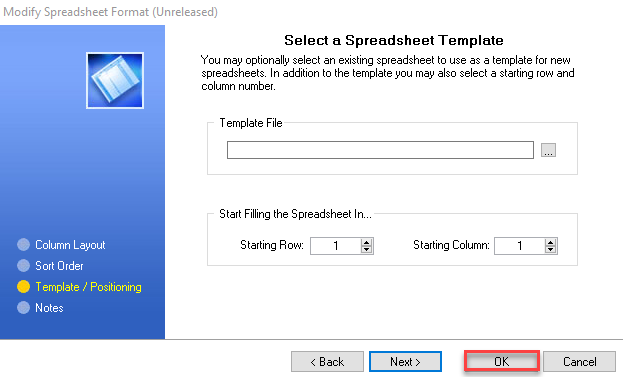
Click OK when the Select a Spreadsheet Template appears. We are showing you this window, so you know that you can select from the list once templates are created. Also, define in what row and column the data begins.
-
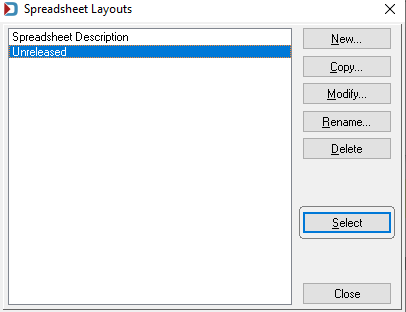
Next, highlight the spreadsheet layout and click Select.
-
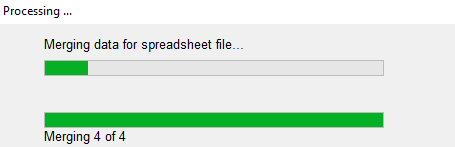
A Processing window will appear. When it closes, you will select the type of file.
-
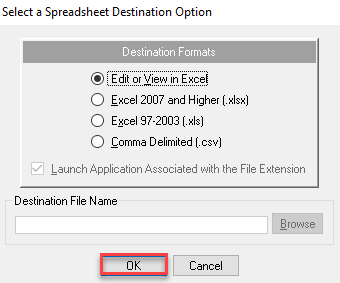
The Select a Spreadsheet Destination Option window will appear.
-
Leave the default of Select to Edit or View in Excel; if you are unsure, you will save the file. Then, click OK to view the spreadsheet.
-
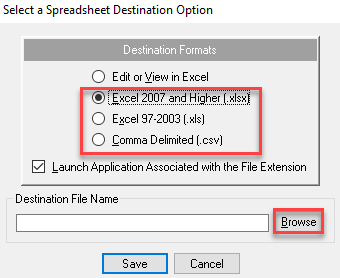
If you plan to name the file as either Excel 2007 and Higher (.xlsx), Excel 97-2003 (.xls), or Comma Delimited (.csv). Click Browse to select a path and enter a file name.
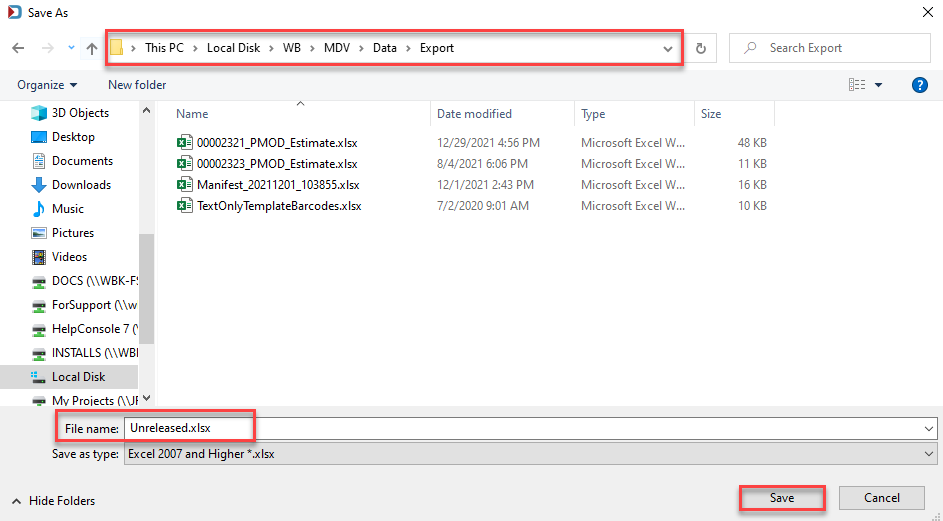
Point to the folder where to save and enter a File name. Then, click Save to generate the spreadsheet.
-
-
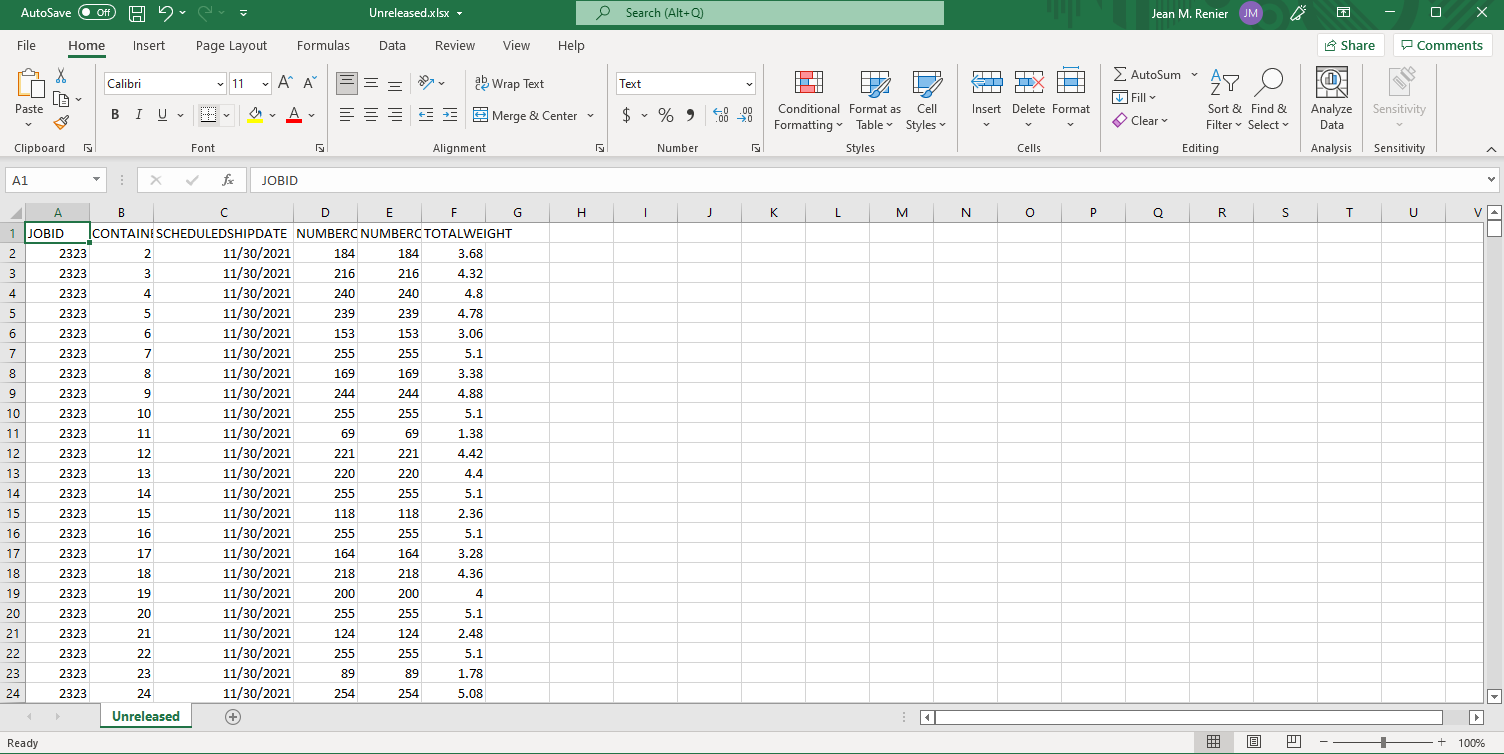
The spreadsheet will appear.
Return to Reports Menu