Submit Release on the Days of Mailing
When you do not know when mail will go out the door, you can select only the portion that needs to be paid on the day of mailing. DAT-MAIL will automatically generate a release file that will produce the Qualification Report for the entire job and a statement for the entry points or pallets selected.
-
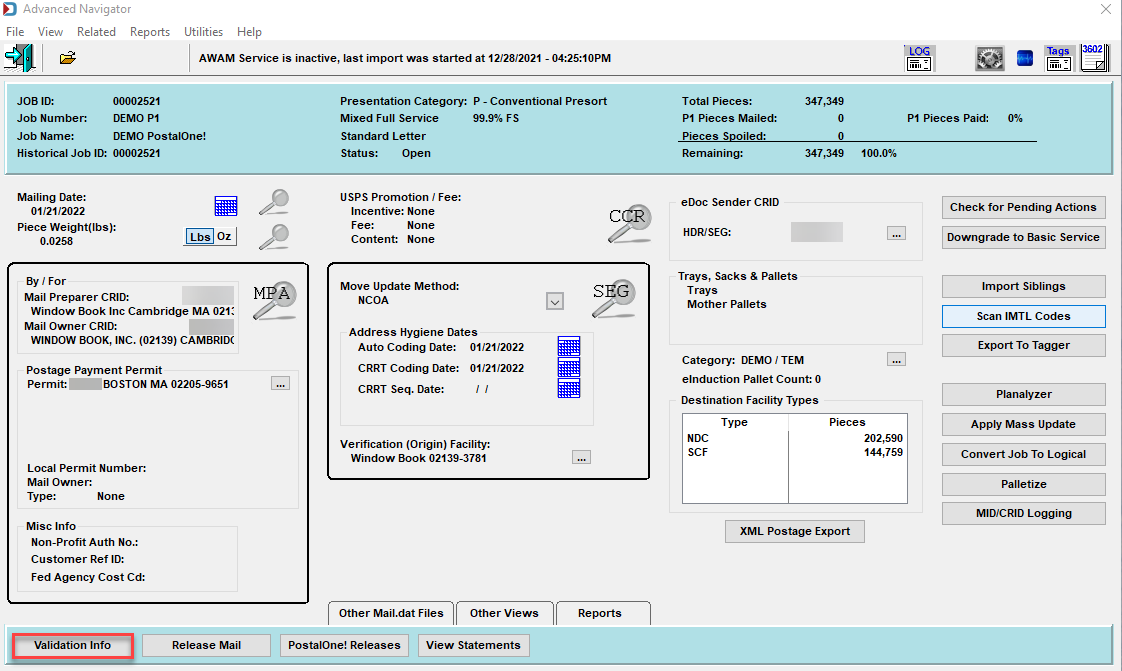
Open your job in the Advanced Navigator View and click Validation Info in the horizontal pane. This option is to double-check if there were any PostalOne! errors during Import.
-
The Browse MDErrorLog File window will display any errors. When ready, click Close.
If you see any messages related to a field needing to be right-justified, DAT-MAIL fixes this when exporting the release file.

-
If there are no errors, close the log and then click
 Release Mail.
 -
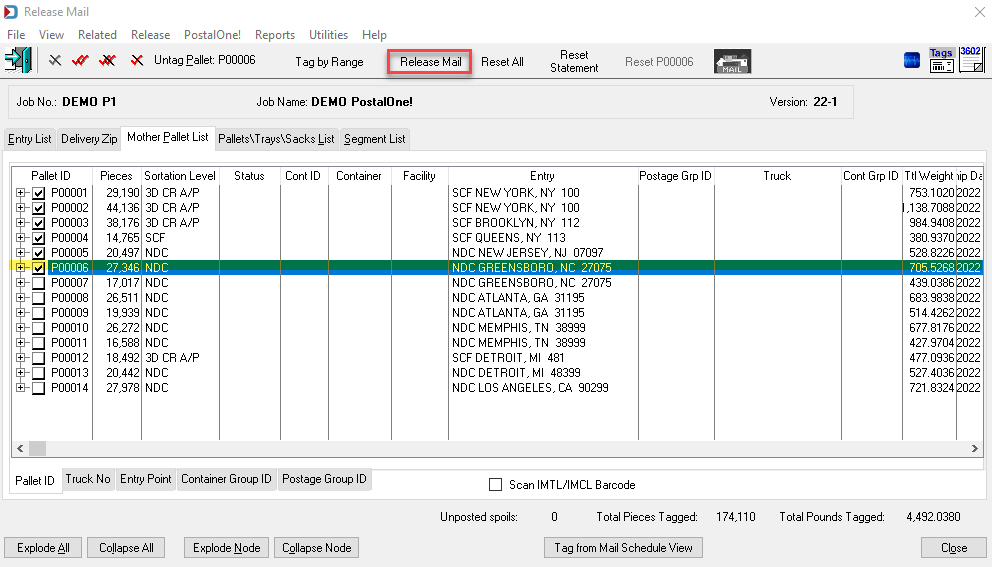
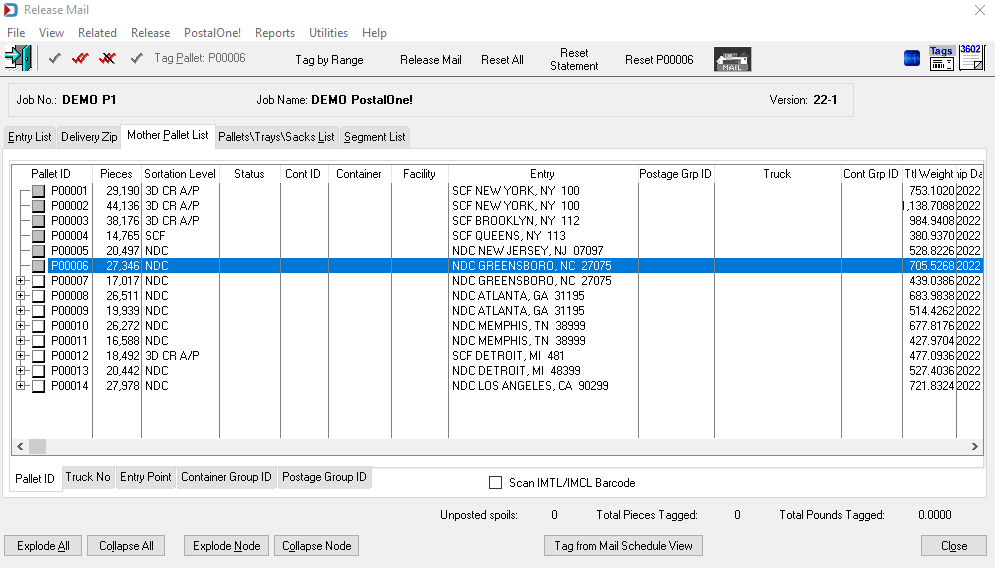
In the Release Mail window, select the entry points or pallets that are mailing. Use the Mother Pallet List tab if you have an entry point with more than one pallet, and you only want to send out a portion of the pallets. For example, notice that only one NDC Greensboro, NC pallet has been selected. Once the mail is selected, click Release Mail.
-
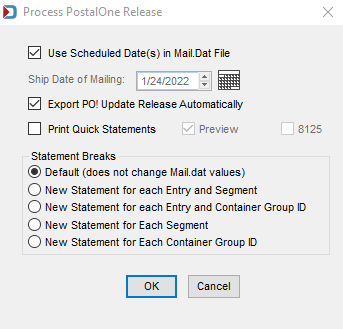
The Process PostalOne Release window opens, and depending on DAT-MAIL's Program Setup, you may or may not have the Export PO! Update Release Automatically checkbox selected. We are going to assume here that it is selected. If the mailing date already set in the job is correct, leave the Use Scheduled Date(s) in the Mail.dat File checkbox selected. If not, deselect the checkbox and set the Ship Date of Mailing.

-
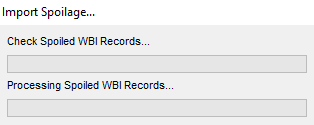
If you have the Spoilage module, you will see the Import Spoilage window pop up, and then you will see the Statement Generation Complete dialog appear to tell you how to access the quick statement. When ready, click OK.
If you do not want to see the Statement Generation Complete dialog, select the Do not show this message again checkbox.
-
Notice the entry points or pallets you selected for this release have checkboxes filled in gray.
-
If you are using PostalWeb Desktop Dashboard (PWDD), you have two ways to check the upload status to PostalOne!. However, either option may take time for a status update since PWDD and DAT-MAIL are waiting for PostalOne! to confirm the status. Otherwise, you will need to log on to the MDR Client or access the PostalOne! Dashboard to find the job.
-
You can launch
 PWDD and view the Submissions page or click
  PostalOne! Releases to see the upload status of the job.
 -
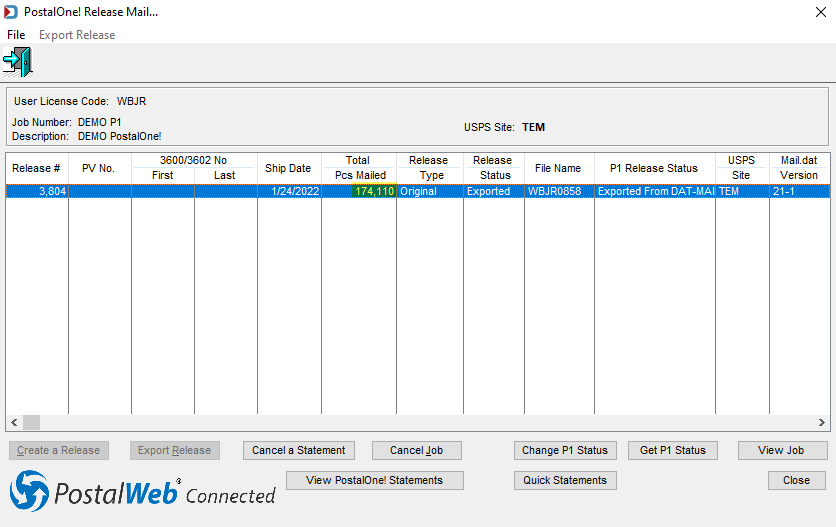
If you select
PostalOne! Releases, you will see the P1 Release Status column eventually change to "Statement Generated." If you do not initially see "Exported From DAT-MAIL," you need to click the Export Release button before it exports.Another way to access the PostalOne! Release Mail window is to go to the Release Mail's menu and select PostalOne!. It will leave the Release Mail window open and open the PostalOne! Release Mail window on top of it. When done, you can close both windows.
-
-
The process is complete, and when ready, close any open PostalOne! view and open another job to process. When you are ready to mail more of this job, repeat the steps above.
See also