Known Undocumented Log (KUL) - Create Log Entry Manually
You can create log entries manually or upload an Excel spreadsheet or CSV. On this page, we will cover how to enter a KUL manually.
-
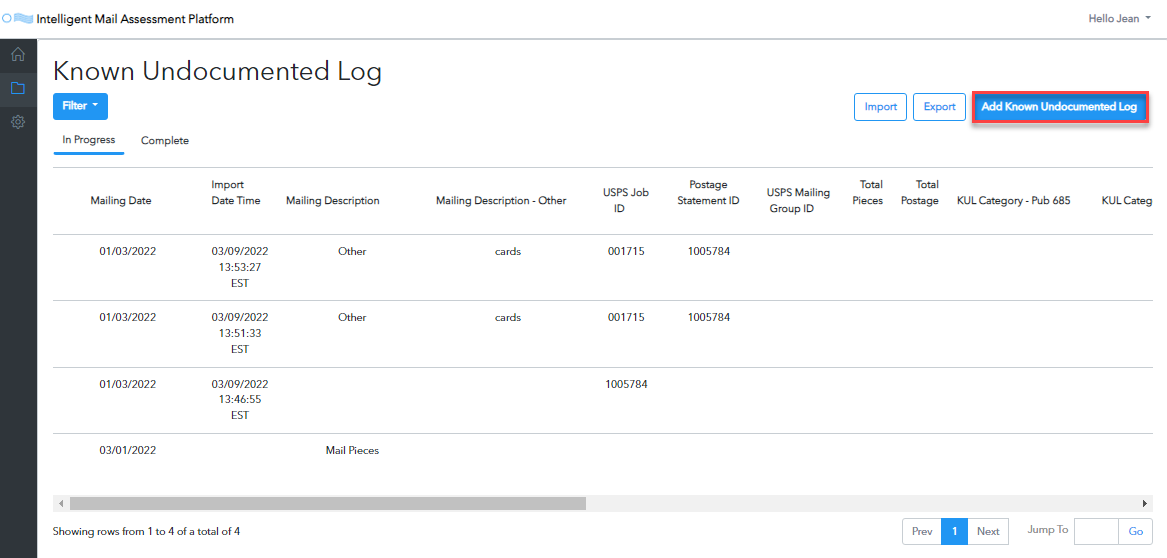
Go to the Navigation Panel and select Known Undocumented Log.

-
Click Add Know Undocumented Log when the Known Undocumented Log page displays.
-
Populate as much information as possible to identify the mailing on the Add Known Undocumented Log Entry form.
Below the print screen are instructions:
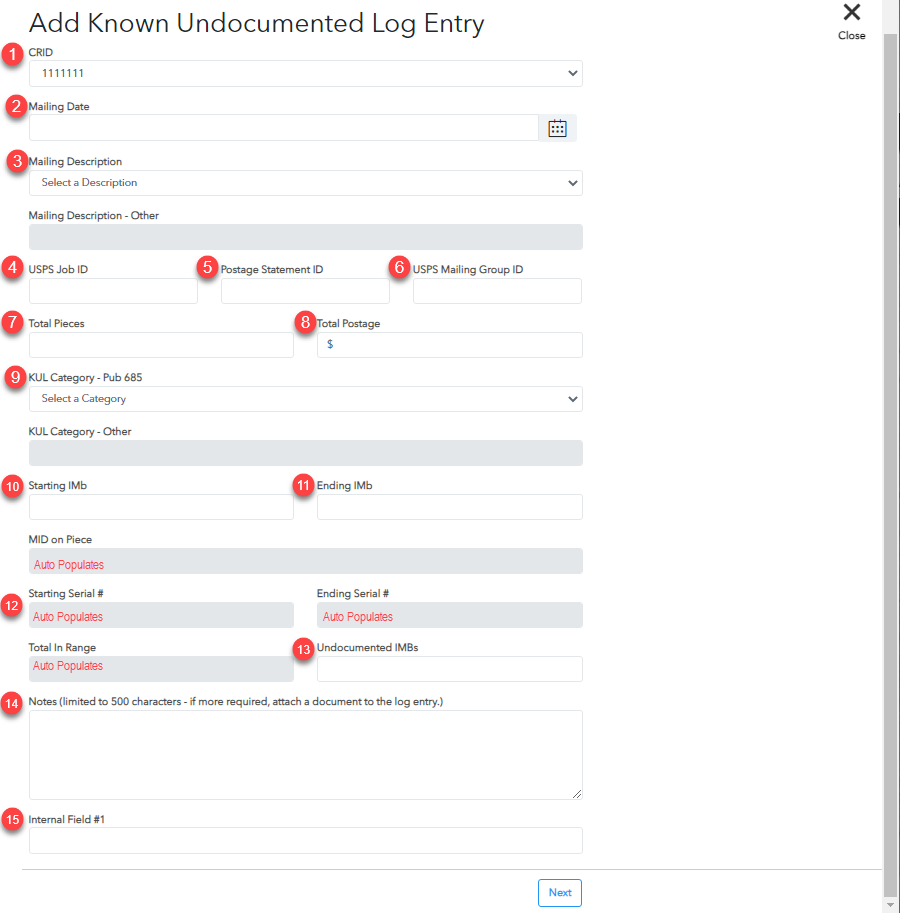
Description of Log Entry Fields
Fields are conditionally required. Suppose you update the Entry and click Done. In this case, only CRID and Mailing Date fields are required. When you finish the Entry and select Mark as Complete then all the fields with (required)must be populated.
-
 CRID (required): This is your Customer Registration ID (CRID) used for this mailing. If you have multiple locations, ensure that the CRID that appears is correct. If not, select from the drop-down list.
 -
If you do not see a location (CRID), the PostalWeb Location Manager needs to provide you access.
-
 Mailing Date (required): The Mailing Date field is your postage payment date.
 A series of IMbs listed must not cross mailing dates.
-
 Mailing Description (required) and Mail Description - Other: Select the Mailing Description from the drop-down list. The options available are Mail Pieces, Flats, Pallets, Sacks, and Other. If you select other, populate a mailing description in the Mailing Description - Other field.
 -
 USPS Job ID: The Job ID is the first identifier of a job. For Postal Wizard, the USPS will allow up to a 25 position alphanumeric Job ID. If it is an eDoc job, it will be eight positions alphanumeric Job ID. For any postage statements or reports, at this time, please limit your Job ID to eight or you will not be able to populate the entire field in the Intelligent Mail Assessment Platform. However, you could enter the Job ID in the Notes or Internal Field #1.
 A ticket to increase the size of the field has been created. The above description will be revised, when a change is made.
-
 Postage Statement ID: This is the system-generated ID on the USPS Postage Statement and Confirmation page.
 -
 USPS Mailing Group ID: This is the system-generated ID on the USPS Postage Statement and Confirmation page.
 -
 Total Pieces: This would be the total pieces in the mailing, not the count for undocumented pieces.
 -
 Total Postage: This is the total postage for the mailing.
 -
 KUL Category - Pub 685 (required): Select one of the values a through k from the drop-down list. The updated Pub 685, January 2022, has removed l and m. If none of these apply, you can select Other and then populate the KUL Category - Other field with a description.
 -
 Starting IMb (required): This is the first undocumented piece IMb. However, if you cannot enter a range for your undocumented IMbs, you can enter the first IMb of the mailing. At a minimum, you will need to enter a 20-digit piece IMB. When possible, enter the 32-digit IMB.
 -
 Ending IMb (required): This is the last undocumented piece IMB. Again, like above, if you cannot enter a range for your undocumented, you can enter the ending IMb of the mailing.
 -
If you have multiple ranges of Undocumented Piece IMbs, consider inputting the log information into a spreadsheet or CSV file to save time. See Known Undocumented Log (KUL) - Import Log Entries.
-
 MID on Piece, Starting Serial #, Ending Serial #, and Total in Range: These fields are auto-populated after you enter the Ending IMb.
 -
 Undocumented IMBs (required): If you cannot put in a range for the undocumented, this field allows you to account for the number of undocumented within the range of barcodes. Also, it is available since the Total Pieces is for the entire mailing, and this provides a way to report on the actual number of Undocumented IMbs.
 -
 Notes: You have up to 500 characters to explain why there are undocumented, and you can also attach a list of undocumented pieces or other documentation that will help you.
 -
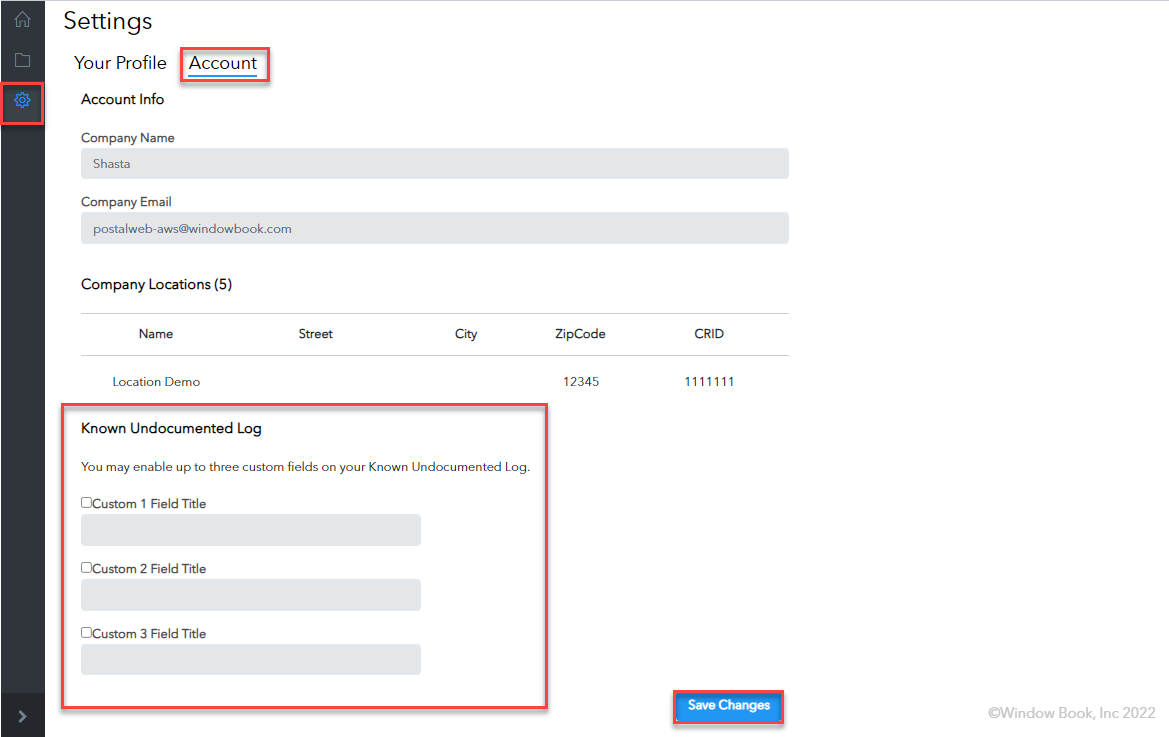
 Internal Field #1: You can create custom fields if you wish to run reports based on a field we do not provide. Go to
  Settings, click on the Account tab, and under the Known Undocumented Log section, you can add up to three custom fields. After you add fields, remember to click Save Changes.
 -
-
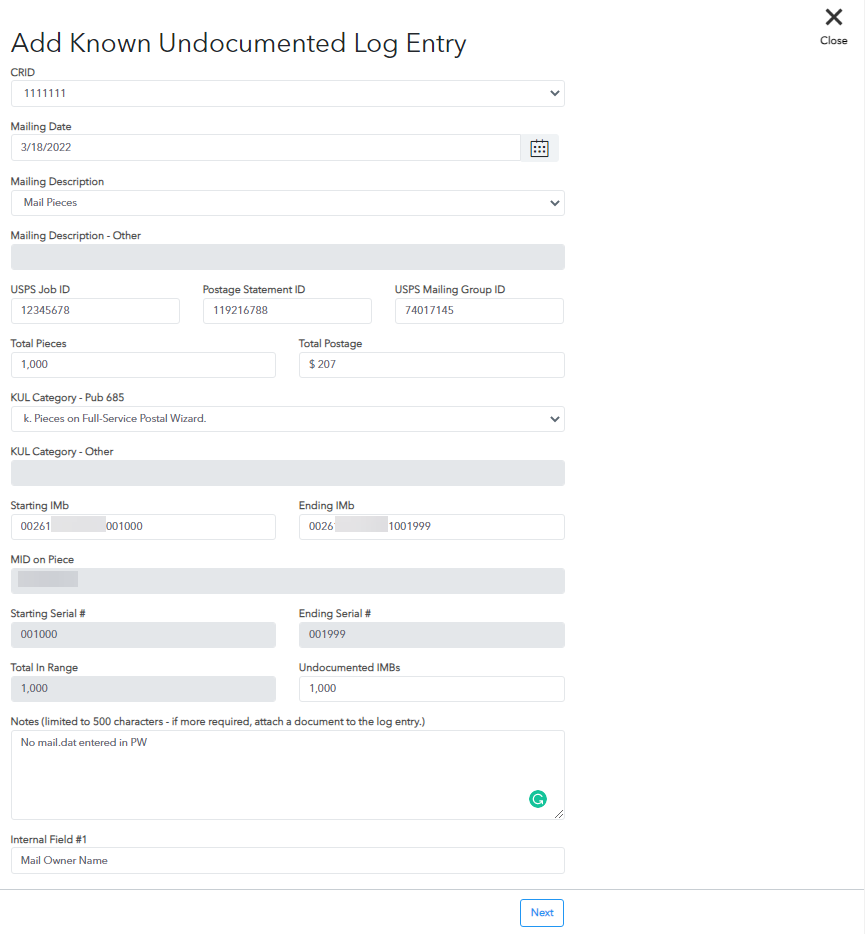
Example of a Completed KUL Entry:
-
-
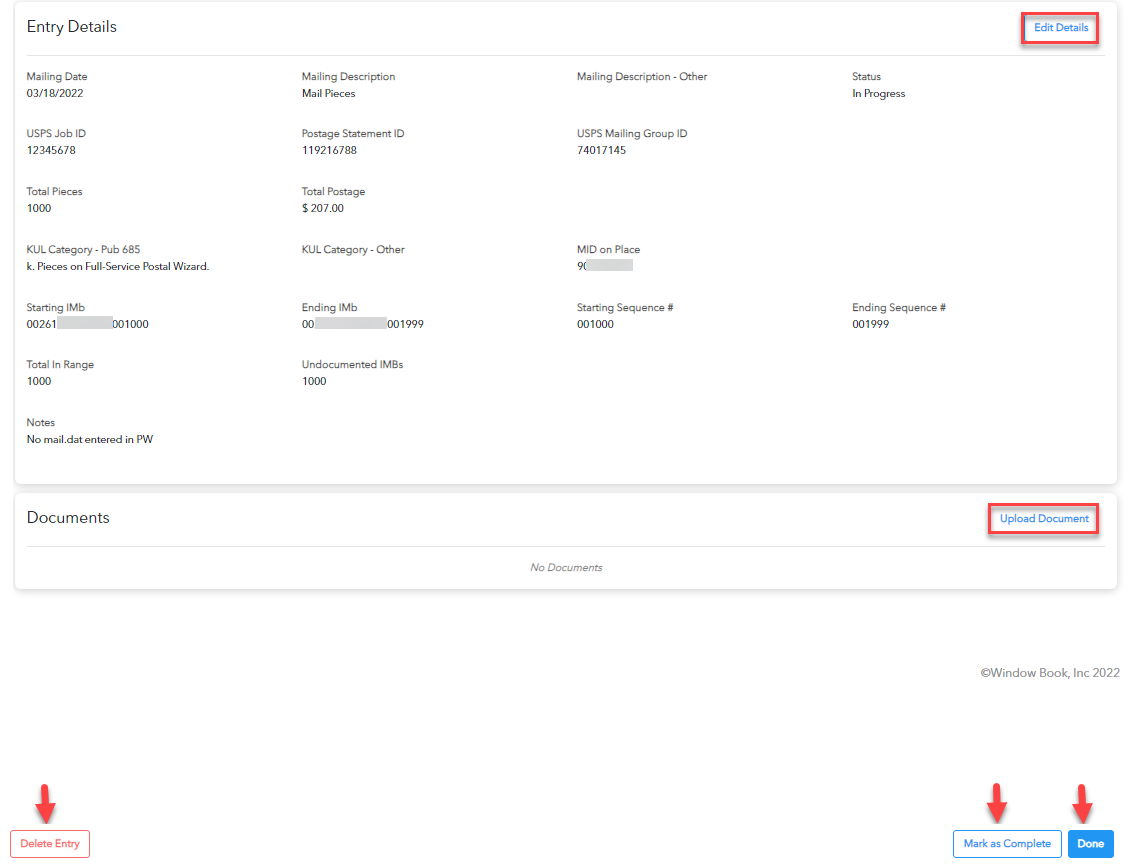
Click Next the Entry Details page will appear. Here you can revise the details or upload a document. Also, if you want to start over for whatever reason, you can click Delete Entry.
-
After reviewing or making changes to the Entry Details, click Done if you need to add additional information later or upload a document that you currently do not have. If you have all the information, you can click Mark as Complete.
-
When you click one of the three options, an appropriate dialog message will appear confirming what you have done.
Done
You will see your Wait icon (often a spinning circle). This icon means it is in the process of savings.
Mark as Complete
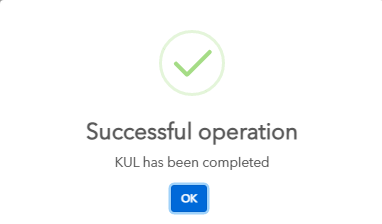
If you click Mark as Complete, you will see a confirmation that the KUL has been completed.
Delete Entry
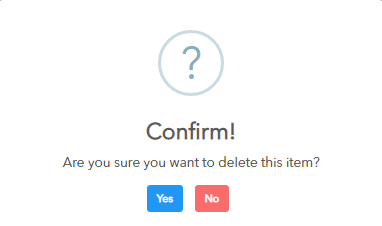
If you delete an Entry, you will need to click Yes to confirm.
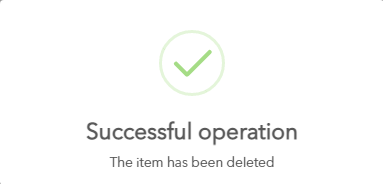
Then a dialog will appear showing it was successful.
-
If you select Done, you will see the log in the In Progress tab. If you click Mark as Complete, you will see it i the Complete tab. In this example, we clicked Mark as Complete.

-
You have finished your log. You can click Add Known Undocumented Log to enter another log or navigate elsewhere.
See also