Data Exchange - Automated Import Settings
Enterprise Shipper (ES) can periodically check a folder for a new file to import. When ES finds a new file, the file’s data creates new packages based on a selected template. Therefore, the import template to be used must be created first before using the Automated Import Settings (refer to Using the Import Wizard for instructions, making sure to save the template for selection in the Automated Import Settings).
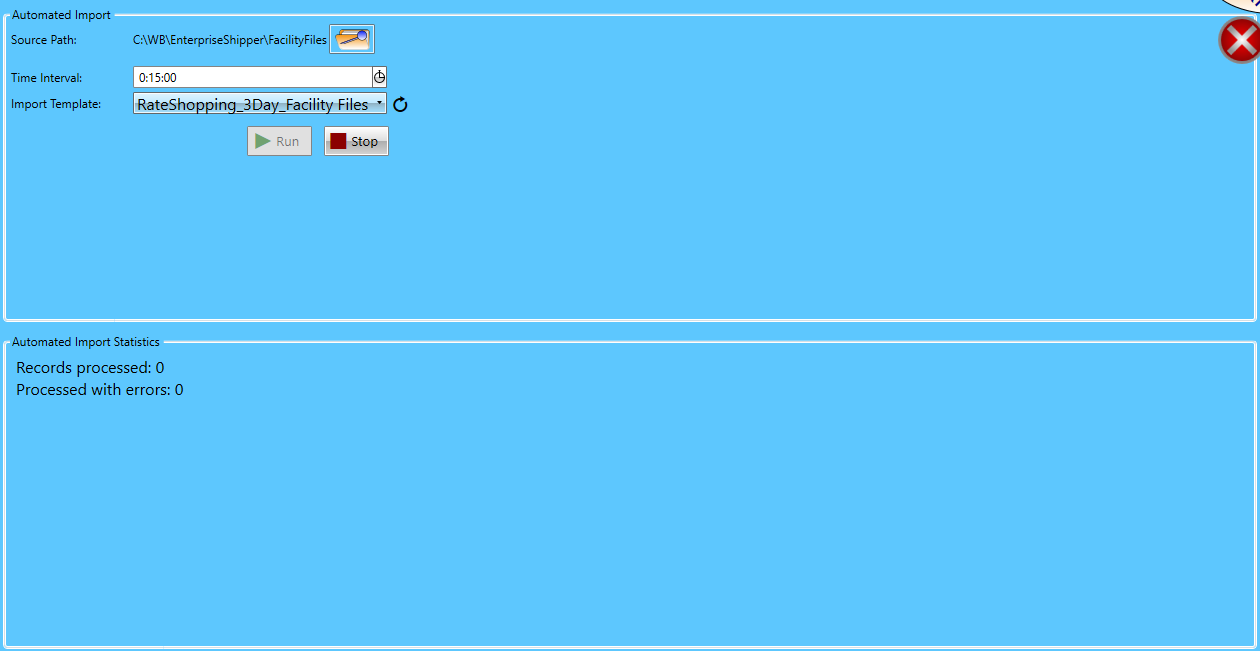
 Clicking Automated Import Settings, located in the Data Exchange screen, displays the Automated Import screen.
Below the print screen are the steps that need to occur to create and start the automated import:

![]() Source Path: Click
Source Path: Click  Browse to point to the folder where files will be placed to automatically import.
![]() Time Interval: Click
Time Interval: Click  Stop Watch to select number of minutes to run.
![]() Import Template: Using the drop-down, select the template to be applied to the data being imported. If the template does not immediately display in the list, use the field's
Import Template: Using the drop-down, select the template to be applied to the data being imported. If the template does not immediately display in the list, use the field's  Refresh.
![]() Run: When ready, click
Run: When ready, click  Run to have the system begin monitoring the selected folder. To stop monitoring the folder, click
  Stop. Monitoring can begin again at any time by clicking Run.
As data is imported, the screen will update and an Automated Import Statistics section will display, providing the number of Records Processed and records Processed with errors.

When the import completes, the data file will be deleted from the monitored folder.
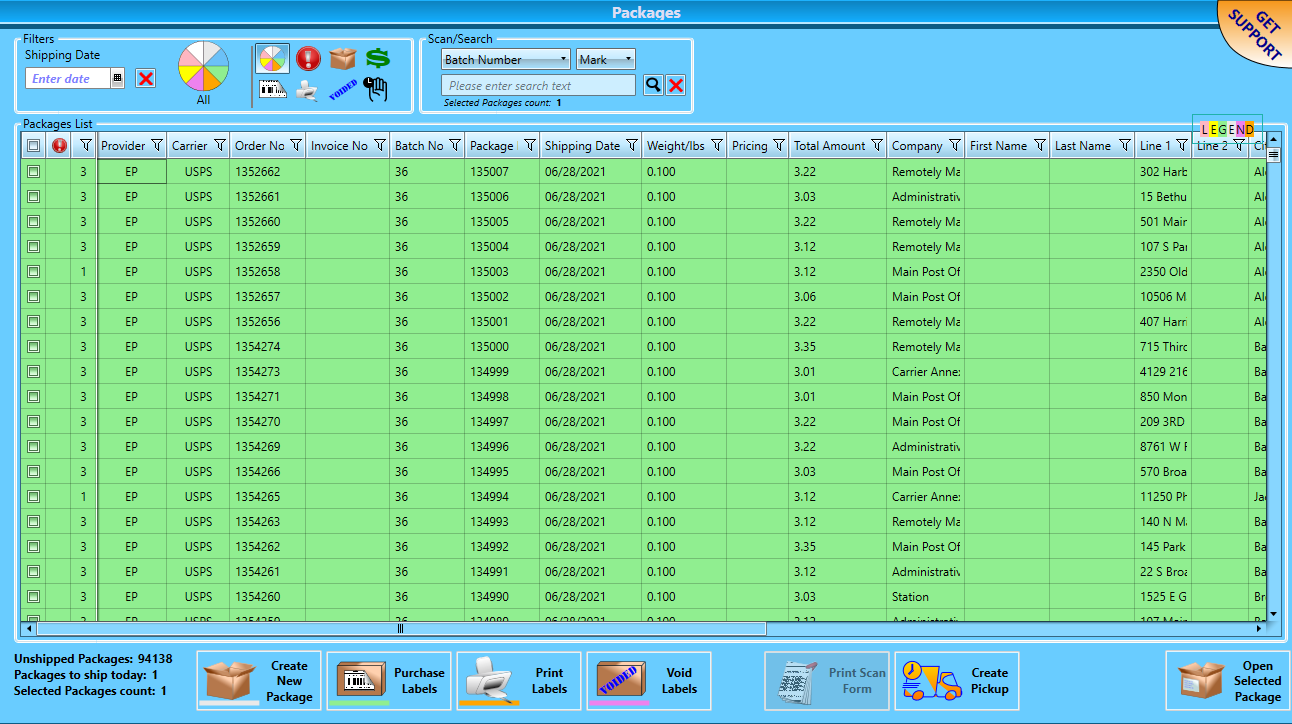
The imported package data can be viewed from the Packages screen.

Continue Data Exchange - Templates