Print Labels
Each carrier has different limitations on how many reference lines can be printed on the label. We recommend that you use the Test Mode to determine what each carrier allows. For example, Pitney Bowes supports only two custom fields on their label. Also, Pitney has no reference lines available for USPS letters.
Additional items to note about printing labels:
Printed labels for held packages will not contain a post mark date.
Post mark dates on labels are only required for PC Postage. Post mark dates on labels are not required for e-VS or ePostage.
There are multiple methods available in Enterprise Shipper (ES) for printing labels:
-
Printing Method 1 - from the Packages screen
-
Printing Method 2 - from inside the package detail screen, while called the Create Package screen, a user can view and edit existing packages.
-
Printing Method 3 - when importing data from an external file
Printing Method 1
-
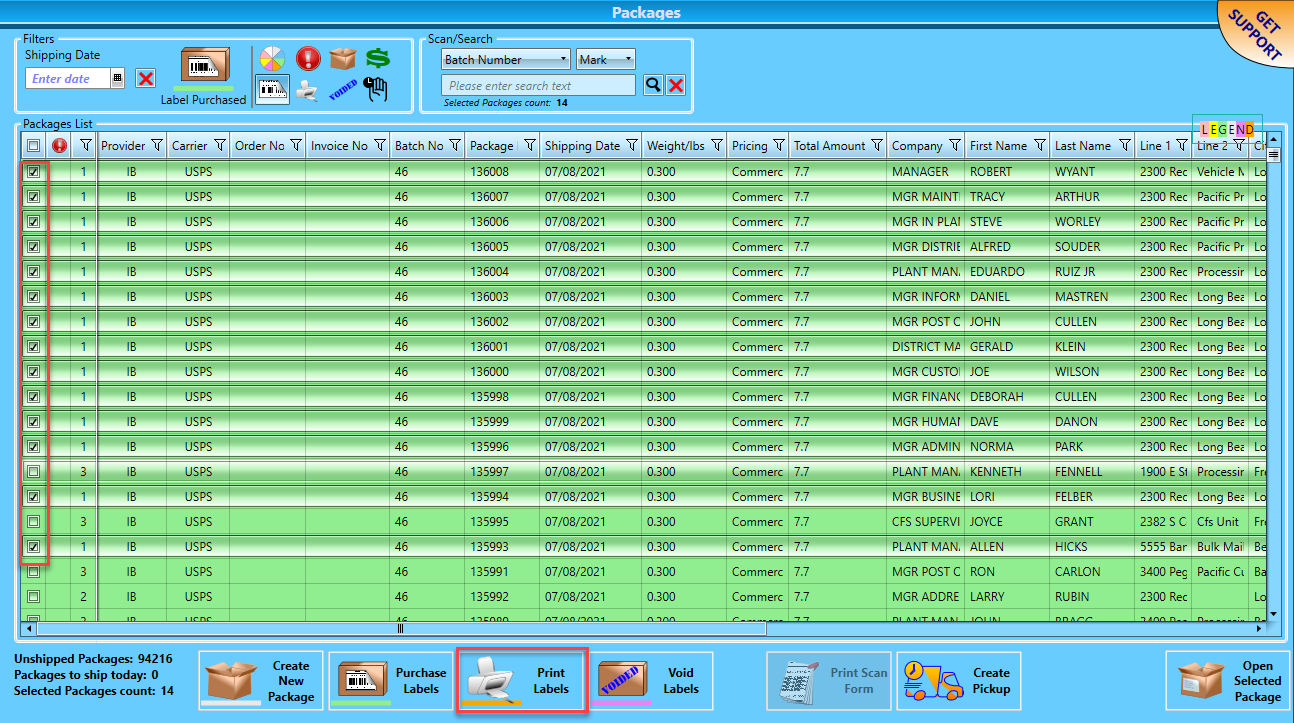
Mark the packages to print labels from the Packages screen and click Print Labels.
If you have not purchased labels yet, click this link to move down to Method 1 - Print and Purchase Labels at the Same Time.
-
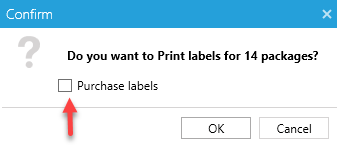
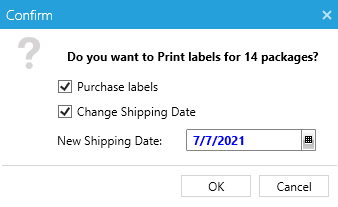
After you mark the packages that do not have purchased labels, you can select the Purchase Labels checkbox. If this option is selected, the screen will update, and the option to change the Shipping Date will appear.
-
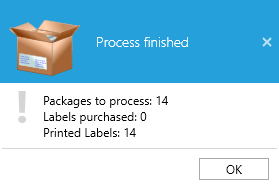
A Confirm dialog will display. Click OK, if labels were already purchased. A Process finished dialog will appear, providing details on how many packages were processed and the number of labels printed, click OK to close.
Method 1 - Print and Purchase Labels at the Same Time
-
After Purchase Labels is selected, the Change Shipping Date checkbox appears. When ready, click OK to close the dialog.
-
A Process Finished dialog will display, confirming the different processes and number of packages/labels affected. Click OK to close the dialog.
Printing Method 2
-
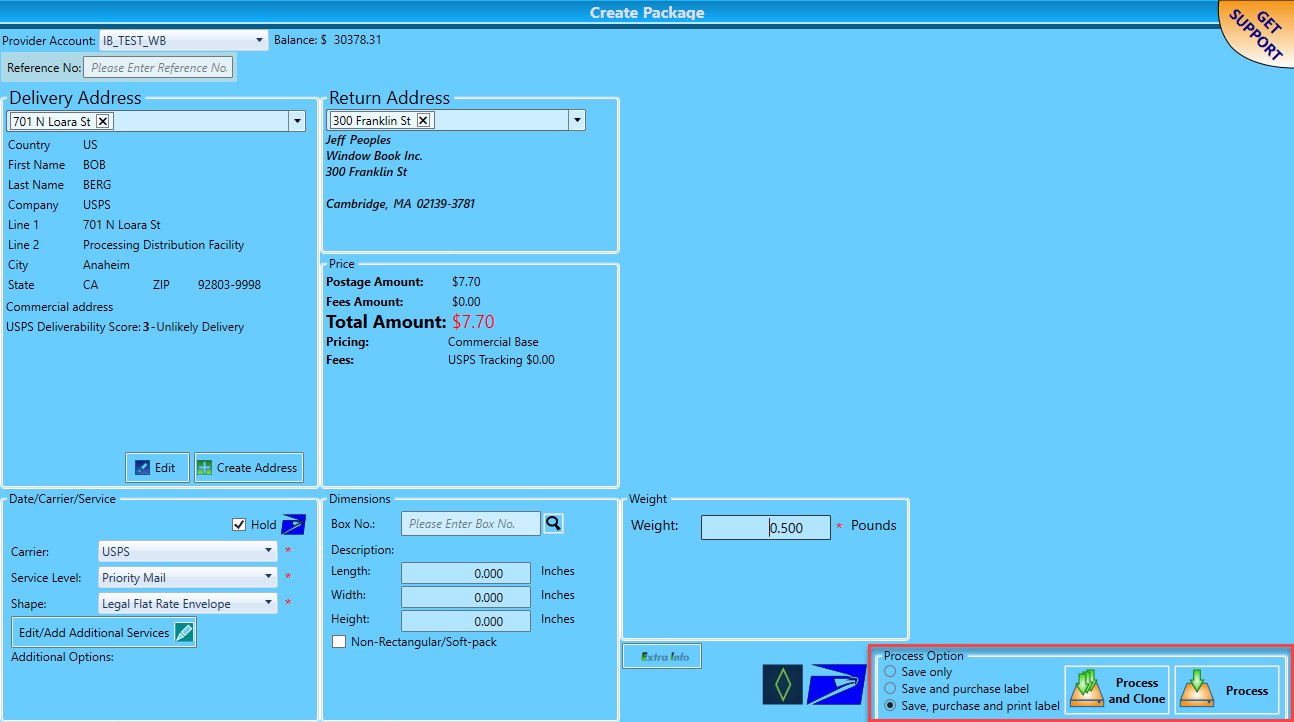
When you are creating a package or when you mark a package in the Packages screen and click Open Selected Package. You can print the label from inside the package’s details screen.
Helpful Tip: Make sure to confirm or change the Shipping Date before clicking either of the Process options.
-
Select Save, purchase and print label and click Process and Clone or Process.
Clicking Process and Clone creates an identical package.
Printing Method 3
When importing data using the Import Wizard, you can select the Print Labels checkbox. Refer to Using the Import Wizard for more information.

Return to Package & Label Management