Installation Steps on Windows
As previously stated, the installation of TrueAddress (TA) is completed using an installer wizard. The wizard will create a ‘WB’ directory on the server or computer, with a ‘TrueAddress’ subdirectory. If a ‘WB’ directory already exists on the server or computer (when other Window Book products are already installed), the install wizard will select/use that same ‘WB’ directory for installing TA.
To install TA, perform the following:
-
Close any open Window Book software application.
-
Download the latest version of the installation executable file from the TrueAddress Downloads Page.
-
Right-click on the installer’s executable file and select Run as administrator.
Portion of File Explorer Window 
-
An install wizard verification progress dialog will display.
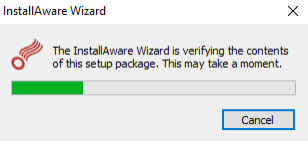
When verification is complete, a preparation progress dialog will display.

-
Microsoft Visual C++ 2015 through 2019 runtimes must be installed prior to installing TA (refer to for more information). The install wizard will check to see if these runtimes are installed on the server or computer where TA is being installed. If any of these runtimes are not found, a Prerequisite Installation required dialog will display, informing the user which runtime is needed.
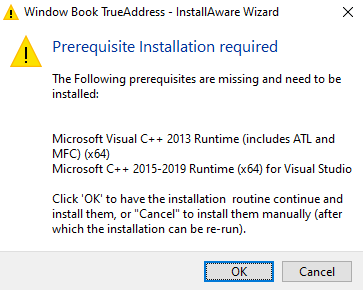
Clicking OK will close the dialog and the wizard will install the necessary prerequisites for the user. Clicking Cancel will abort the TA installation and the user will have to manually install the necessary prerequisites.
If the CANCEL button is clicked, the installation wizard can be run again to install TA after the necessary prerequisites have been installed manually by the user.
-
Assuming OK is clicked, the install wizard’s Visual C++ installation screen will display. Click Next to continue. When the installation of the prerequisites completes, click Next to continue.
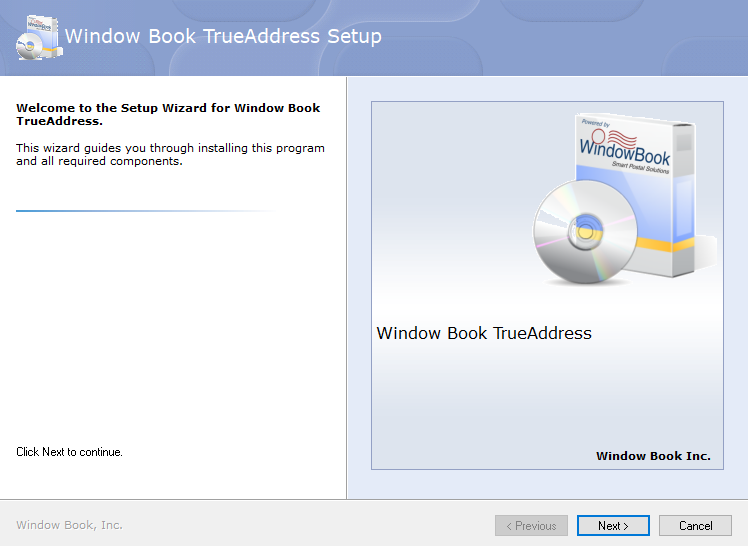
If everything is already installed, the Welcome to the Setup Wizard for Window Book TrueAddress will display. Click Next to continue.
-
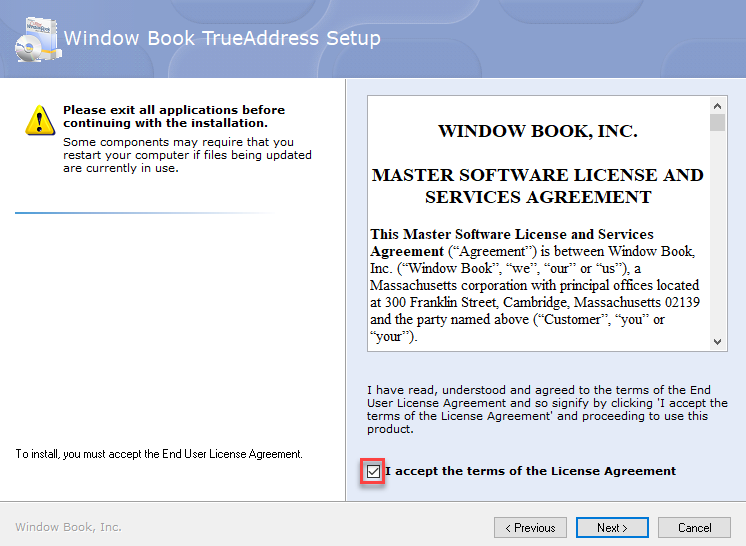
When the Please exit all applicationsscreen appears, select the I accept the terms of the License Agreement checkbox. Click Next to continue.
-
The next screen requires the user to select whether NCOA will be installed/used and for the user to enter contact/identification information for the List Processor. It is important the information provided is complete and accurate in order to use TA. When ready, click Next to continue.
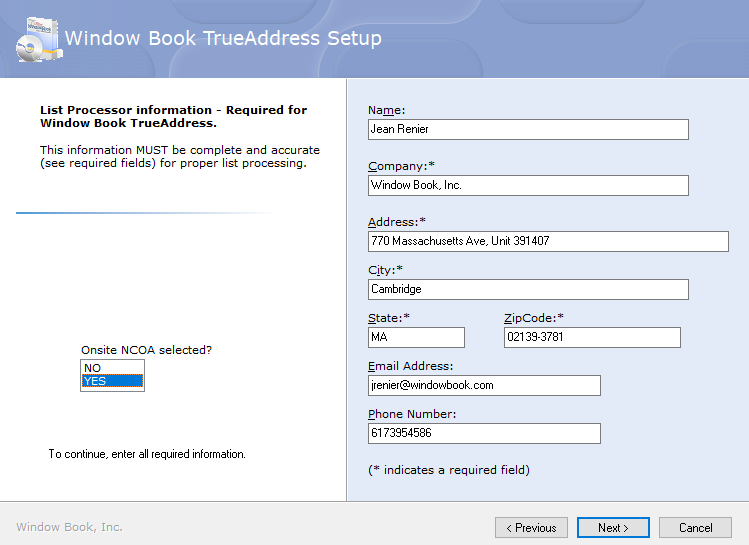
Be aware that if the “NCOA” option is enabled, a PAF License ID is required before a registration file can be issued by Window Book. A registration file is necessary for running TA. Refer to Product Specific Requirements for more information.
-
Choose the location for the application, and the CASS and EWS data folders. Click Next to continue.
Window Book strongly recommends using the default provided. Changing the drive letter is okay, but please leave the path structure.
The product data paths specified in this screen are saved in the TA configuration file. Once the data paths have been set, they should not be changed.
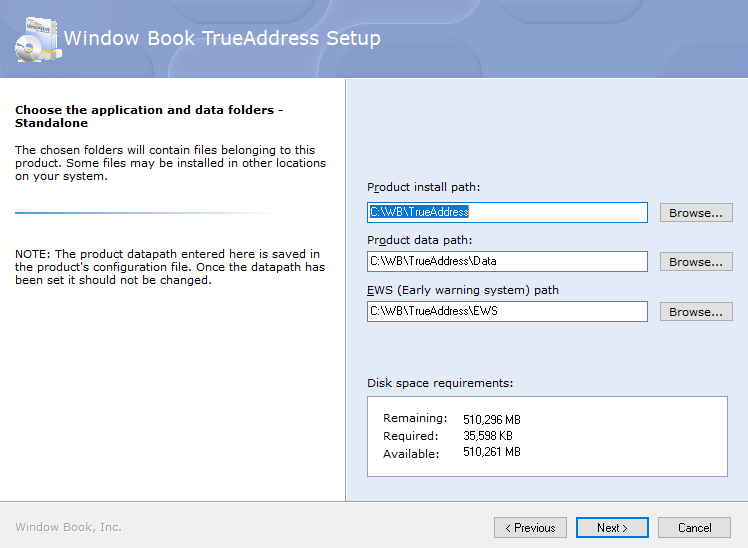
-
Choose the Start menu group. Window Book recommends using the default provided (“Window Book”). Also, select the option for who the shortcuts should be created (‘All users’; or ‘Just me’). Again, Window Book recommends using the default setting. When ready, click Next to continue.
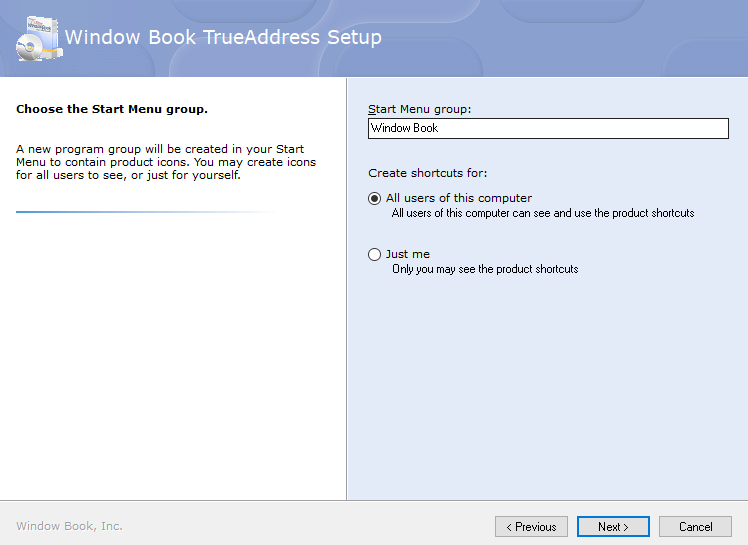
-
The Ready to update your system screen will display. Click Next to begin the installation.
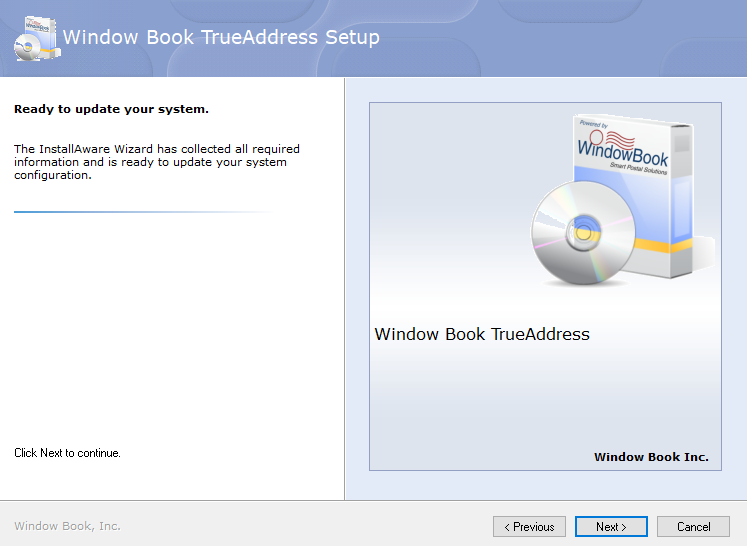
-
A Please wait will Setup installs Window Book TrueAddress will display.
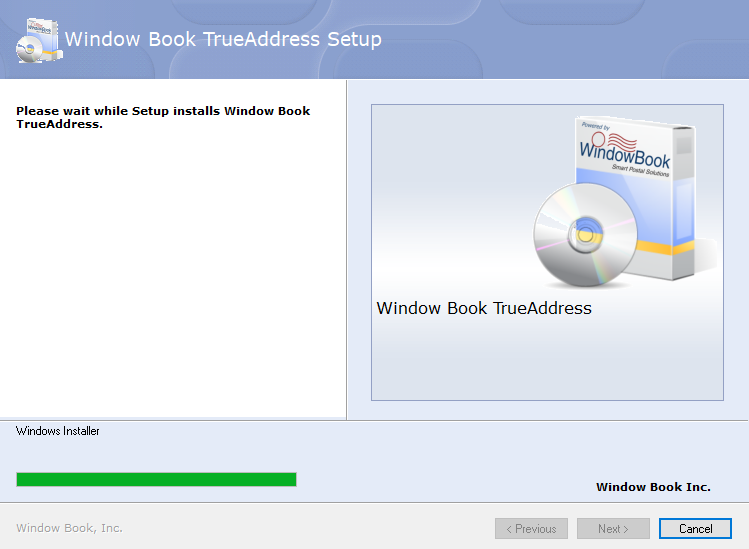
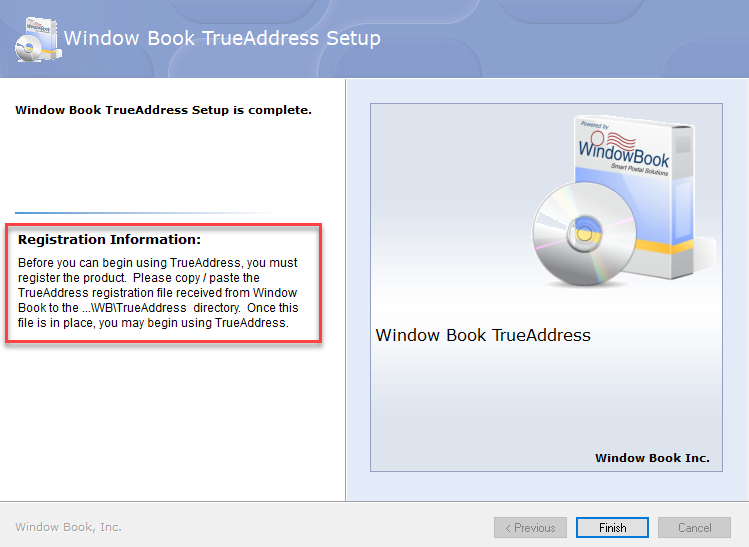
The installation occurs quickly. When finished, the screen will update, notifying the user that the installation is complete.
Read the “Registration Information” note provided on the screen. Registration is required before TA can be used!
-
When ready, click Finish. The product installation is complete!
Continue Registration