Updating CASS, EWS & NCOA
-
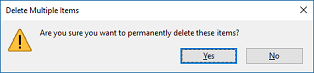
Launch Windows Explorer and navigate to the ‘WB\TrueAddress\Data’ folder. Highlight the contents of the ‘Data’ folder and press Delete on the computer’s keyboard. A confirmation dialog will display. Click Yes to continue with the permanent deletion.
Using this method to delete the contents of the folder deletes the items permanently (it does not send them to the computer’s Recycle Bin). This ensures the large CASS_data files will not accumulate on the computer and be a possible impact on system performance over time. When finished the ‘Data’ folder should be empty.

-
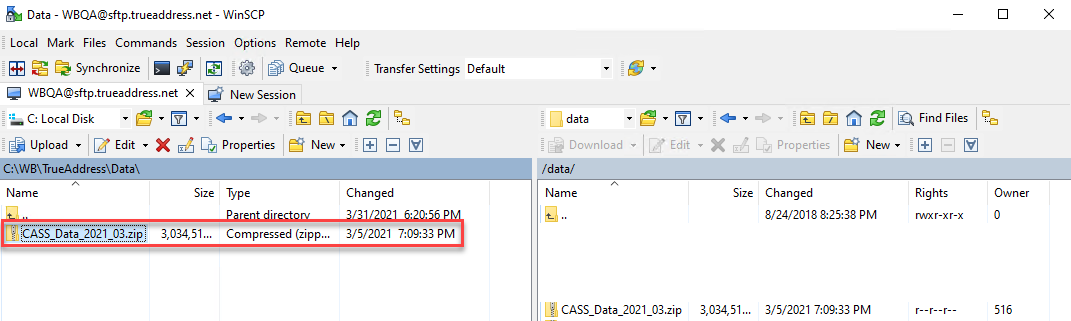
Launch WinSCP (or the SFTP client being used) using the Desktop shortcut created when TA was installed. After a connection to Window Book’s TA server is established, select/highlight the new CASS_Data zip file on the right (in the example being used here, the new CASS_Data zip file is named “CASS_Data_2021_03.zip”).

-
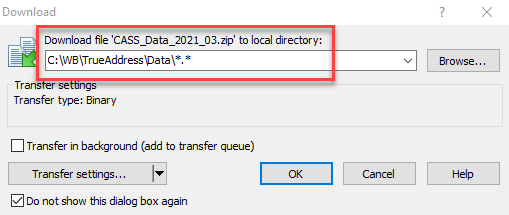
Download the new CASS_Data zip file to the ‘WB\TrueAddress\Data’ directory on the local machine. In WinSCP, press F5 on the computer’s keyboard or click Download on the TA server’s side to facilitate the download.
A progress screen will display. The transfer may take a few moments.

When the download is complete, the new CASS_Data zip file will display in the ‘WB\TrueAddress\Data’ directory on the local machine.
-
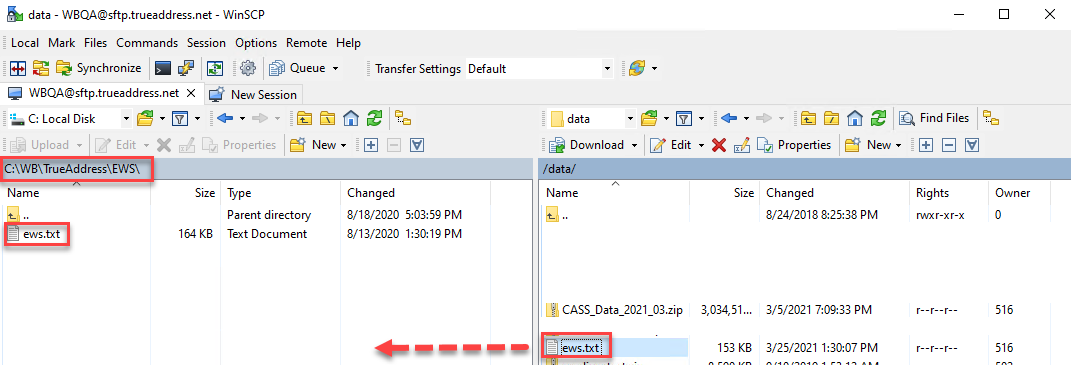
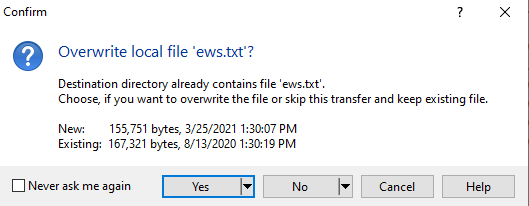
On the Client’s computer or server, navigate to the ‘…WB\TrueAddress\EWS’ directory. Repeat the transfer or download process for the ‘EWS.txt’ file, placing it in the ‘…WB\TrueAddress\EWS’ directory (not the ‘…WB\TrueAddress\Data’ directory) The EWS file will always have the same name; therefore, it will overwrite the existing file on the local machine.
A new EWS file is available weekly. New CASS_Data files are available monthly.
-
When the Confirm dialog appears, click Yes.
-
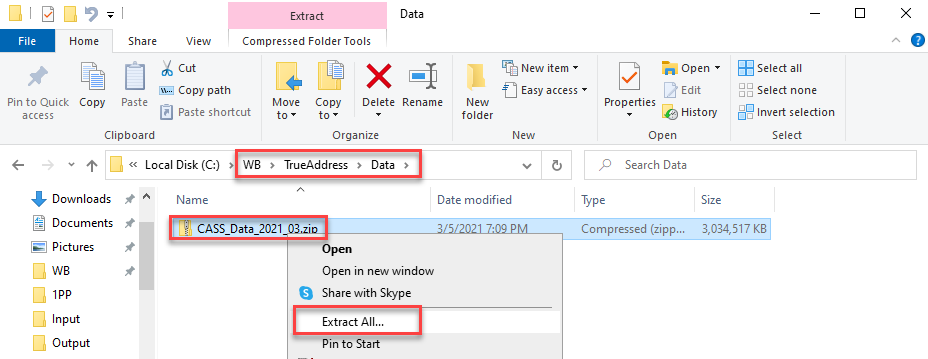
On the local machine, launch Windows Explorer and navigate to the ‘WB\TrueAddress\Data’ directory. Right-click on the downloaded CASS_Data zip file and select Extract All.
-
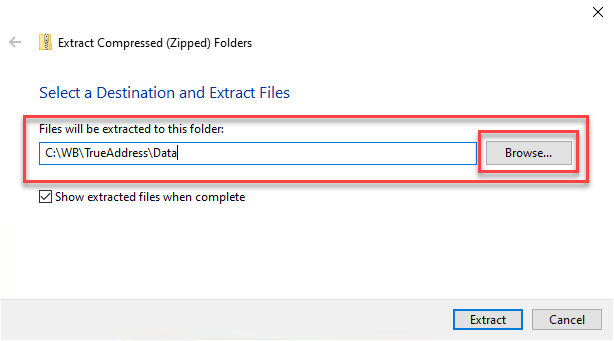
A Select Destination and Extract Files screen will display. Make sure to use Browse to select the ‘WB\TrueAddress\Data’ directory (since this function will attempt to extract the data to a default location consisting of a folder named the same name as the zip file). Click Extract when ready.
A Copying dialog will display that shows the progress of the extraction. Since the zip file is large, the extraction will take a few moments.

When the extraction is complete, the contents of the downloaded CASS_Data zip file will display in the ‘Data’ directory.

-
The data update of CASS and EWS is complete!
Continue Updating NCOA Data