Step 3c - DAT-MAIL - Workstation Installation
Installation of the DAT-MAIL software on workstations should not occur until the server installation is completed, including performing the configurations.
-
All server components Scheduler, PWC, PWDD ( if applicable) should already be installed on the server before installing DAT-MAIL on any workstations - refer to DAT-MAIL - Server & Workstation Installation Reference Table for more information.
-
Also, if you have licensed AWAM, set it up on the server before installing DAT-MAIL on any workstation - refer to DAT-MAIL™- AWAM Setup to set it up on the server.
To install the DAT-MAIL software for a ‘Workstation’ installation type (a server-with-workstations installation), perform the following (assuming all the prerequisites have been installed – refer to Install Software Prerequisites ):
-
If/when all the prerequisite requirements are met and the verification is complete, right-click on the downloaded DAT-MAIL installation file and select Run as administrator.
-
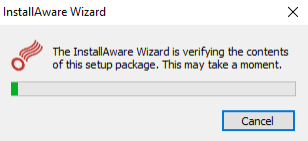
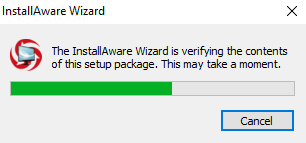
The InstallAware Wizard will begin verifying the contents of the setup package.
-
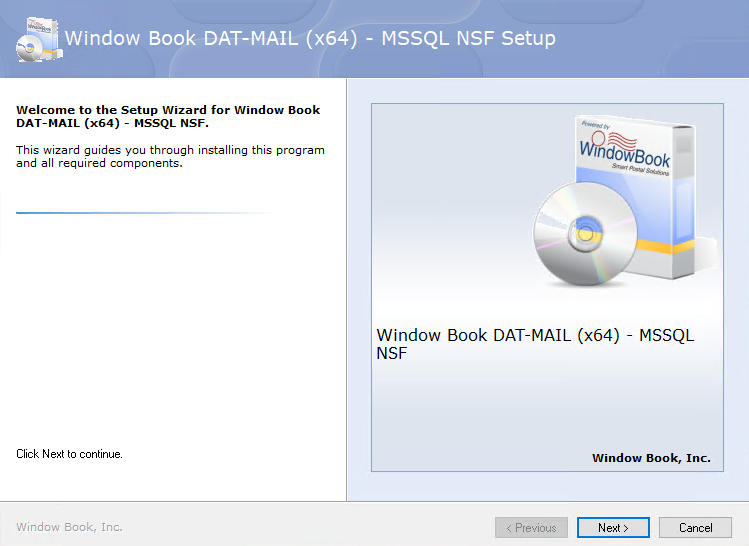
After verifying the contents of the setup package, the installation wizard’s welcome screen will display. Click Next to continue.
-
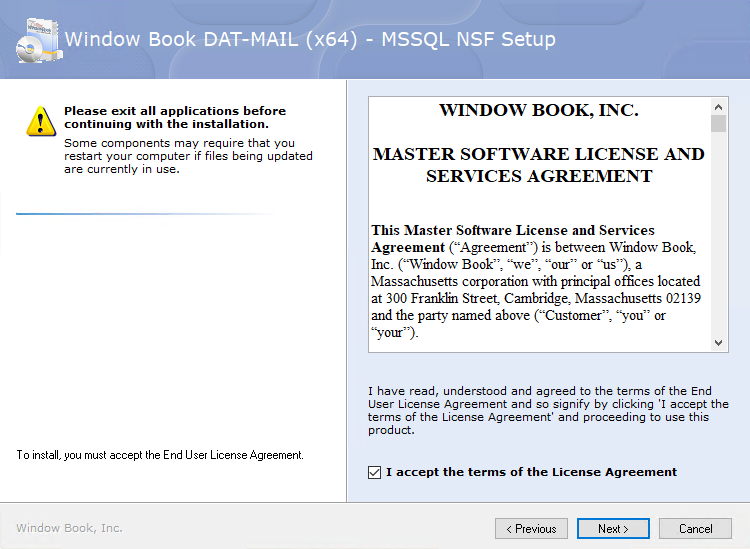
When the Please exit all applications screen appears, close any open application, then select the I accept the terms of the License Agreement checkbox and click Next to continue.
-
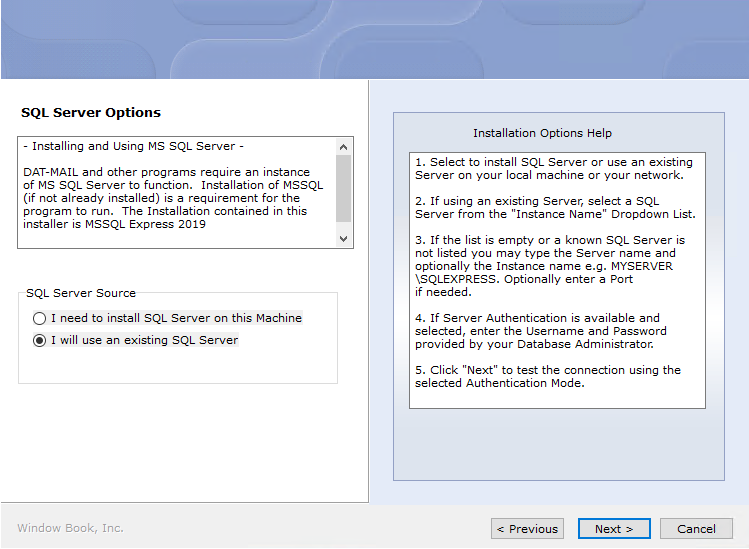
The SQL Server Options screen will appear. Leave the option as I will use an existing SQL Server and click Next.
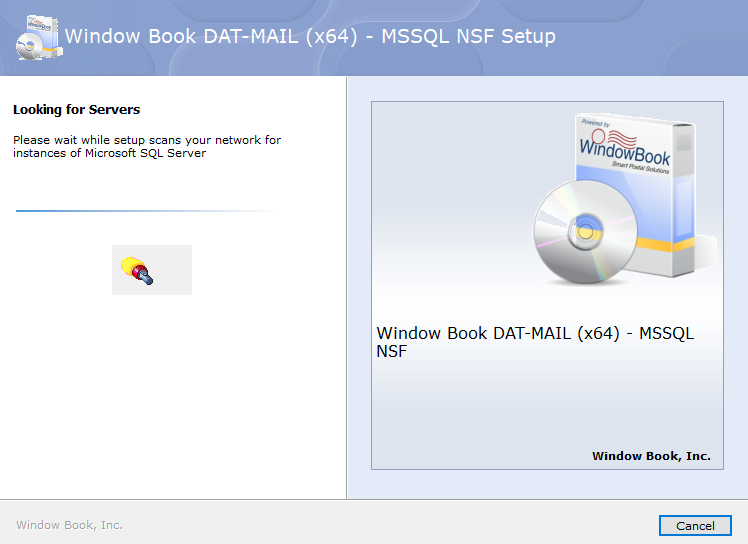
The Looking for Servers screen will display. The installation wizard is searching for all available SQL Server Instances.
-
When the search for existing SQL Server instances completes, the Microsoft SQL Server Instances screen will display. Click the drop-down to display the list. Next, locate and select the instance being used by the server installation of DAT-MAIL. When ready, click Next.

-
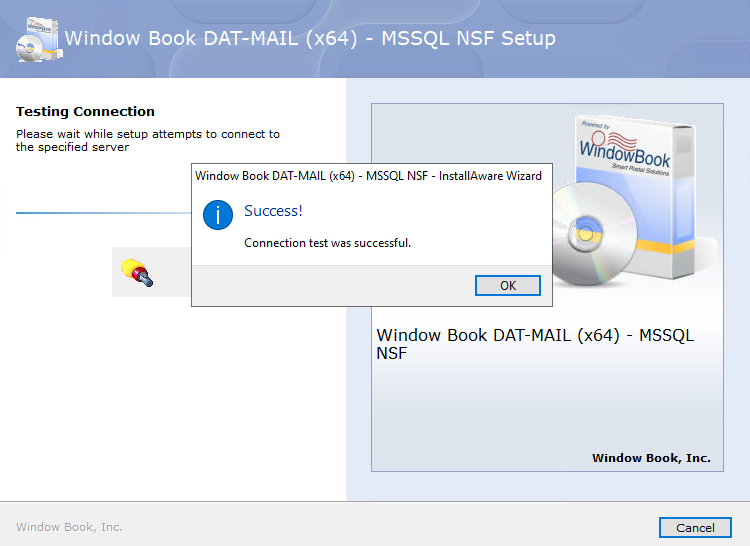
The Testing Connection screen will display. When the connection is made, a Success! dialog will display. Click OK to close the dialog.
-
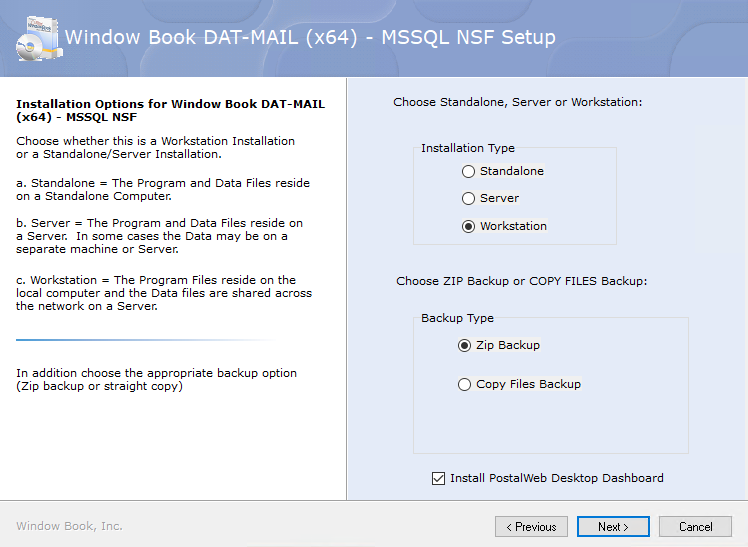
The Installation Options screen will display. Choose Workstation for the type of installation that should occur. Also, if applicable, select the Install PostalWeb Desktop Dashboard checkbox.
-
The Choose the application folder – Workstation screen will display. Install the software on the workstation’s local drive (default). Click Next to continue.
Window Book strongly recommends using the default path and folder provided. Changing the drive letter is okay, but please leave the path structure as is.

-
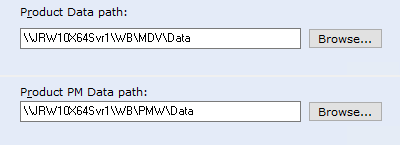
The Choose the data folder(s) – Workstation screen will display. Local paths are the default for these folders; however, the workstation software must use the same data folders the server installation of DAT-MAIL uses. Click each data folder’s Browse and locate the name of the same folder that exists on the server – selected folders must use UNC path names.
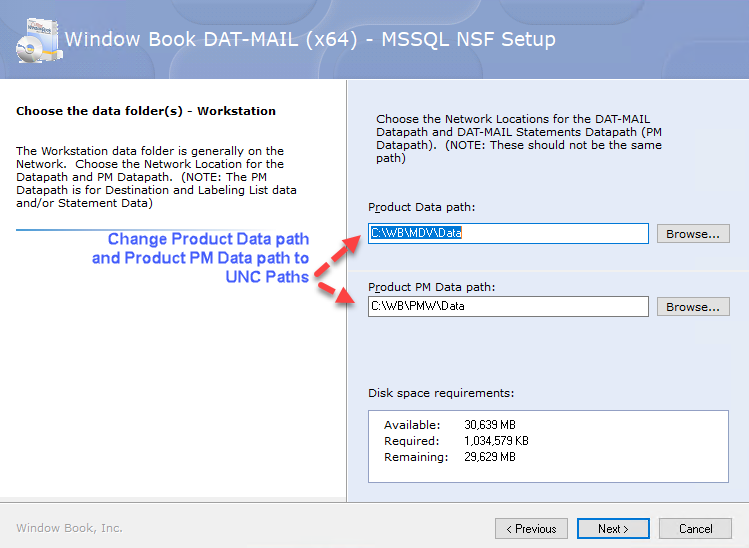
Proper UNC Path Names for Data Folders
Click Next to Continue.
-
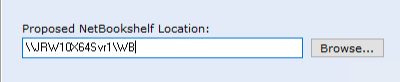
The Choose/Confirm NetBookshelf screen will display. The default path/location for NetBookshelf will default to a UNC pathname of '\\[server name]\wb\WB.' Correct the path to read '\\[server name]\wb' (delete the last instance of 'WB’ that occurs in the default pathname).
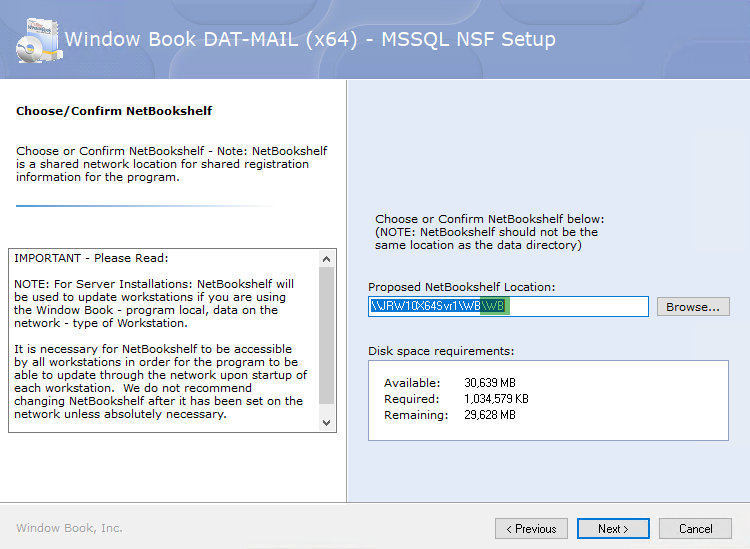
Example: Correct NetBookshelf Location
Click Next to Continue.
-
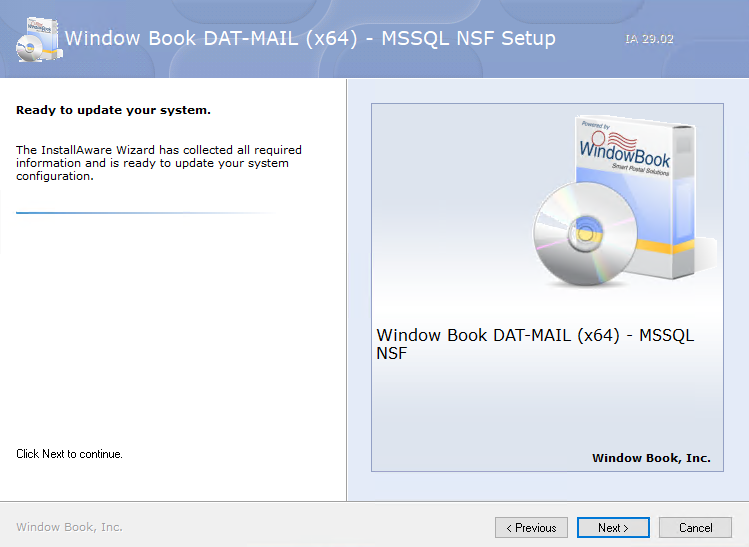
The Ready to update your system screen will display. Click Next to begin the installation.
Please wait screen will display, and it will take a few moments to complete the setup.
-
The installation of DAT-MAIL is complete. Click Finish. If a reboot message appeared during installation, reboot the workstation. Afterward, launch DAT-MAIL.
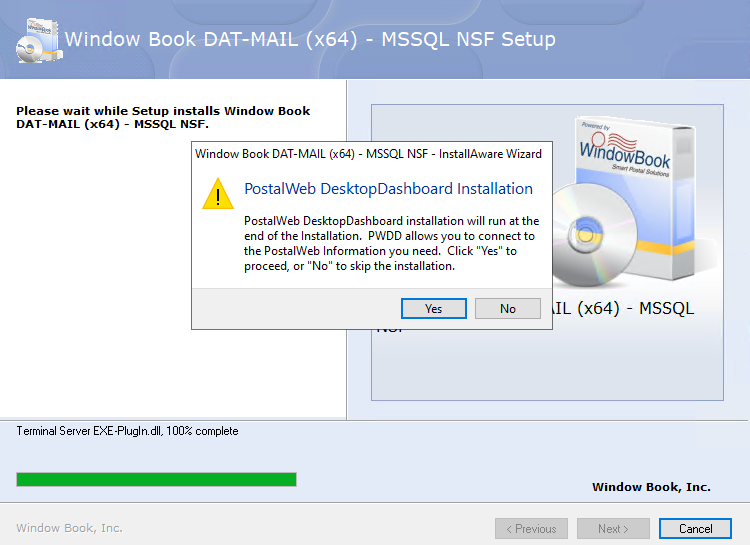
However, if you selected the option to install PWDD, the PostalWeb Desktop Dashboard Installation dialog would appear. Click Yes to continue.
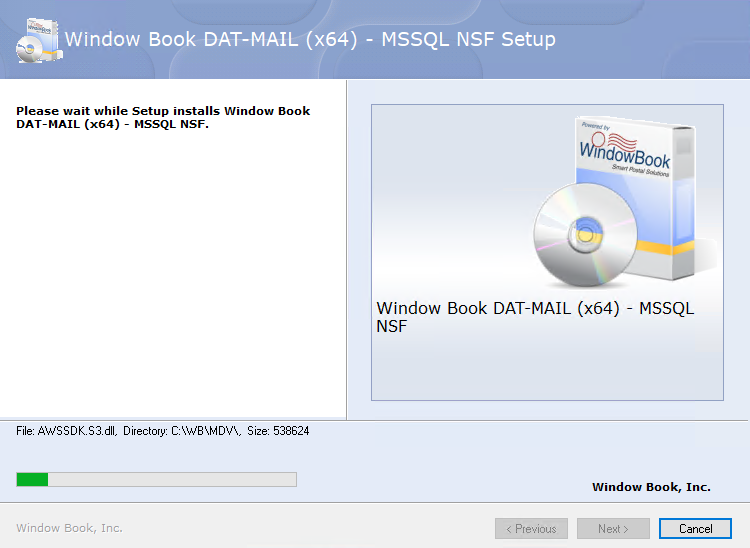
A Please wait while Setup installs screen will appear to continue the installation of DAT-MAIL. It will take a few minutes to install.
-
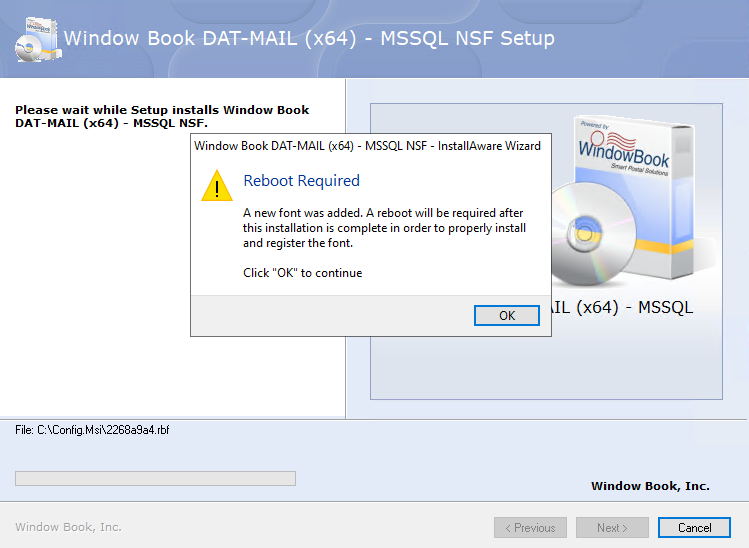
A Reboot Required dialog may appear; click OK.
Before clicking OK, make sure to save all documents and close other applications. It may reboot you now, but do not worry. It will return you to the installer after you sign back on to the workstation.
The Please wait while Setup installs screen will reappear to complete any additional setup.
-
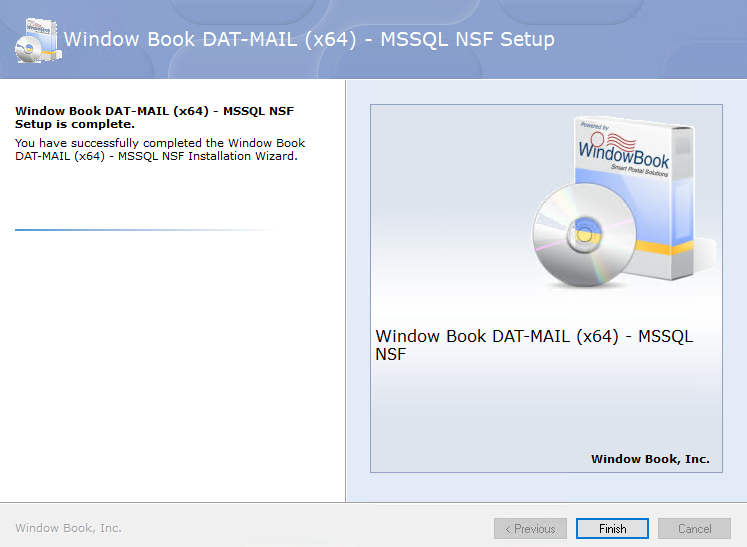
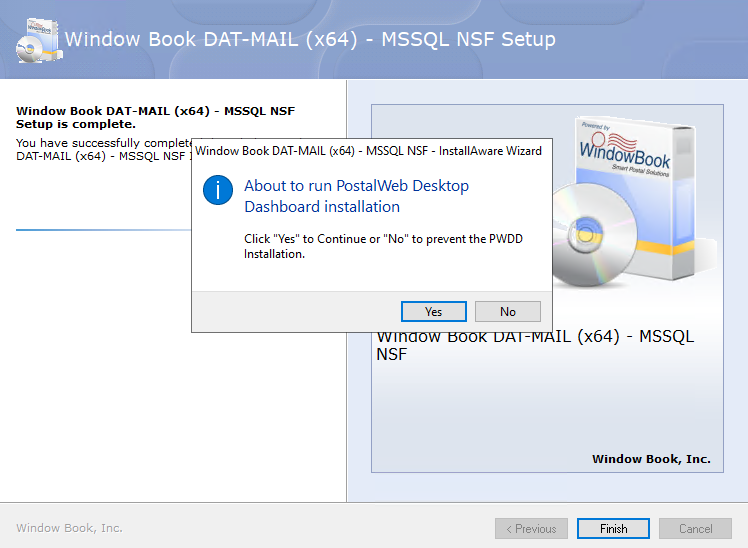
The Window Book DAT-MAIL (x64) - MSSQL NSF Setup is complete. screen will display. Click Finish.
-
The About to run PostalWeb Desktop Dashboard installation dialog will display; click Yes to continue.
-
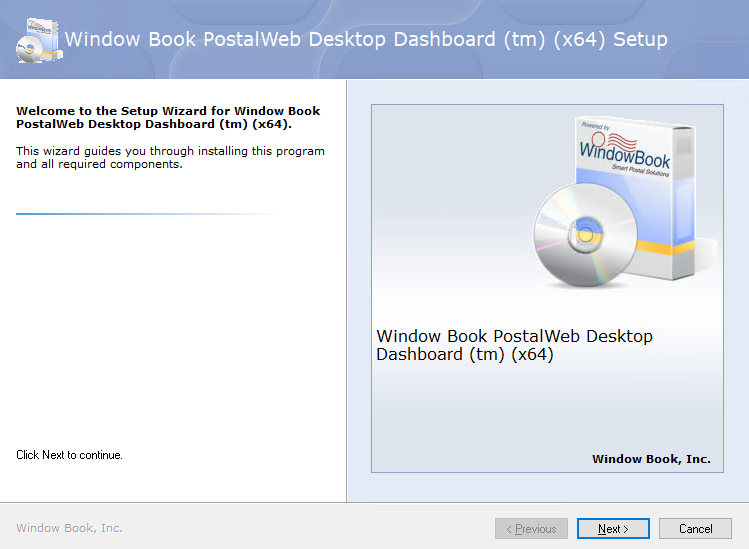
The InstallAware Wizard for PWDD will appear, and then the Welcome to the Setup Wizard for Window Book PostalWeb Desktop Dashboard (tm) (x64) screen will appear. Click Next to begin the install.
-
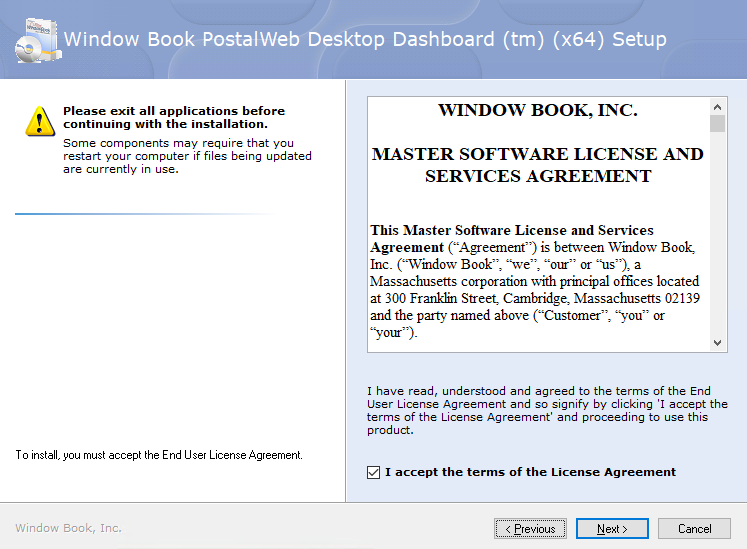
Select the I accept the terms of the License Agreement checkbox and click Next to continue.
-
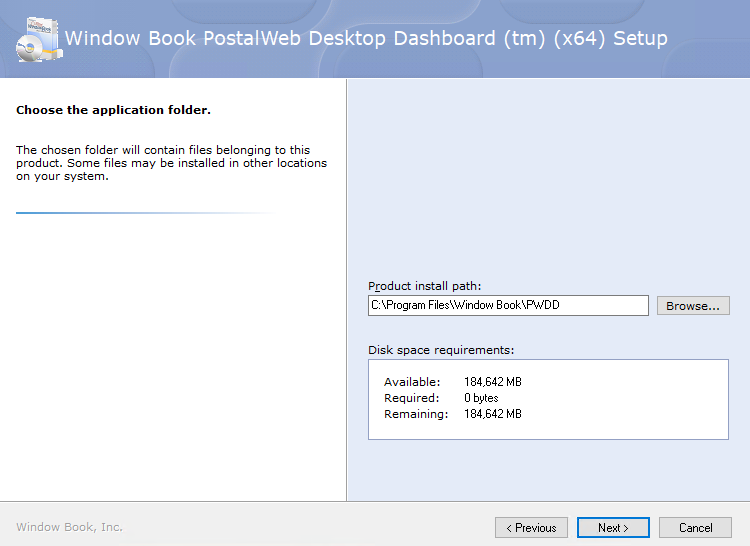
The Choose the application folder screen will display. Next, install the software on the workstation’s local drive (default). Window Book strongly recommends using the default path and folder provided. Click Next to continue.
-
The Choose the Start Menu group screen will display. Select the Create a Desktop Shortcut checkbox and click Next to continue.

-
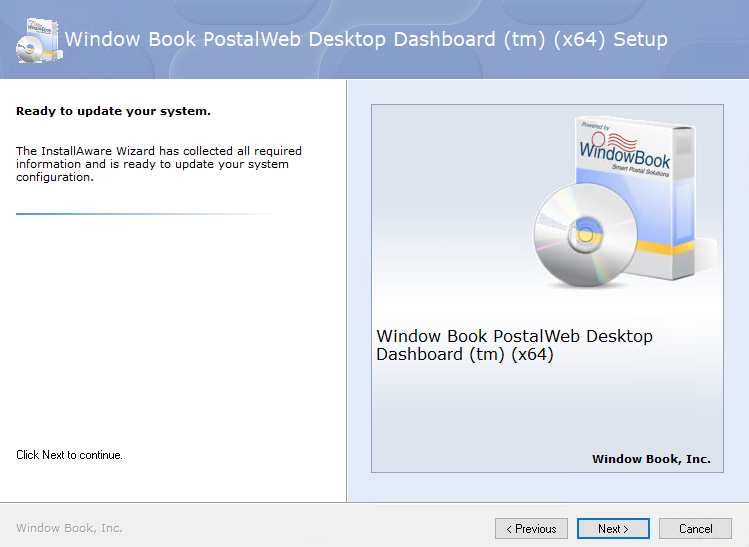
The Ready to update your system screen will display. Click Next to continue.
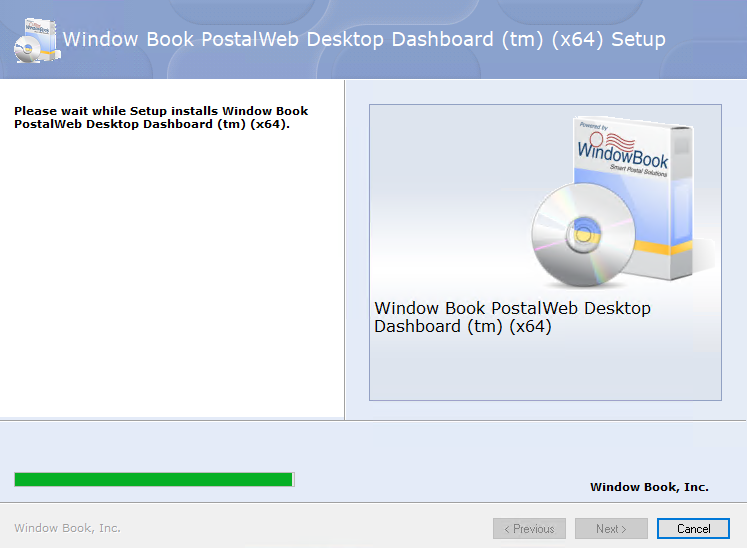
Please wait screen will display, and it will take a few moments to complete the setup.
-
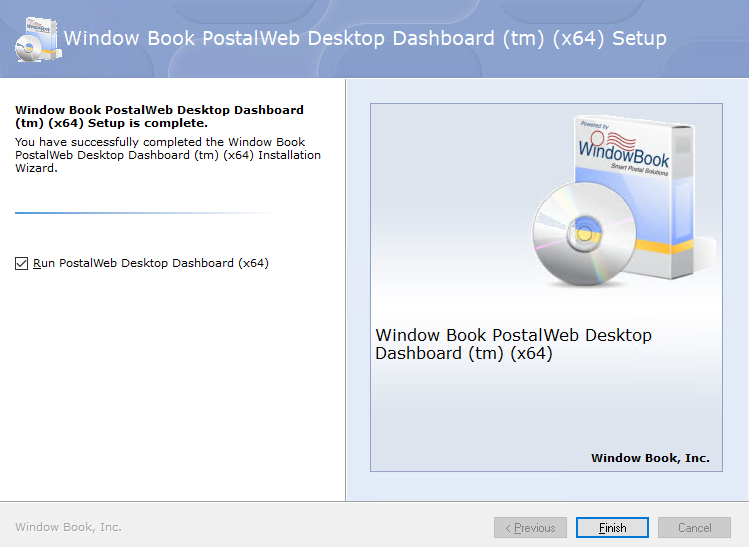
When the installation is complete, leave Run PostalWeb Desktop Dashboard option selected and click Finish. The InstallAware wizard will close.
-
After a few seconds, the PWDD application will launch and display the screen for entering the registration key. Enter the registration key obtained from Window Book and click Register.
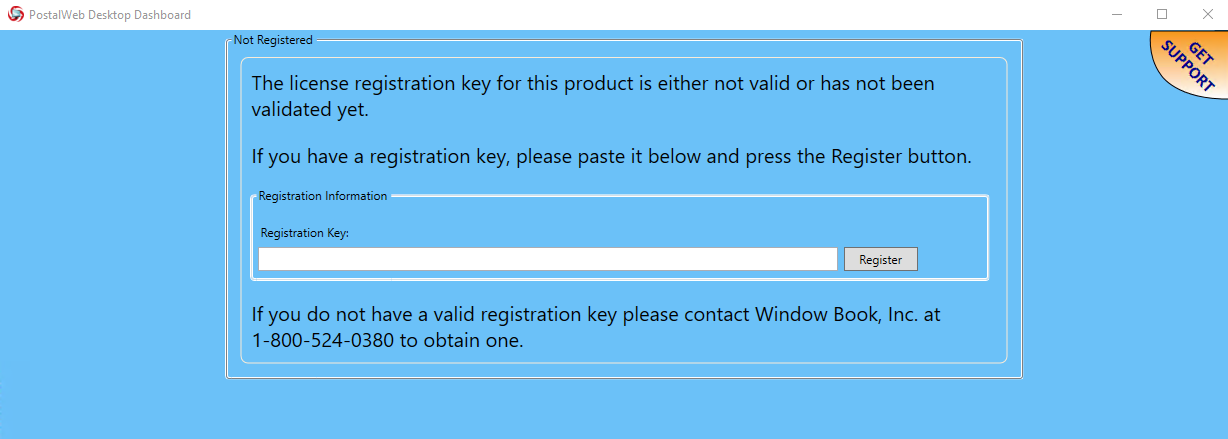
You can use the same registration key on multiple workstations if the number is less than or equal to the number of installations purchased.
-
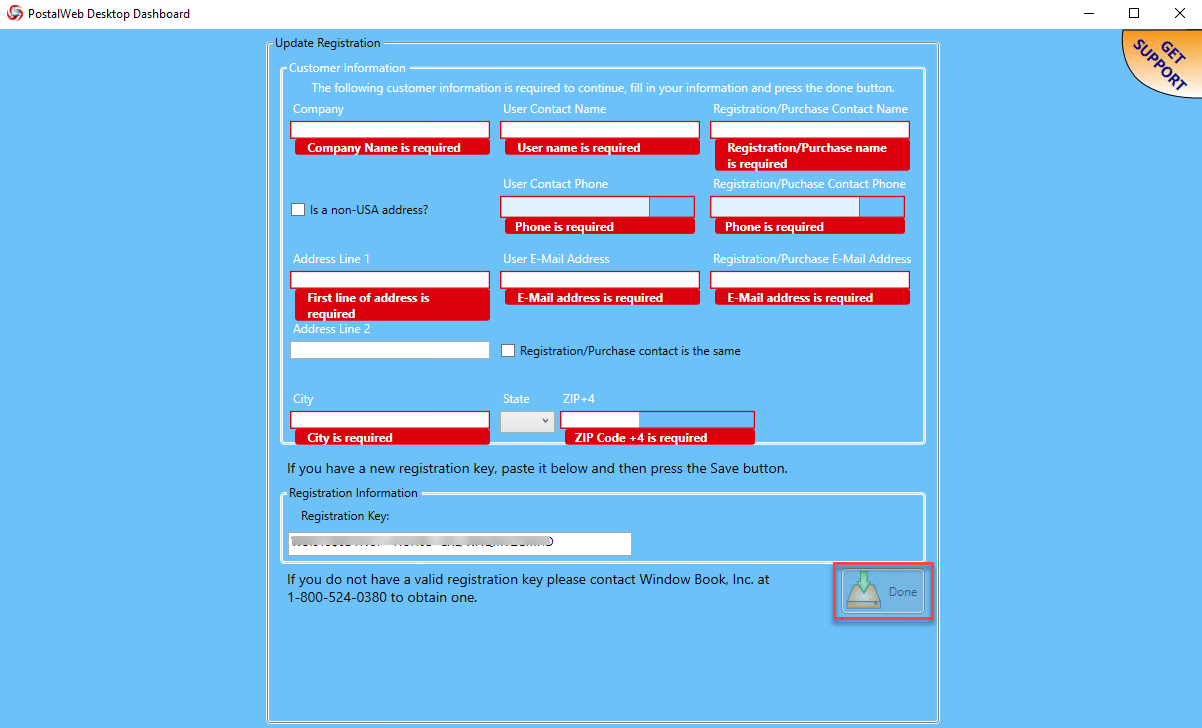
An Update Registration screen will display. Enter the required information and click Done.
-
The PWDD main or home screen will display. Close the application.
