Home Screen Setup - DAT-MAIL Settings
PWC needs to know whether or not you are using DAT-MAIL. When enabled and setup is complete, PWC will know where to find release files that DAT-MAIL created and automatically upload them to PostalOne!.
If you are not using DAT-MAIL, skip to Home Screen Setup - Creating an MDR Client Site Configuration.
-
Select Mailer uses DAT-MAIL.
DAT-MAIL settings Section of Home Screen 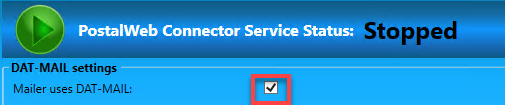
-
When selected, the Browse becomes active. The first DAT-MAIL Mail.dat Import folder for QuickFix edited files If you licensed PWDD, this feature is available to you and saves time. For example, you could create a folder called 'QuickFix' in the '..\WB\Mail.dat\' folder or use Incoming, the default folder.
In a server-with-workstations environment, mapped drives cannot be used. A UNC path is required. Set the path shown below to a UNC path, for example, '//jrw10x64/wb/Mail.dat/incoming'. Use the Switch to UNC to change all the paths after setting up all the needed environments. See Home Screen Setup - Switch to UNC for more details about UNC Paths.
QuickFix Section of the Home Screen 
There are times when a Mail.dat fails to upload to PostalOne! for just a few fields. Instead of going back to DAT-MAIL and starting over, you can edit the job in PWDD and by setting up a QuickFix folder and enabling QuickFix in DAT-MAIL, after the file successfully uploads to PostalOne!, QuickFix automatically updates the job in DAT-MAIL to reflect these changes. If you have not licensed AWAM, QuickFix is not automated, but a user can apply the changes by loading the QuickFix file. QuickFix will be covered in the DAT-MAIL guides.
-
Point to the PMMDCMSTATUS707.exe located on the drive where DAT-MAIL was installed. This example was installed on 'C:\WB.' Browse to the 'WB,' then MDV and scroll down until you find this executable.
Statement Update Executable File Portion of the Home Screen 
Continue Home Screen Setup - Creating an MDR Client Site Configuration