Home Screen Setup - Creating an MDR Client Site Configuration
You can create just the PROD MDR Client. However, we recommend creating both the PROD and TEM environments. TEM is helpful when you have a new Client and want to see whether you have any issues with their Mail.dat files.
Create the PROD Client
-
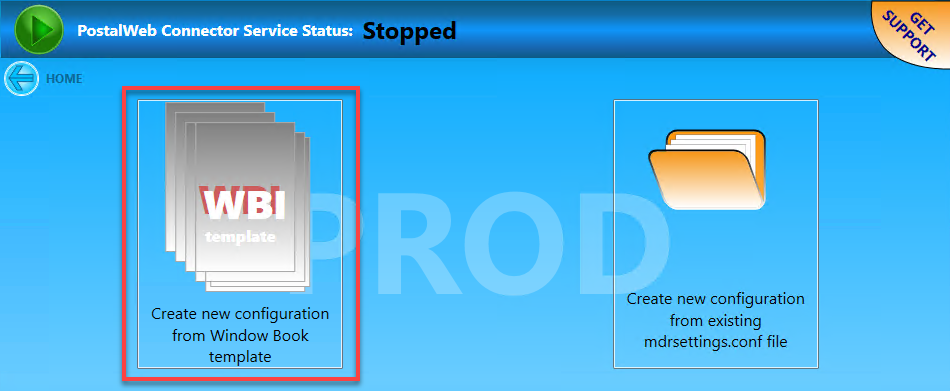
Click on the PROD tile to create the live USPS MDR Client Production Environment.
PROD tile on the Home Screen 
When the PROD screen appears, select Create new configuration from Window Book template. It will go through downloading and extracting the MDR Client to a subfolder of 'WB.'
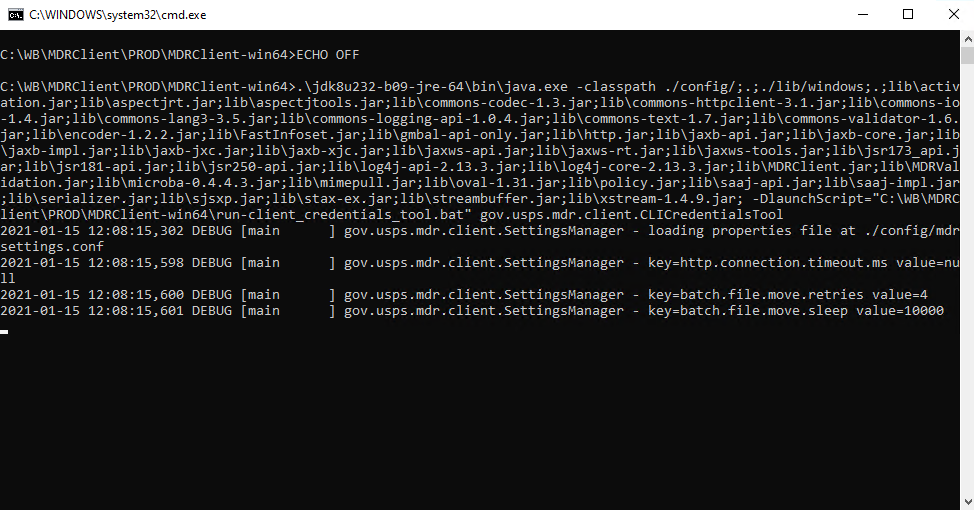
If you receive this screen, something has been blocked. Please contact Support for a workaround (see Contact Us).
Window Book strongly recommends using a set of PostalOne! credentials specific for Window Book products to avoid possible conflicts and service disruptions if one set of PostalOne! credentials are being used simultaneously for different things.
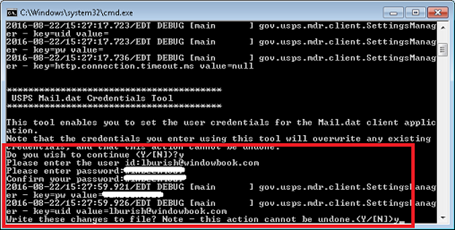
The ‘cmd.exe’ file does not allow for data re-entry and does not contain an ‘undo’ command. Therefore, ensure the values or data entered at each prompt are correct before pressing the ENTER key. If incorrect data is entered, the installation will continue; however, any incorrect data will have to be corrected after the installation of the MDR Client completes.
Update PostalOne! Credentials in MDR Client
-
At the prompt, enter 'y' to continue [Press Enter].
-
Enter a valid PostalOne! user ID [Press Enter].
-
Enter the password associated with the PostalOne! user ID [Press Enter].
-
Confirm the password by entering it again [Press Enter].
-
Enter 'y' to write the changes made to the file [Press Enter].
-
After entering 'y' to write the changes made to the file, the file will update, the screen will close, and the PWC will attempt to authenticate the PostalOne! user credentials that were entered.
-
-
When the attempt to authenticate is complete, the MDR Client configuration settings screen will display. Confirm the authentication succeeded. Click Activate
 to activate the configuration.
Edit PROD Screen of Home Screen 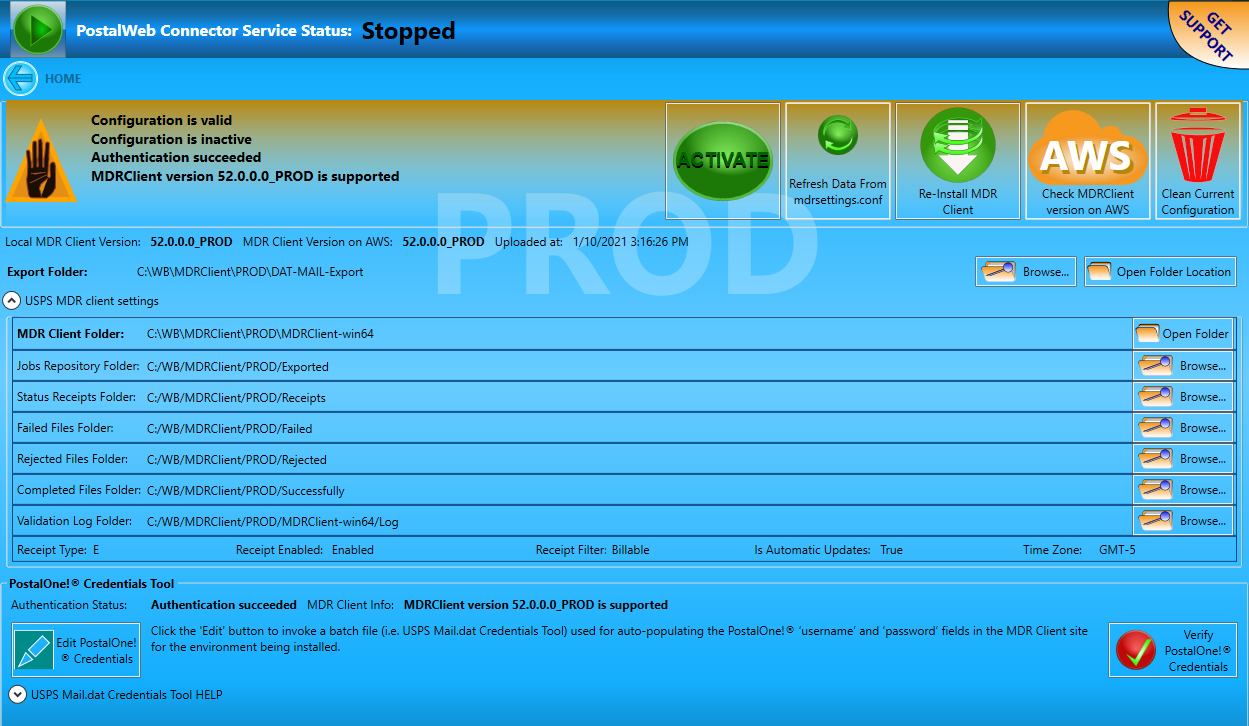
-
It should now show 'Configuration is valid,' 'Configuration is active,' and 'Authentication succeeded.'

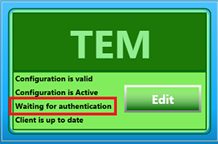
The configuration could be active if the authentication did not succeed. Therefore, it is essential to verify the status information for the three status lines displayed above versus relying on the color-coding of the configuration to determine whether a configuration is ready for use (shown below as ‘green,’ for example, for the TEM environment).
-
Start the service if you are not in a server- with-workstations environment
 or using mapped drives. Then, you can continue on to the DAT-MAIL - Setup Guide - Enabling the Automatic Upload of Files to PostalOne!.
Continue Home Screen Setup - Switch to UNC