Enabling the Automatic Upload of Files to PostalOne!
The automatic upload of PostalOne! files created and exported from DAT-MAIL requires setup in both DAT-MAIL and PWC. The setup for DAT-MAIL is detailed here.
Performing the setup and configuration procedures to automatically upload files to PostalOne! in DAT-MAIL should occur only after PWC has been installed and configured for use.
-
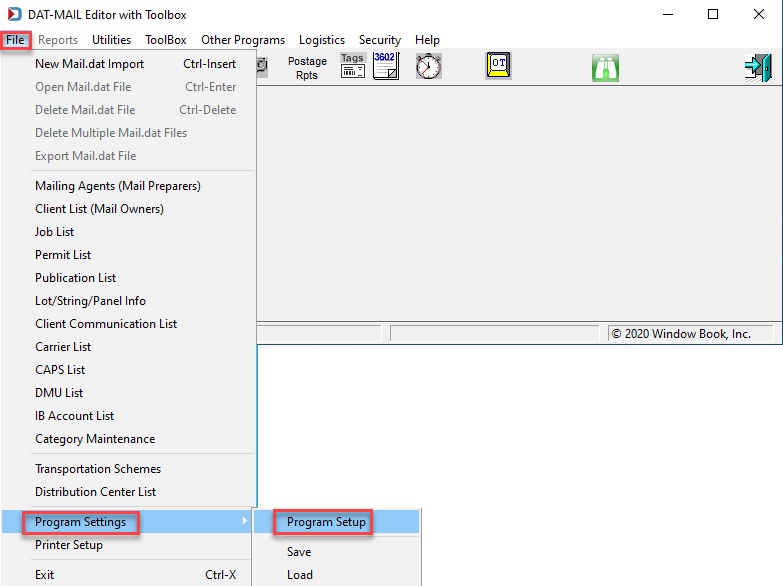
In DAT-MAIL, from the File menu, select Program Settings > Program Setup to open the Setup screen.
-
When the Setup screen has launched, select the PostalOne! tab. It will appear with only the option to Participate in PostalOne!. Select this.

-
We recommend using Only Create Release Files and utilizing PostalOne! statements.
If you keep the default of Generate Statements, each time you pay postage, a statement will be generated and saved in DAT-MAIL and it takes up a great deal of space and if not maintained can negatively impact the performance of DAT-MAIL. We will only show setup for Only Create Release Files here.
-
In DAT-MAIL and PWC, the programs need to know where PostalOne! files are going to be exported. We recommend using our default folder of 'DAT-MAIL-Export', which is a subfolder automatically created by PWC when each MDR Client environment is created.
The location with the radio button selected will be where the PostalOne! file will be exported.
-
The last option to select is Suppress OCI on non-copal submissions, this will avoid the OCI file from being submitted to PostalOne!, unless it is a Copal job. You may never receive an OCI file with the Mail.dat fileset, but this prevents any issues if you accidentally do.

If installing DAT-MAIL in a server-with-workstations environment, it is important to select UNC path names for the folders associated with the MDR Client and uploading to PostalOne! (see images above). Do NOT use local or mapped drives! In the Prod PostalOne! Release path would be for example '\\jrw10x64Svr1\WB\MDRClient\PROD\DAT-MAIL-Export'.
A PostalOne! release path can be specified in the PostalOne! tab in DAT-MAIL for any or all four of the MDR Client types as long as a configuration has been created in PWC.
The remainder of the settings within the PostalOne! tab will be covered in Setup - PostalOne!.
-
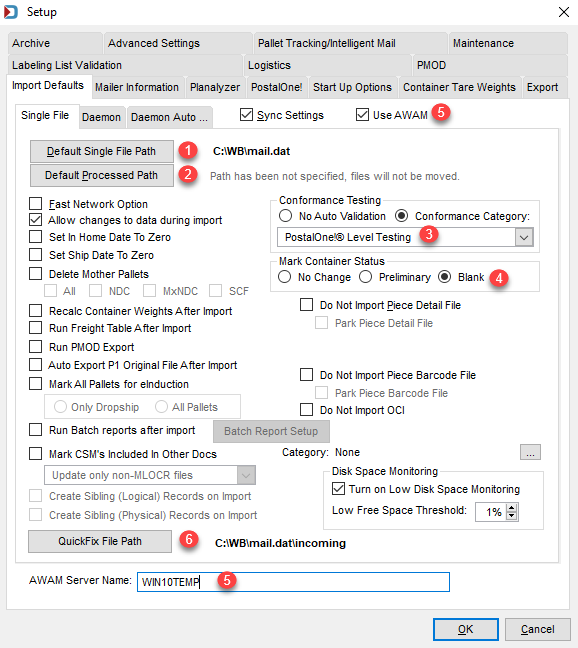
Next, click on the Import Defaults tab, if you plan to manually import Mail.dats there is the ability to set a default folder location in Default Single File Path and if you would like them to move, after import it can be set as the Default Processed Path.
-
In order to be warned about possible PostalOne! on import, under Conformance Testing, in the drop-down PostalOne!® Level Testing.
-
If you know that files will be sent to you in Ready to Pay status or Paid and you want to remove those statuses, under Mark Container Status, select Blank.
-
If you have licensed PWDD and plan to use QuickFix, set your QuickFix path.
-
And finally, if you have registered AWAM, at the top select Use AWAM and the bottom enter the name of the server or stand-alone running AWAM.
-
In the instance of a stand-alone installation it would be the name of the computer where DAT-MAIL is installed and in a server-with-workstations environment, it would be the Server's computer name.
Most of our Mail Preparers choose to take advantage of the PostalOne! Customer Data table, so we will cover this next.
Continue Enabling PostalOne! Customer Data.