Undocumented - Getting Piece Data - Creating a Data Feed
To create a data feed, perform the following:
-
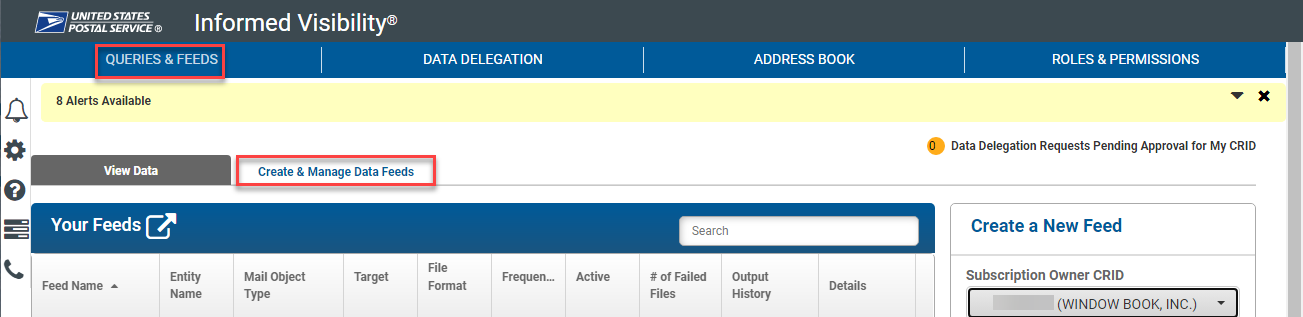
Log into the IV-MTR website.
-
The IV-MTR application’s Queries & Feeds screen displays. Select the Create & Manage Data Feeds tab.
-
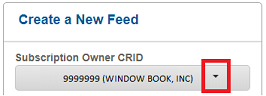
Using the vertical panel on the right, create a new Feed. First, select the Subscription Owner CRID (if more than one exists) by clicking the gray button and selecting from the drop-down provided.
-
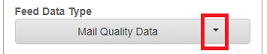
Using the drop-down provided, select Mail Quality Data as the Feed Data Type.
-
Using the drop-down provided, select Delimited as the File Format.

-
Using the drop-down provided, select Comma as the Delimiter type.

-
For the Define Target field, select the Online Download option.
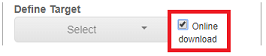
When the Online download option is used, data is only available for seven (7) days. Therefore, if your Company is not using an SFTP server, you must make sure to pull the data to your server or stand-alone before IV-MTR deletes it. The same 7-day restriction does not apply if an SFTP server is used.
If you prefer to receive your data transfer via an SFTP server, click the 'Add a server' hyperlink and add the necessary SFTP server information. Once an SFTP server is set up, the server's name will be provided in the drop-down list for future selection.
-
Using the drop-down provided, leave the File Transfer Format as Un-zipped as the.

-
If using an SFTP server (refer to step 7 above), users can test that the server connection exists and functions by clicking TEST SERVER CONNECTION. If the option Online Download was selected, no testing of the server connection is needed.

-
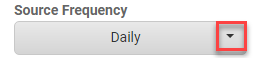
Using the drop-down provided, select a Source Frequency. The Source Frequency includes an identifier in the file name, so the user knows the occurrence of when the report is generated (Daily, Weekly, or Monthly).
If you select Online download, we recommend Monthly, but see DAT-MAIL - Undocumented - Getting Piece Data - Data Request Frequency Recommendations for more details.
-
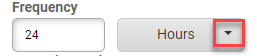
Enter the Frequency settings (how often the feed should request the data in Minutes, Hours, or Days). For Mail Quality Data, we recommend every 24 Hours.
-
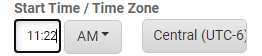
Set the time the data request should begin. We suggest setting it to 10 minutes after your current time.
If a request is set to occur every 4 hours and the request is set to start at 12:00 AM, the first time the data request will happen will be 4 hours after 12:00 AM.
-
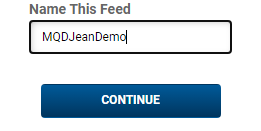
Enter a name to save the feed as. When ready, click CONTINUE.
-
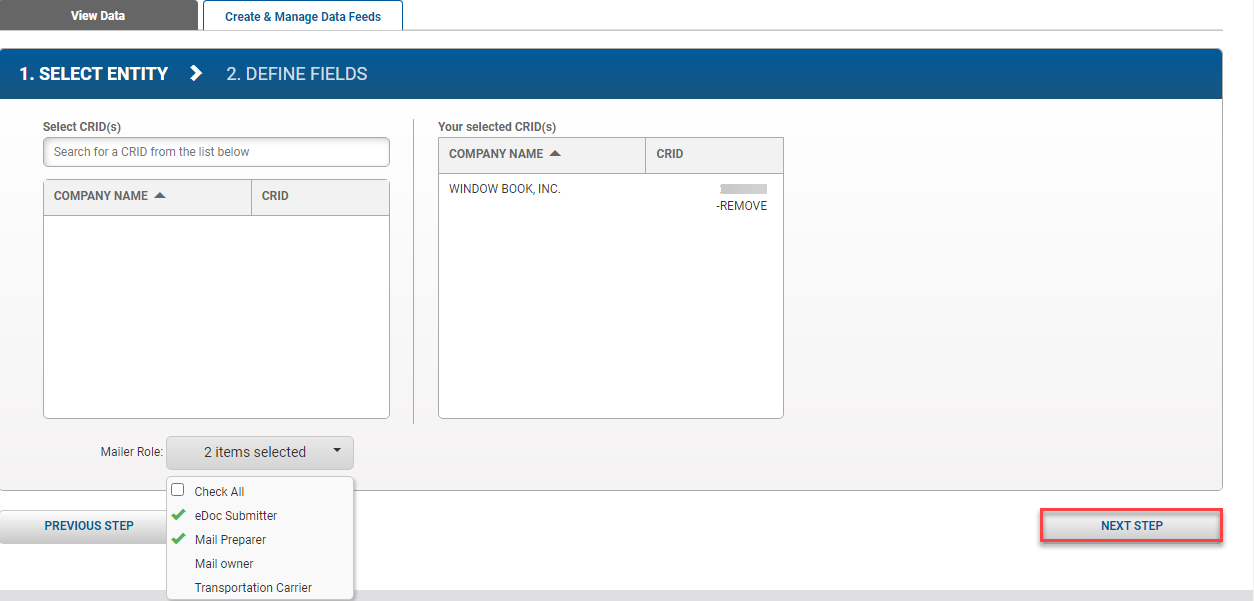
The 1. SELECT ENTITY screen will display. Select the desired CRID in the Select CRID(s) window to request data for.
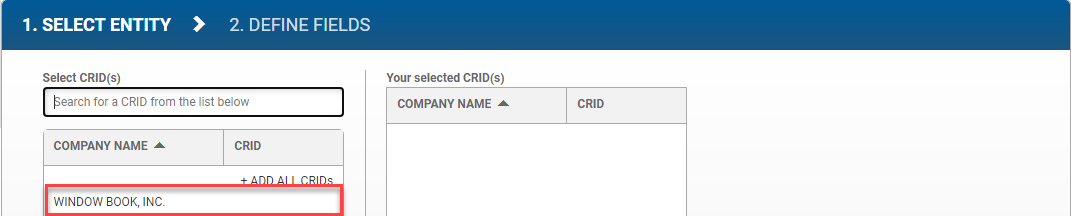
When the CRID is selected, it will move to the Your selected CRID(s) window.
To remove/change a selected CRID, click REMOVE.

-
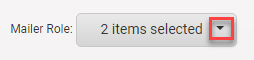
Using the drop-down provided, select eDoc Submitter and Mail Preparer as the Mailer Role.
-
When ready, click NEXT STEP to continue.
-
The 2. DEFINE FIELDS screen will display. For Program, select all programs and for Which Error Type would you like to see?, select all of them.

-
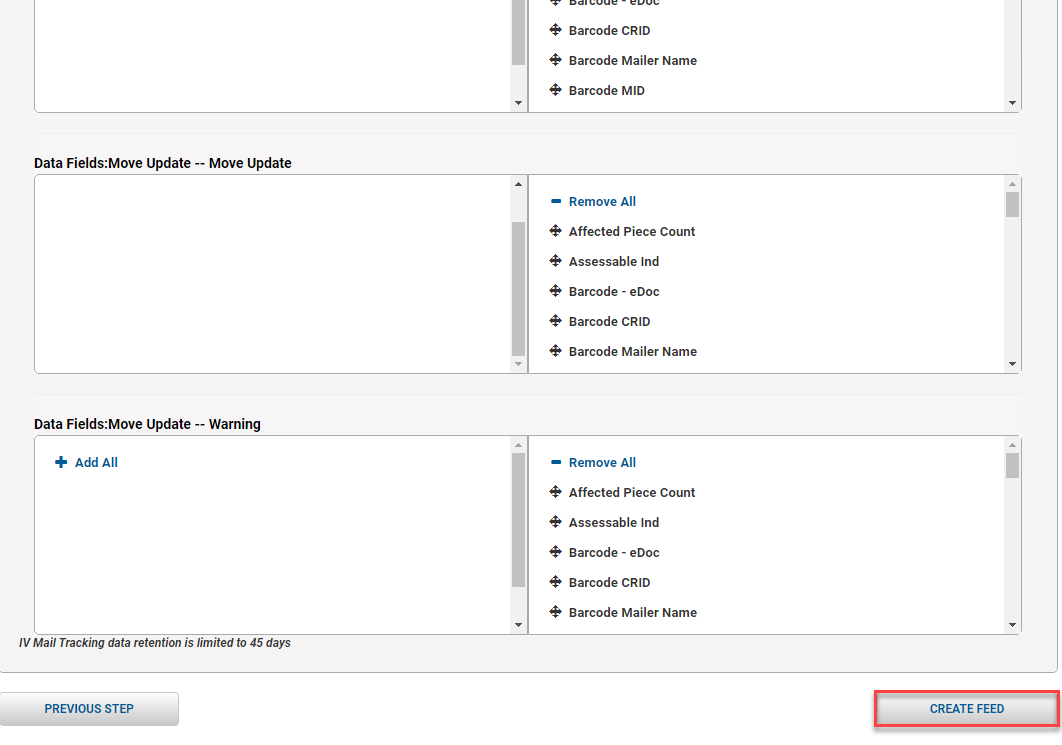
The screen will expand to display the Data Fields: Full Service – MID, Data Fields: Full Service – STID and several more windows for each error type selected. Each window is split. The left side shows the available fields you can select to have included in the data feed. Click the Add All option in every Error Type window.
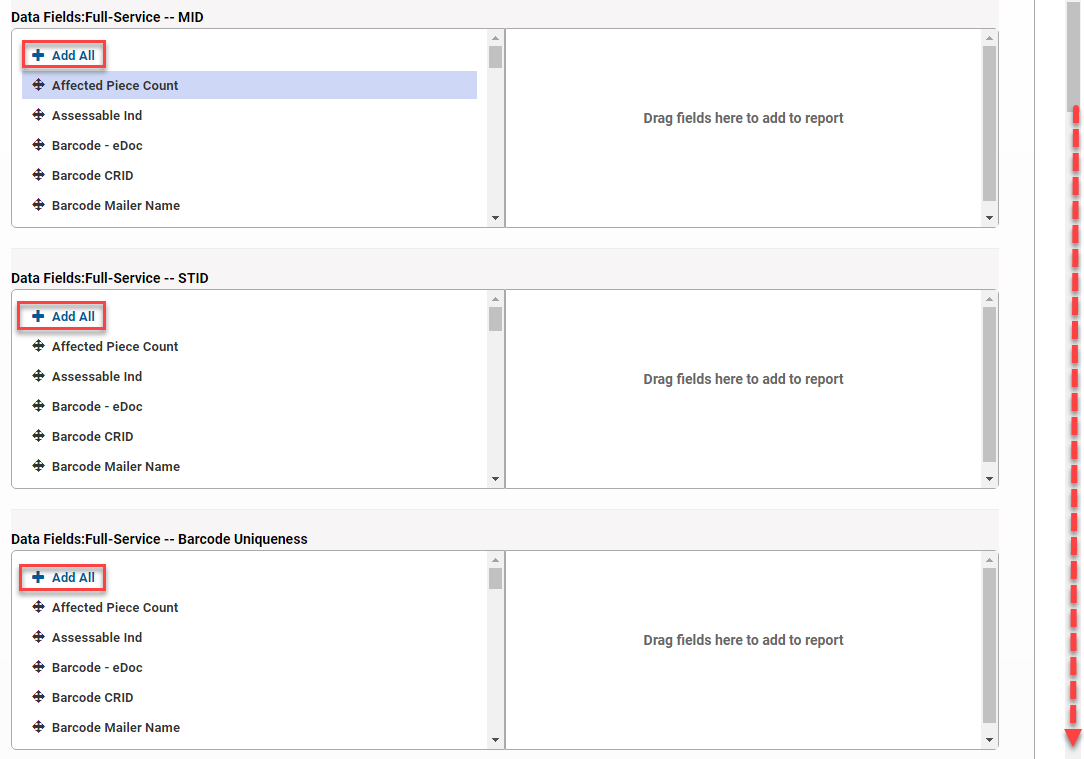
-
All of the available field options will move and display in the window on the right. Data for those fields will be returned in a file. When ready, click CREATE FEED.
-
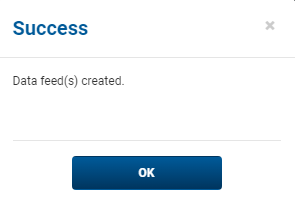
When the feed is created, a confirmation will display. Click OK to close.
-
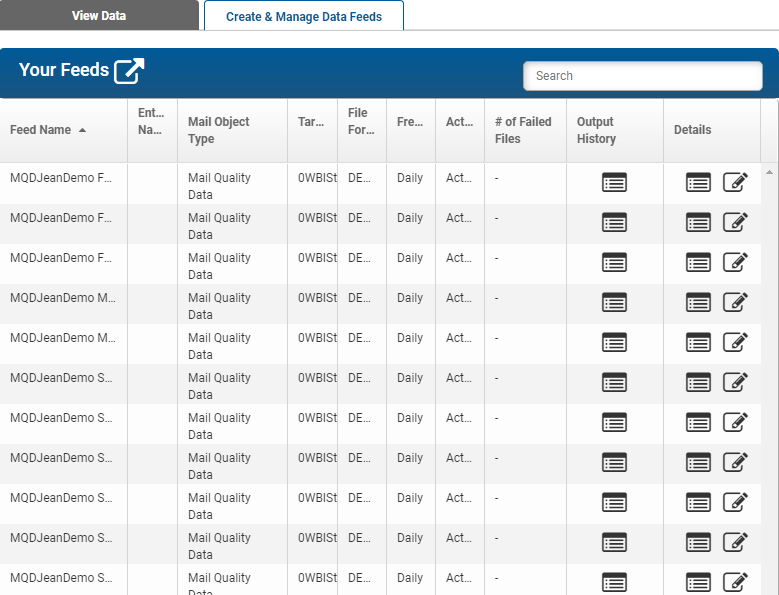
The newly created feeds will display in the list. The list is sorted alphabetically, so you can scroll down or change the sort order to see the feed. If you have more than one location, these steps need to be repeated for each of your CRIDs.
Continue DAT-MAIL - Undocumented - Getting Piece Data - Downloading the Data