Assign Pallets to Manifests - BOL
Once you select a specific manifest (completed on the previous page, Assign Pallets to Manifests - Select Manifest), the next step is to select the desired pallets that should be added to the manifest and included on the BOL (Bill of Lading).
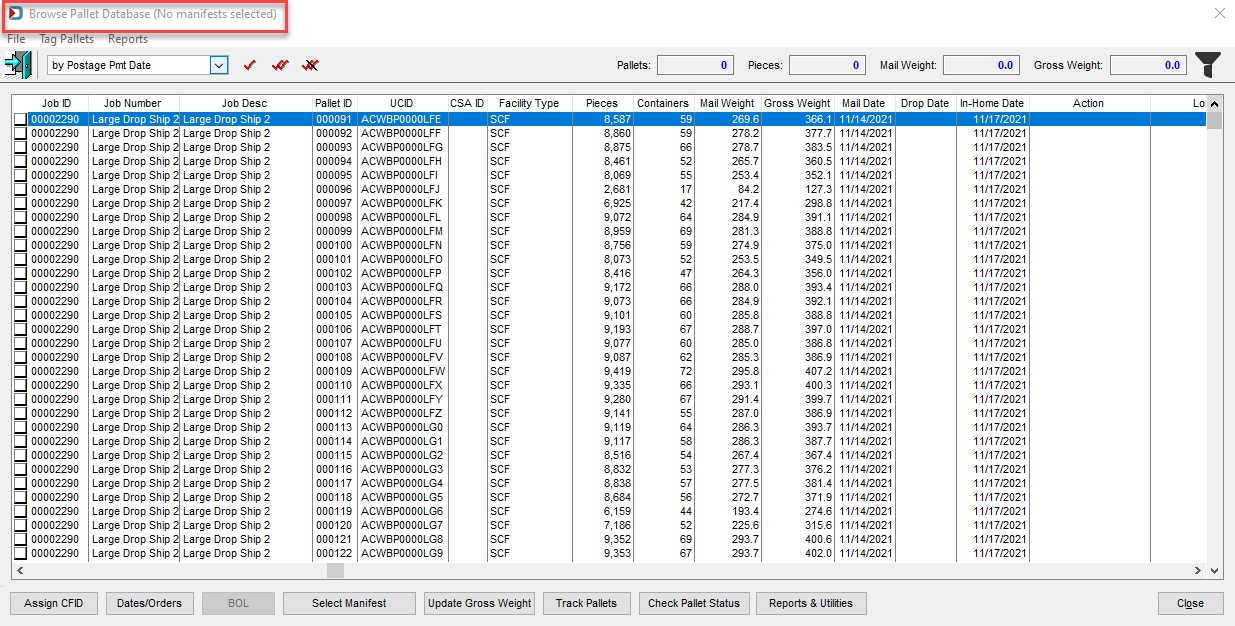
If a manifest is not selected, the BOL will be inactive. The BOL will only be active after a manifest is selected.
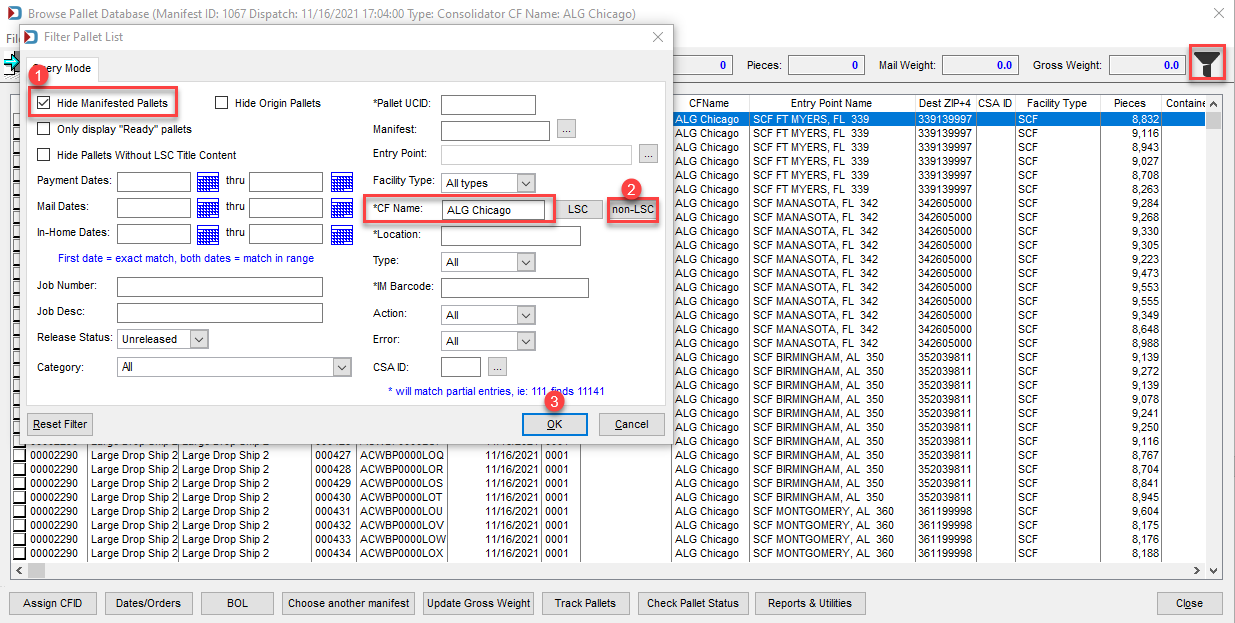
You can make it easier to select pallets by ![]() hiding manifested pallets and
hiding manifested pallets and ![]() clicking LSC or non-LSC in the Filter Pallet List. Both options will pop up a window where you can select the consolidation facility. When ready,
clicking LSC or non-LSC in the Filter Pallet List. Both options will pop up a window where you can select the consolidation facility. When ready, ![]() click OK.
click OK.

-
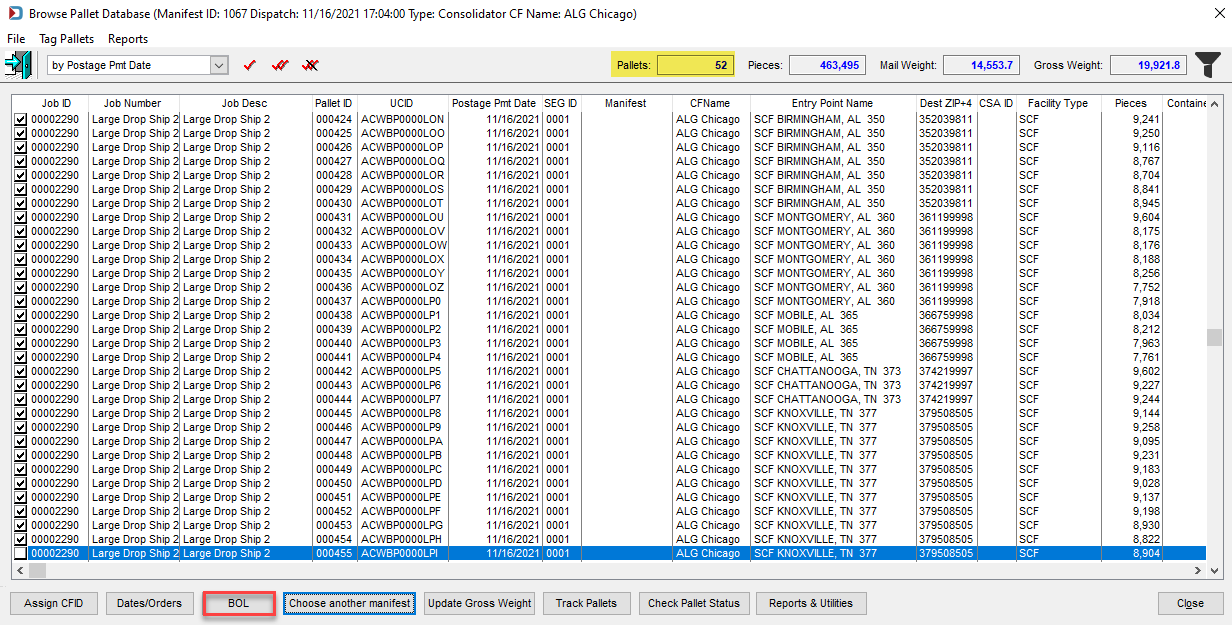
When the desired pallets are selected, click BOL.
If the manifest has a maximum weight or number of pallets, you will receive a warning if you exceed that amount. If you can fit more on the truck, you can click Yes to exceed the maximum. In this example, it is too many pallets, and the response is No. The pallets will have to be selected again. Take advantage of the counter at the top that will indicate the pallets and gross weight.


-
The screen will update. The main Browse Pallet Database screen will display with (No manifest selected), and the previously tagged pallets will disappear since the filter was set to Hide Manifested Pallets.
It also clears the filter you set, except if you chose either of the two sticky options, Hide Manifested Pallets and Hide Origin Pallets. They will remain selected.
The Action column for the pallets added to the manifest will contain a value of Add EBoL.

Warning messages will display if a user attempts to assign tagged pallets to a BOL if any pallets meet one of the following:
-
The pallet has already been added to another manifest.
-
The pallet is Origin entry, which cannot be put on a manifest.
-
The pallet selected does not have a consolidation facility assigned.
-
The pallet is assigned to another consolidation facility.
-
The pallet has a mail date earlier than the manifest's scheduled dispatch date.