Addresses - Creating Addresses
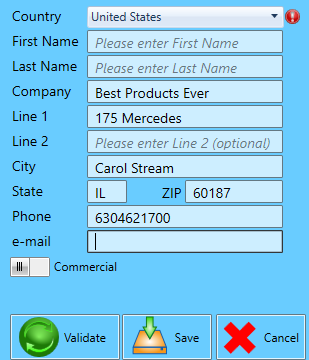
To create an address, click the corresponding Create…Address button(for example, Create Return Address).

In this example, a Return Address is being created.
-
At a minimum, fill in the required fields (noted with an asterisk *).
-
Specify whether the address is a Residential address or a Commercial address by clicking the corresponding toggle switch.
-
When address has been entered, click Validate. Window Book recommends validating addresses to avoid the possibility of undelivered packages and extra fees.
However, you can add and save an address without validating them.
-
After validation is successful, click Save.
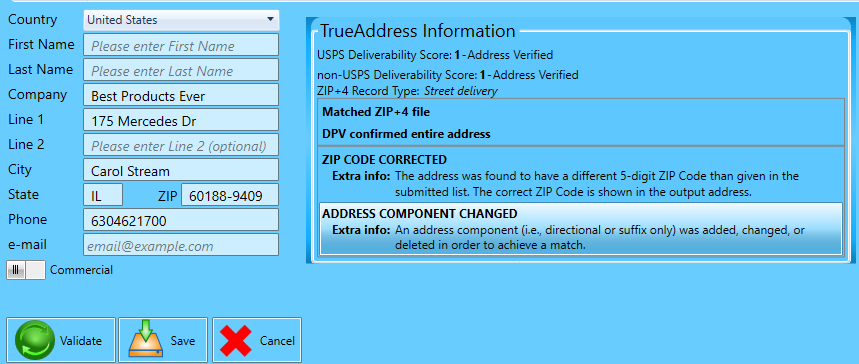
There is information on screen messages and corrections made during address validation on the next page, depending on whether a Default Provider or TrueAddress has been selected.
See Settings > Optional Settings > Address Validation Settings to set TrueAddress for address validation.
Continue Default Provider Validation Option