Installation Steps
To install the Enterprise Shipper (ES) software, perform the following:
-
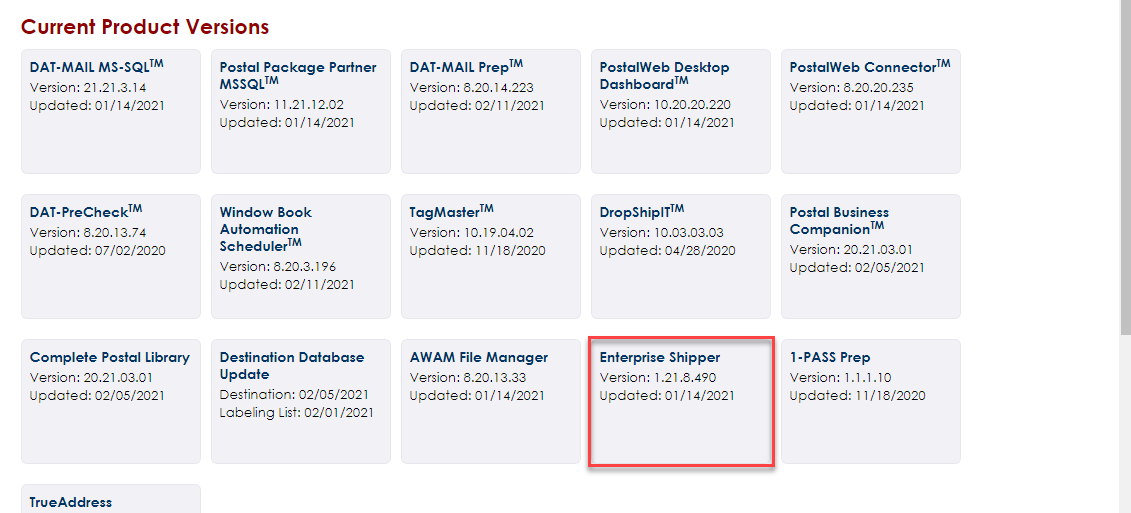
To download the installer, go to https://www.windowbook.com/Support/Downloads, click the Enterprise Shipper™ tile.
-
Close any open Window Book software application.
-
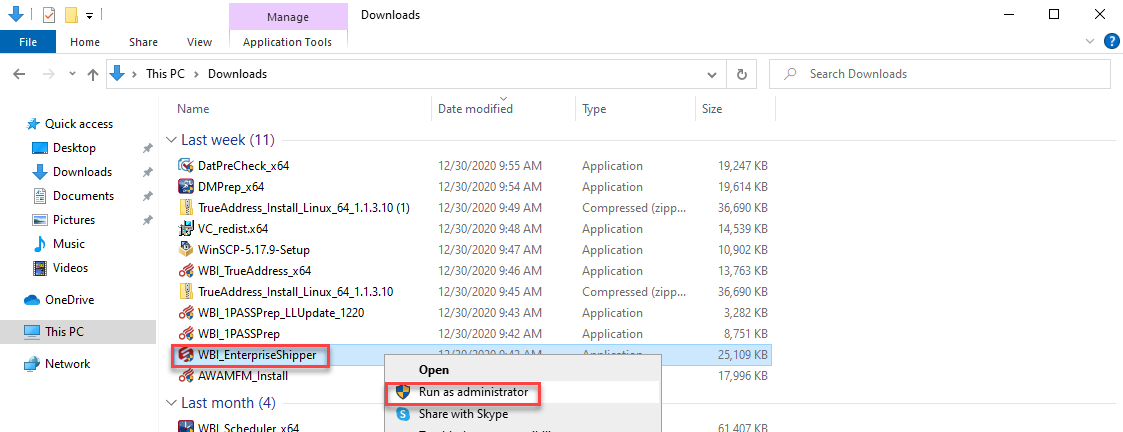
Navigate to the downloaded installation file on the computer or server and right-click on the file to select Run as administrator.
-
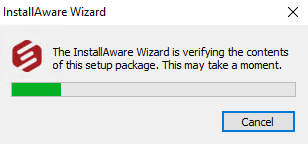
The Window Book InstallAware Wizard will begin to run some automatic system checks.
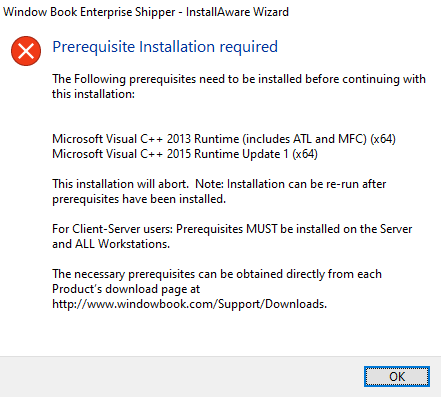
Do not select Skip Prerequisites, cancel out of the installation and install any missing prerequisites listed if the Prerequisite Installation required screen appears:
-
The interactive InstallAware wizard is ready to begin the installation process. Click Next to continue.
-
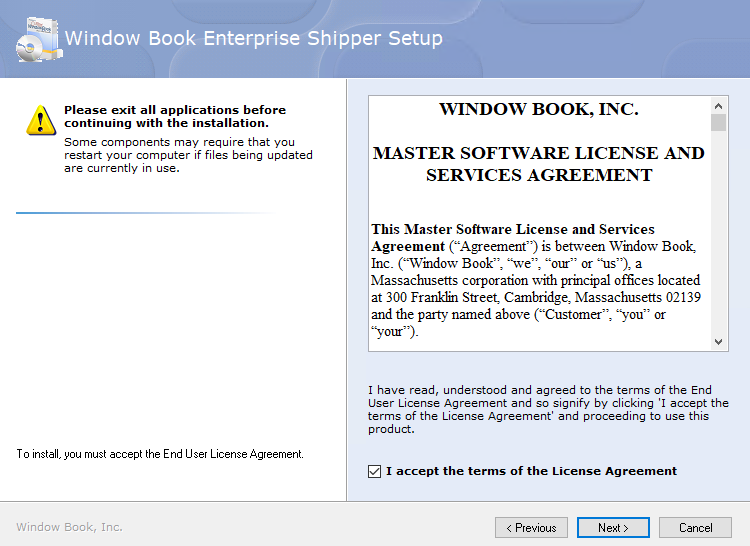
When the Please exit all applicationsscreen appears, select the I accept the terms of the License Agreement checkbox. Click Next to continue.
-
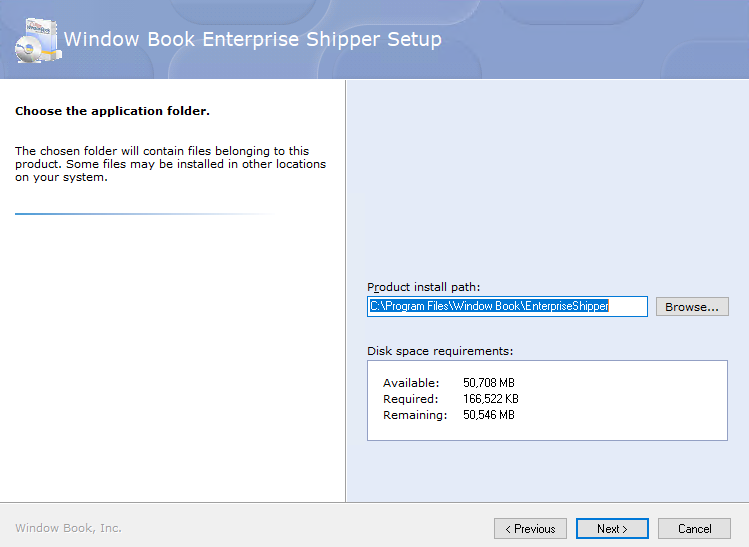
The Choose the application folder screen will display. Click Next to continue.
Window Book strongly recommends using the default provided. However, if installed on a server where program files are on a different drive changing the drive letter to match is okay, but please leave the path structure.

-
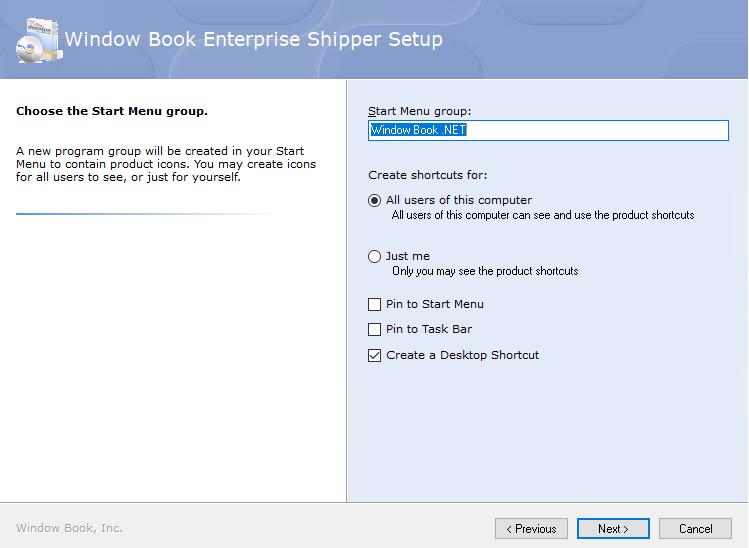
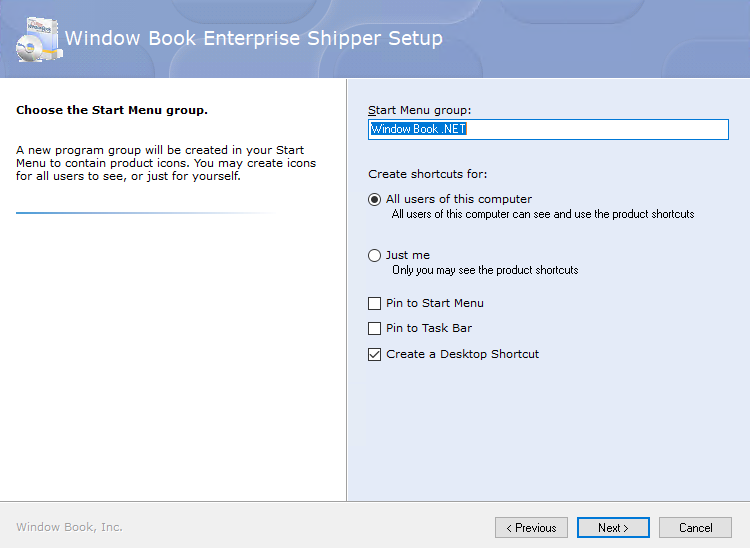
The next screen will ask to create the Start Menu group and some other options to be enabled after the installation is complete. Leave the Start Menu Group as the default and enable any other options as needed (for example, Create a Desktop Shortcut). When ready, click Next to continue.
-
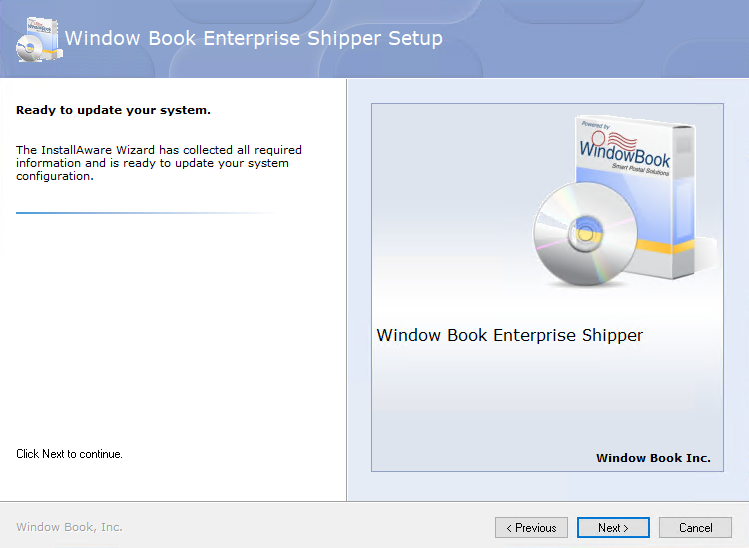
The Ready to update your system screen will appear. Click Next to continue.
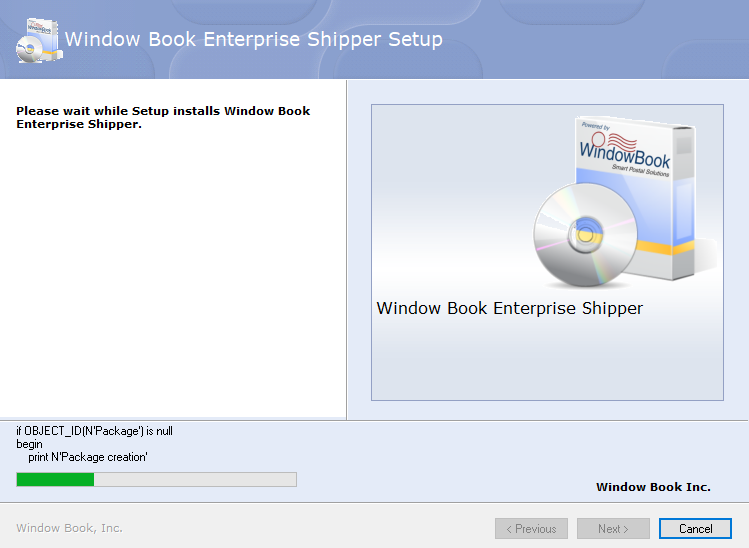
The Please wait screen will display; it will take a few moments to complete set up. The installation will run a series of SQL scripts and copy files to various directories, which, depending on the computer's speed, could take a few minutes to complete.
-
The Microsoft SQL Server® Options screen will display. Either you can use an existing instance of SQL Server (as long as the version is compatible – refer to Product Requirements - Supported SQL Server Versions for more information) or use the installation wizard to install SQL Server Express.
Skip to step 11 if letting the install wizard install SQL Server Express.
If you install ES on a server where another Window Book product that uses SQL Server is already installed (for example, DAT-MAIL), the Microsoft SQL Server Options screen will not display. This is because ES will automatically use the same SQL Server instance that the other Window Book, Inc. product uses (if the version is compatible). Instead, the Choose application folder screen will display.
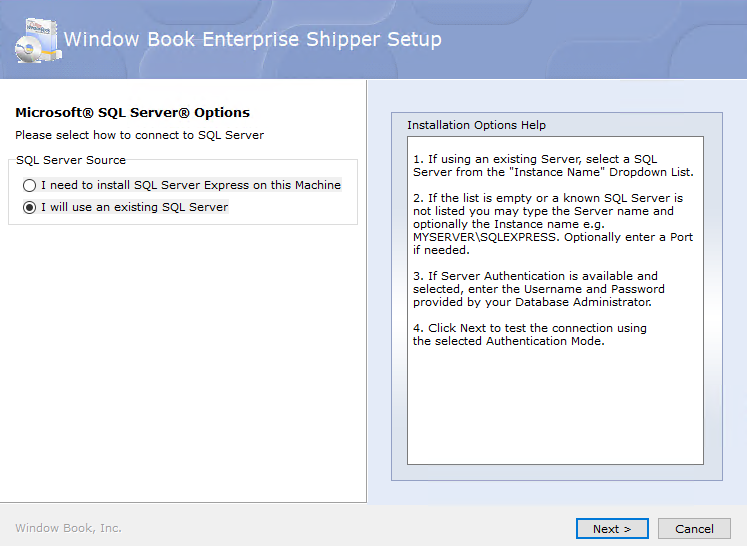
If using an existing instance of SQL Server, leave I will use an existing SQL Server selected and click Next to continue.
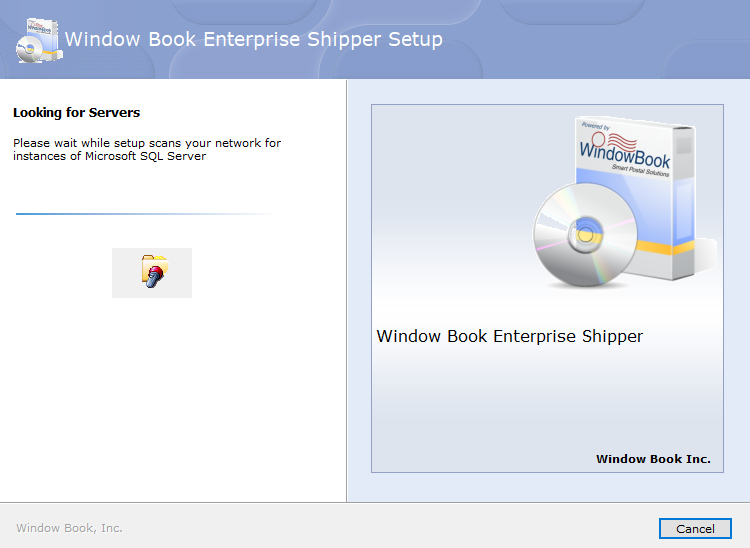
The installation wizard will begin searching for existing instances of SQL Server.
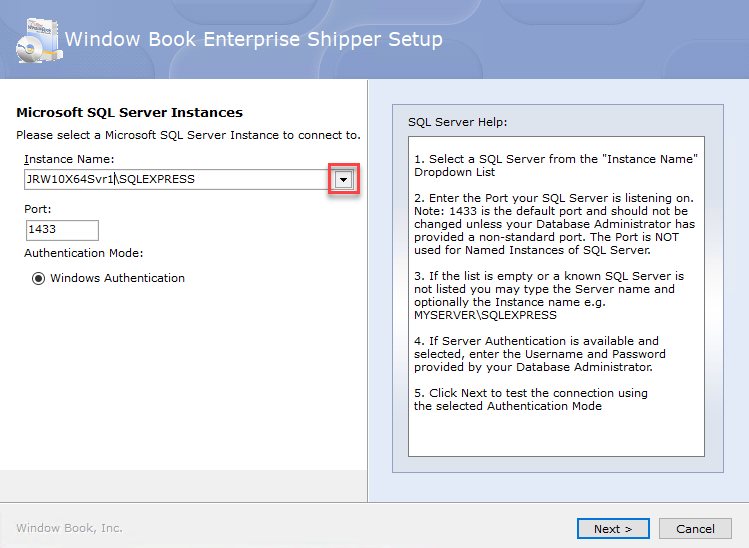
The installation wizard returns a list of found existing SQL Server instances. Select from the list using the drop-down provided. If a known SQL instance does not display in the list, try typing the name of the SQL Server in the field. Once a SQL server is selected, click Next to establish a connection with the SQL Server.
Contact a local IT administrator for information on which port to use if the default port 1433 cannot be used.
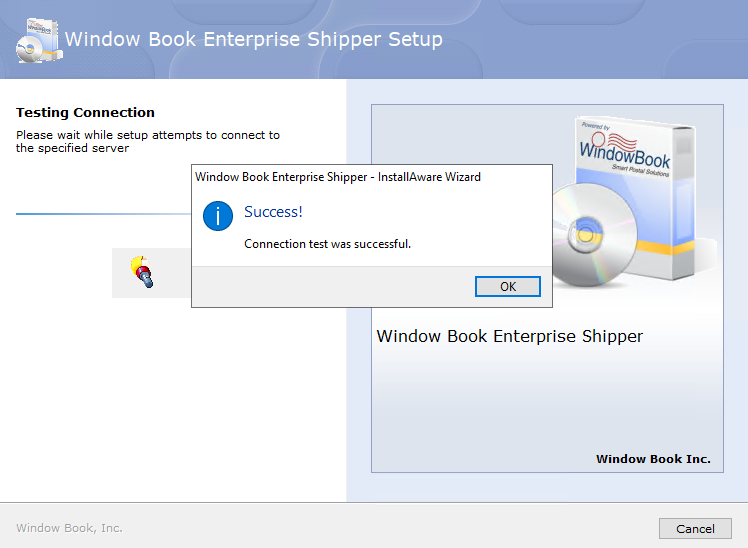
While the installation wizard is attempting a connection with the selected SQL Server, a Testing Connection screen will display. If the connection attempt is successful, a Success! dialog will display. Click OK to move on to the next screen. Proceed to Step 12 in this procedure. Otherwise, see below.
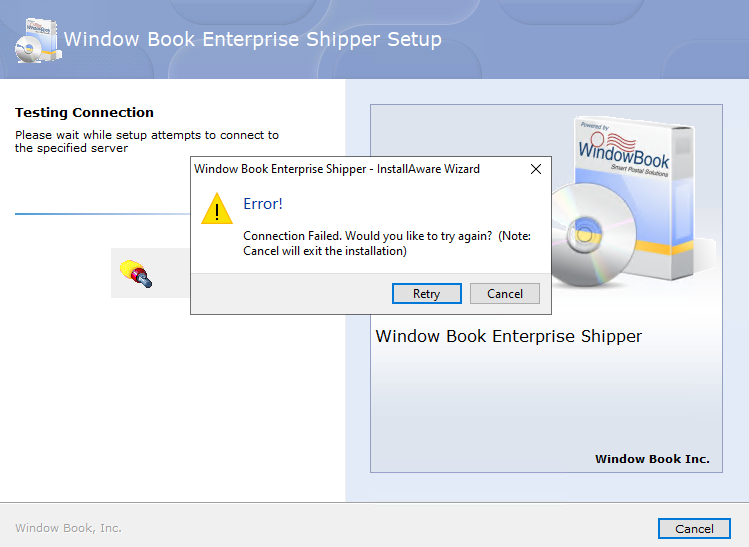
If the connection was not successful, an Error! dialog will display. Click Retry to return to the SQL Server Options screen begin the process again, or click Cancel to cancel the installation.
-
Install SQL Server Express, select I need to install SQL Server Express on this Machine, click Next to continue.

-
The Choose the application folder screen will appear: Window Book strongly recommends using the default path/folder provided; however, the user can select a different folder by clicking Browse. Click Next to continue.
-
The next screen will ask to create the Start Menu group specified and some other options to be enabled after the installation is complete. Leave the Start Menu Group as the default and enable any other options as needed (for example, Create a Desktop Shortcut). When ready, click Next to continue.
-
The Ready to update your system screen will appear; click Next to continue.
The Please wait screen will display. and it will take a few moments to complete setup. The installation will run a series of SQL scripts and copy files to various directories, depending on the computer's speed, could take a few minutes to complete. Skip to step 16 if using an existing SQL Server.
-
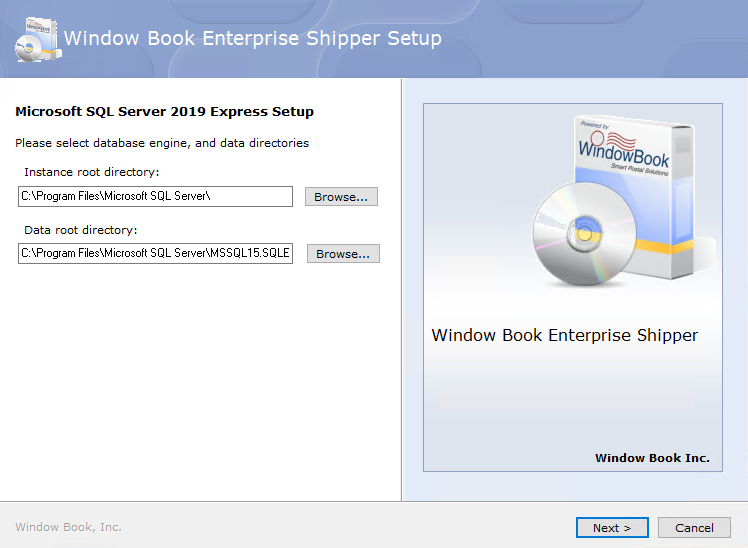
If I need to install SQL Server Express on this Machine that was selected earlier (screen shown below), the Microsoft SQL Server 2019 Express Setup screen will display. Click Next to continue.
Window Book strongly recommends using the default provided. However, if installed on a server where program files are on a different drive changing the drive letter to match is okay, but please leave the path structure.
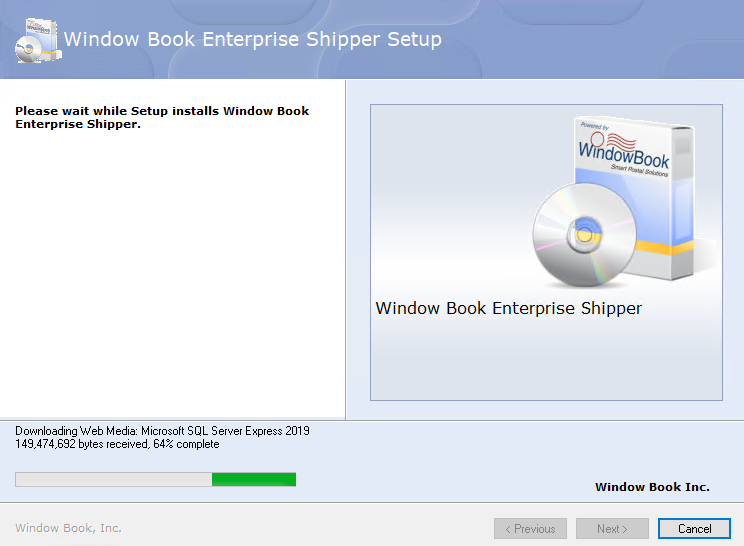
A Please wait screen will display. After that, it will start downloading, then extracting, and lastly installing the Microsoft SQL Server Express; this will take a few minutes.
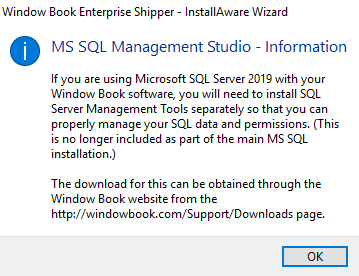
A MS SQL Management Studio - Information dialog will appear as you wait. Click OK.
-
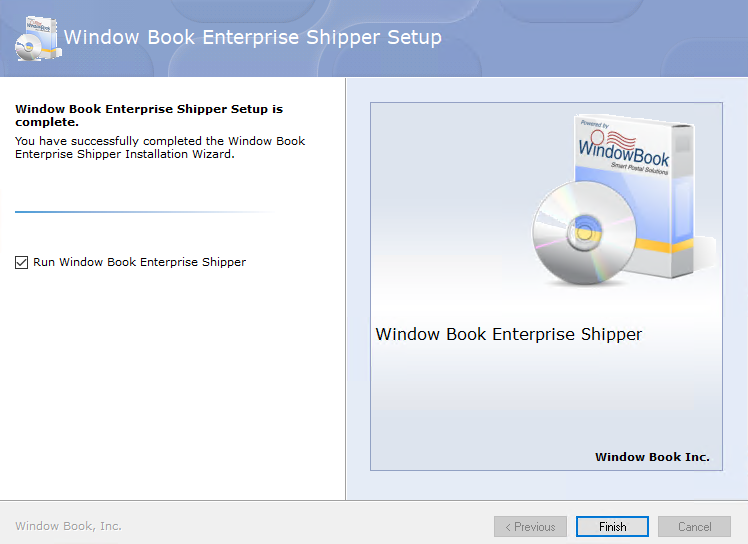
The Window Book Enterprise Shipper Setup is complete screen will appear, click Finish.
-
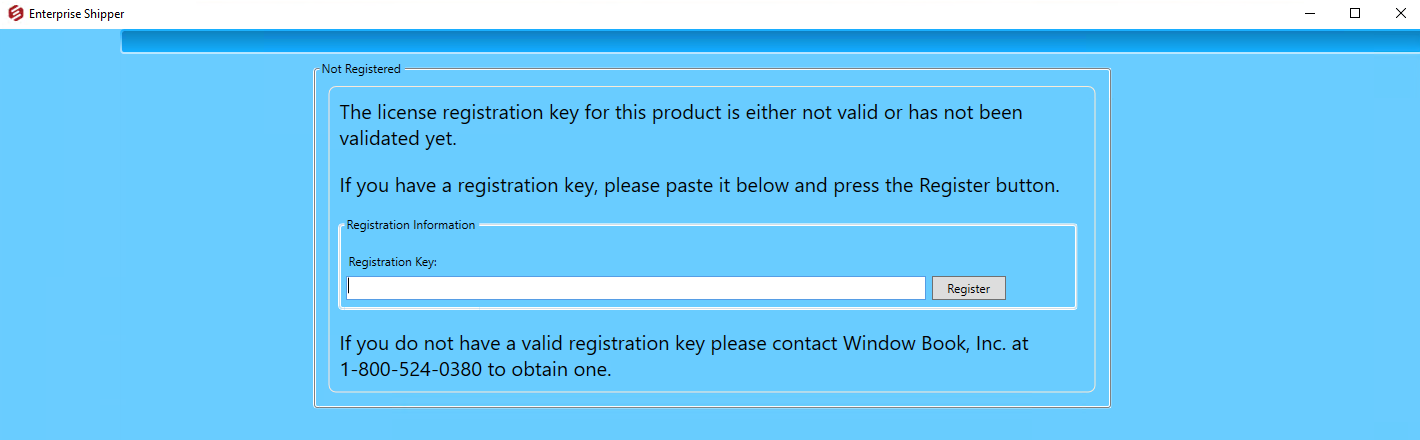
ES will launch to the Not Registered screen, paste in (enter) your registration key, and click Register.
-
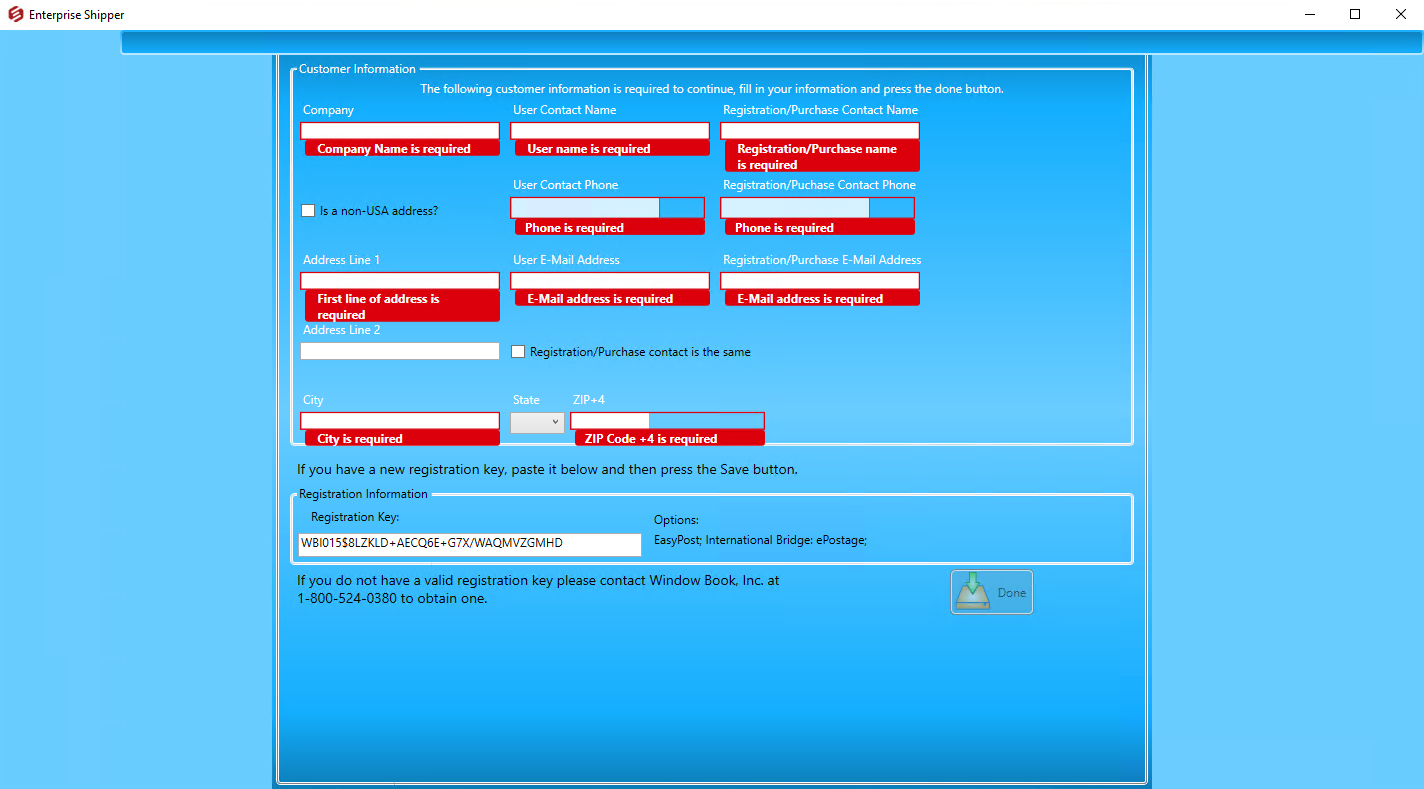
The Customer Information screen will appear, enter your Company and contact information. Populate all required fields.
-
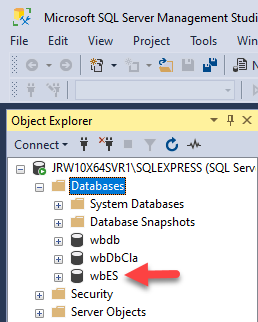
Once complete, click Done.Close ES and Install SSMS. If SSMS is already installed, open it and when a connection is established, the ‘Object Explorer’ screen will display the SQL Server instance and its corresponding directories below it. Within the ‘Databases’ directory, the "wbES" database will be present.
For information on the necessary SQL permissions, refer to the Window Book Product Requirements, FAQ page - Insufficient Permissions.
Suppose ES is being installed on more than one computer at your location. In that case, all installations must point to and use the same SQL Server instance to share data/information among multiple installations of ES!
In ES, the Required and Optional Settings are considered 'global' settings. This means the completion of the setup of these settings in one application installation applies to all application installations that use the same data source/SQL instance. Completion of the Required settings is necessary for using the software. In addition, the application has Workstation Settings specific to an individual installation of the application and will not carry over to other computers using the same data source.
Continue Enterprise Shipper®(ES) - Setup Guide to complete the initial setup required to run ES.