Required Settings - Register for PostalWeb (PWN) Tracking
There are three steps required for enabling Tracking and Notification functionality. These are listed below and must occur in the order they are listed.
-
Register/create your Company's Enterprise Shipper/DAT-MAIL PMOD PWN Site.
If your Company already has a PWN site, you do not need to complete these steps. Instead, you can skip to Required Setup - Provisioning PostalWeb (PWN) Site & Tracking Notifications.
-
Enable the "eDocs" service in the Client-specific PWN site by contacting Window Book's Support Team.
-
Provision your Company's PWN site in ES.
-
(Optional) Add Tracking Notification Contact Information in ES. If someone in your Company wants to receive emails on every package tracking event that occurs.
Once the three required elements are completed, tracking information (including voids) will be accessible on your Company's PWN site as it becomes available.
For more information on the Tracking and Notification feature, refer to the Enterprise Shipper®(ES)- User Guide.
Registering Your Company's PWN Site
Having a PWN site allows you to access tracking information and generate reports for packages.
-
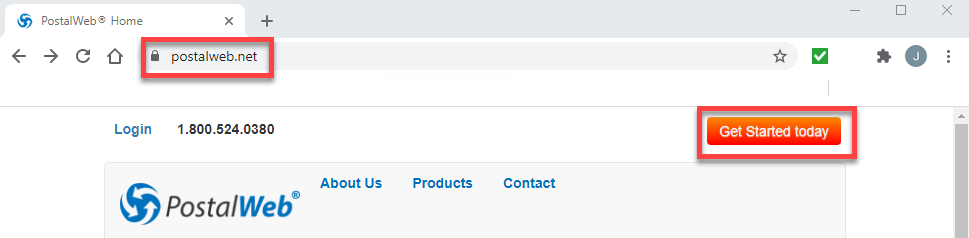
To register/create a Client-specific PWN site, navigate to: https://www.postalweb.net/. Click Get Started Today
 .
.
-
The What Type of Organization? Click to View screen will display. Select Enterprise Shipper/DAT-MAIL PMOD Module, and when Register Today
 appears, click to begin registration.
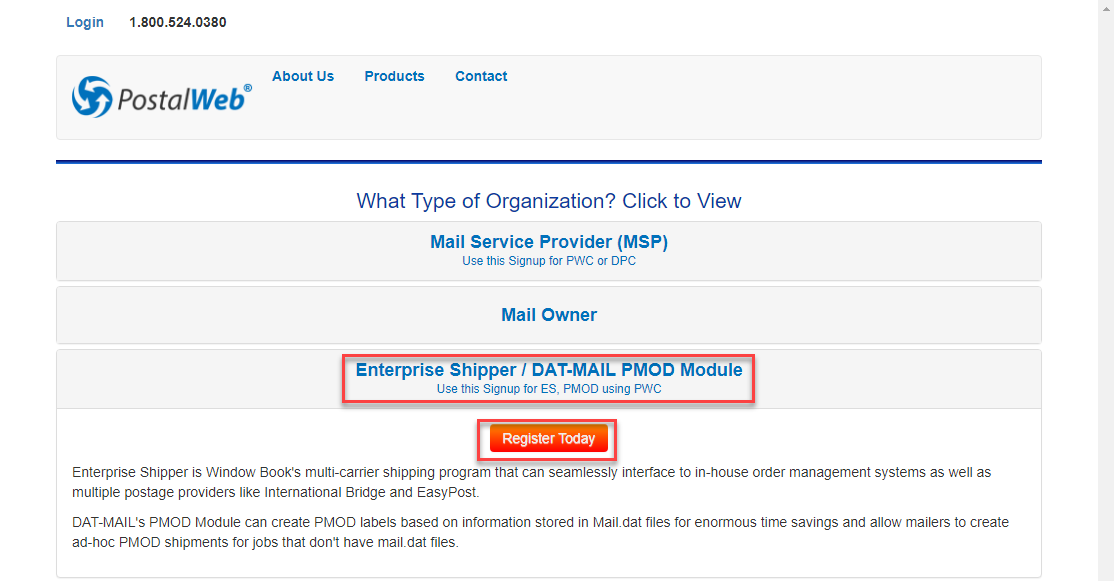
-
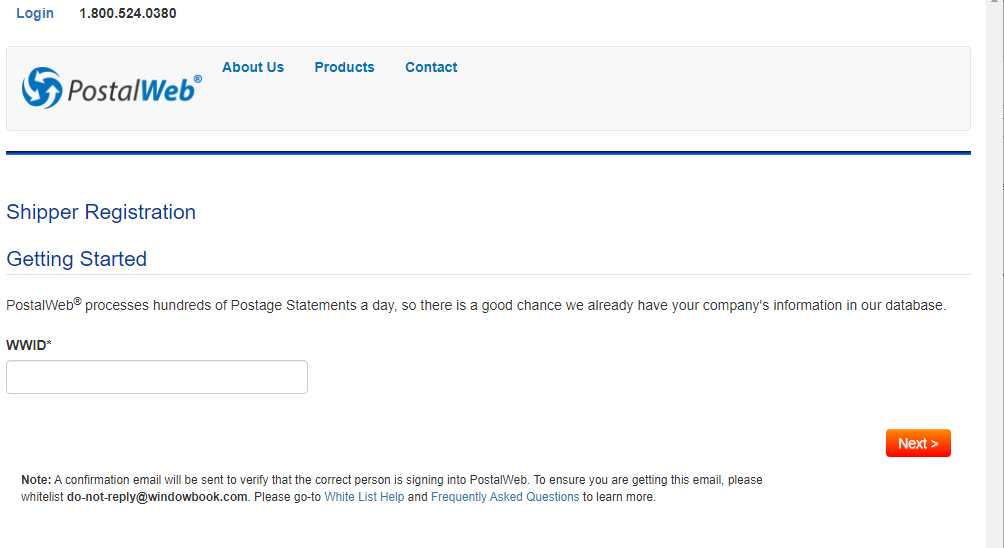
The Shipper Registration – Getting Started screen will display. You must enter your WWID to register; this saves you from entering your Company's address and prevents companies from accidentally creating multiple PWN sites. Click Next to continue.
-
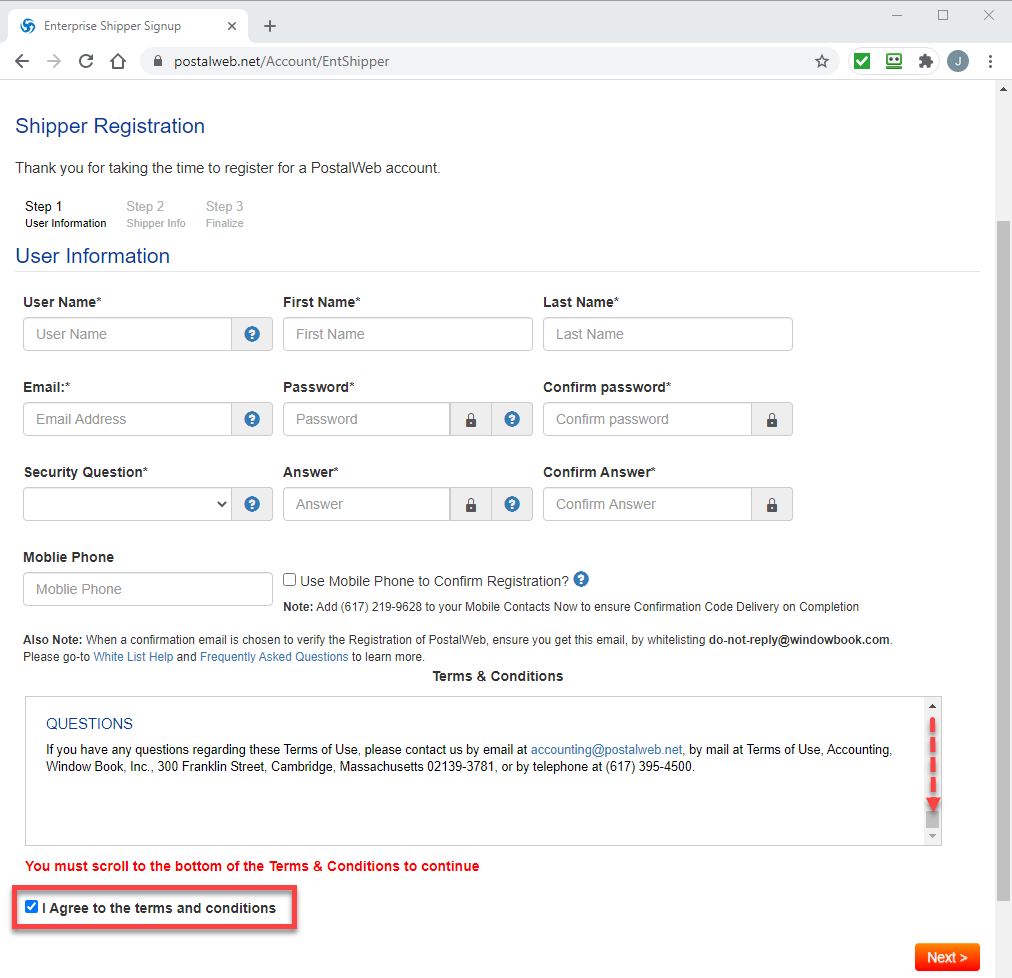
The next Shipper Registration screen appears. Enter the required fields. If wanting to receive a text instead of an email, enter a Mobile Phone and select the Use Mobile Phone to Confirm Registration? checkbox. Please read the Terms & Conditions and select the I Agree to the terms and conditions checkbox.
-
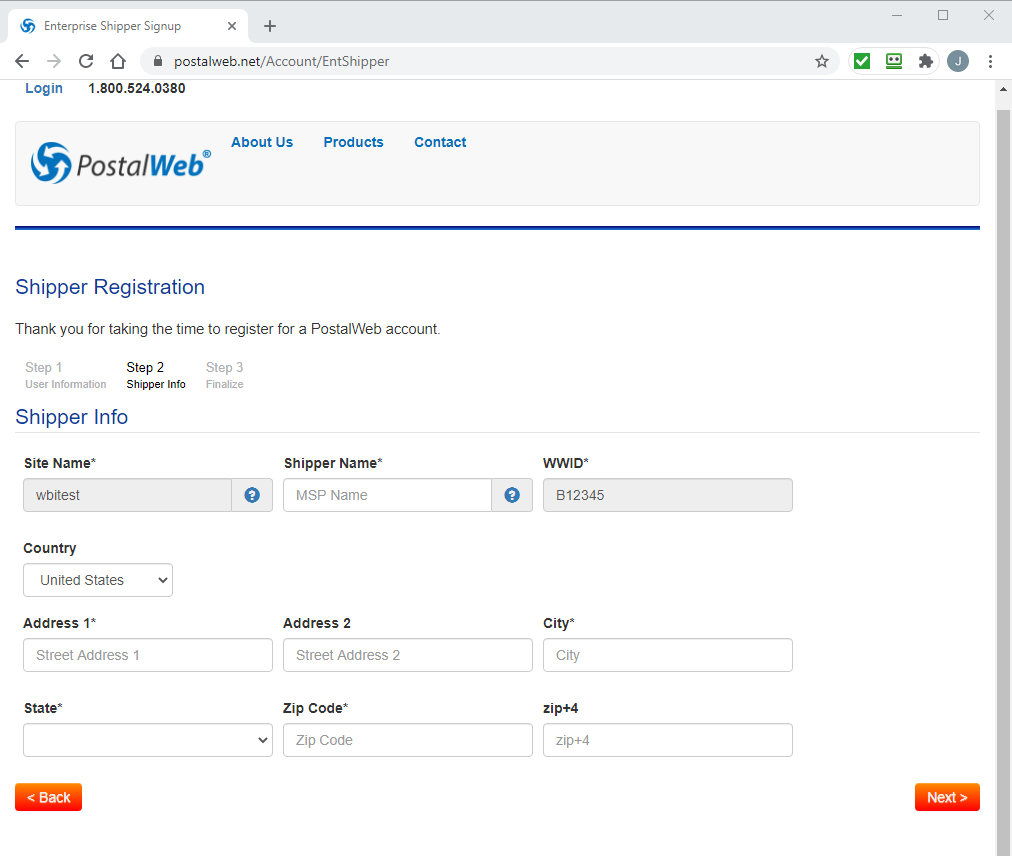
In the next Shipper Registration screen, enter the required fields and click Next.
Please see below for important information about Site Name and Shipper Name.
Site Name: This identifies your Company's PWN site. The Site Name entered will be included in the URL for accessing the site. For example, if the name of the registrant's Company is "ABC Company, Inc.," the registrant could choose to identify their PWN site as "ABCCo." The URL would then look like this: 'abcco.postalweb.net.' No spaces or special characters are allowed when entering the site name.
Shipper Name: Enter the registrant’s full Company name. The name entered in this field will display on reports and emails to customers, so Window Book recommends entering your Company name in its proper format (ABC Company, Inc.).
-
The last Shipper Registration screen appears; confirm your User and Shipper information are correct. Next, select the I'm not a robot checkbox and then click Register.
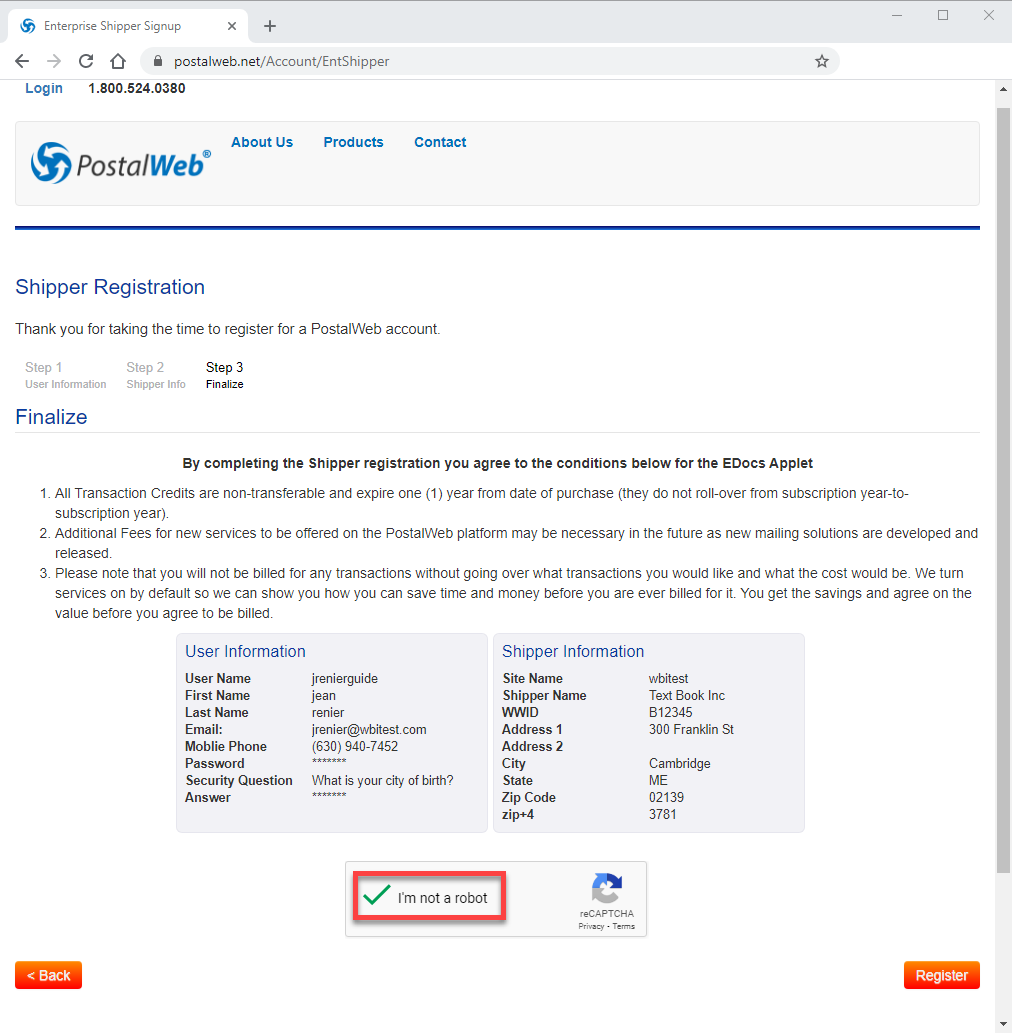
If you choose not to provide a cell phone number, PWN will send an activation email to the address provided during registration. Until the link in the email is clicked, the registered PWN site will not be available!
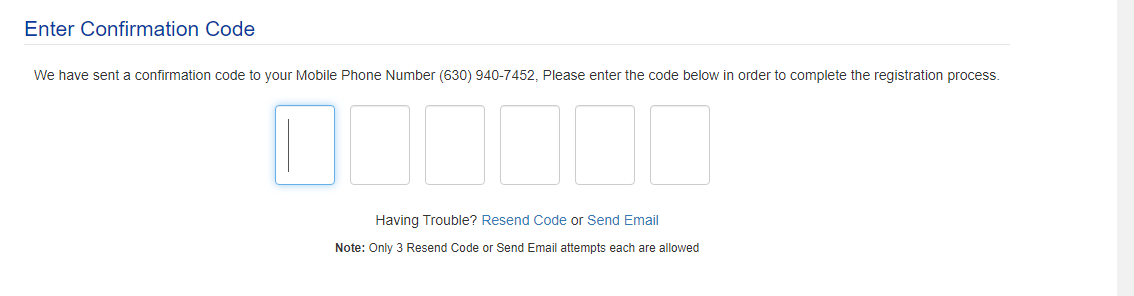
If you requested confirmation via a mobile phone, the following screen below will appear to enter the code.
-
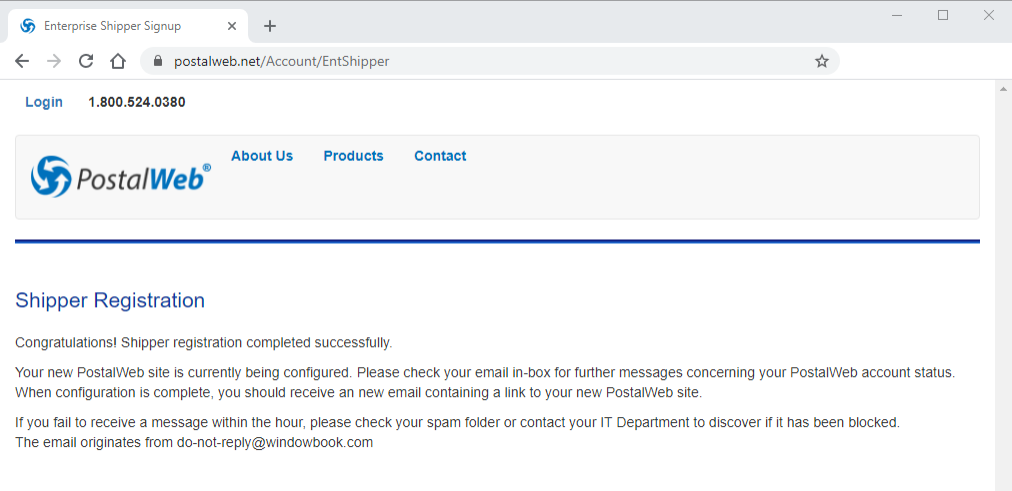
The Shipper Registration - Congratulations! screen will display. Log in to the website and continue with registration.
-
If you have a newly registered PWN site, you must contact Window Book Technical Support to enable the correct PostalWeb permissions before attempting to provision their PWN site in ES. Support enables the "eDocs" function.
-
While waiting for a response from Support, you can set up your return address.
-
After receiving a response from Support, see Required Setup - Provisioning PostalWeb (PWN) Site & Tracking Notifications.
Continue Add Return Address