Step 1 (continued) - Scheduler -Install Using an Existing SQL Server
-
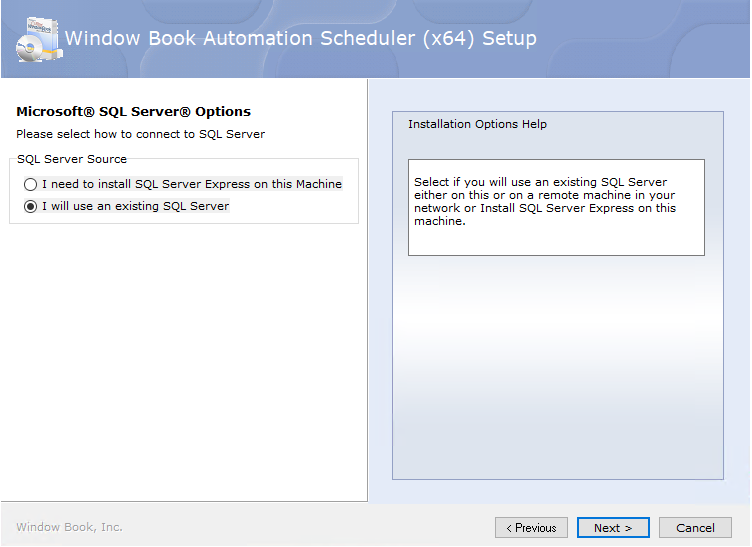
The Microsoft SQL Server Options screen will display. You have chosen the option to I will use an existing SQL Server. Click Next to continue.
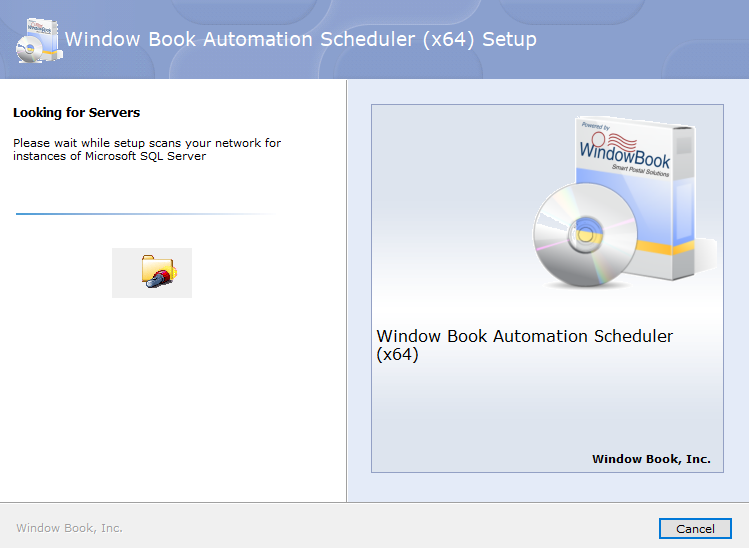
The Looking for Servers screen will appear.
-
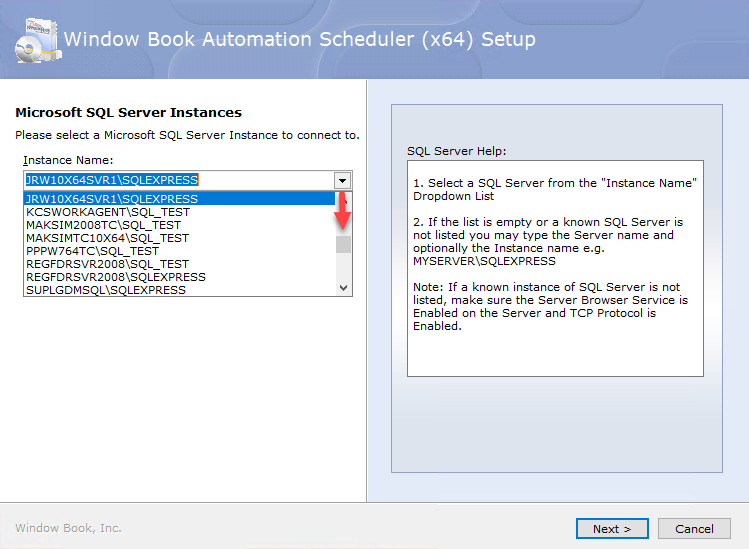
Once it finds a SQL Server, the Microsoft SQL Server Instances screen will appear, click the Instance Name drop-down, select the appropriate SQL Server Instance and click Next.
If the SQL Server Instance is not in the provided list, the user can type the instance in the field and attempt to connect it.
-
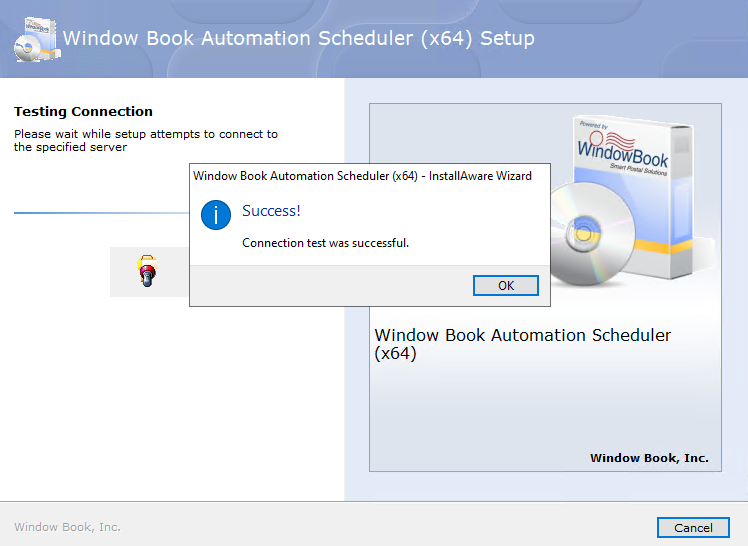
A Testing Connection screen will appear, and when a connection to the existing SQL Server Instance is confirmed a Success! dialog will appear, click OK.
-
The Choose the application folder screen will appear; click Next to continue.
Window Book strongly recommends using the default provided. However, if installed on a server where program files are on a different drive changing the drive letter to match is okay, but please leave the path structure.

If TMS is a plug-in, the following screen shown will be the TMS Folder Options screen. This screen allows you to specify the type of scan you will. Then the installer will automatically create the data folders for those scans. The default scan type is WBI Scan. If you are unsure, you can select all three types.
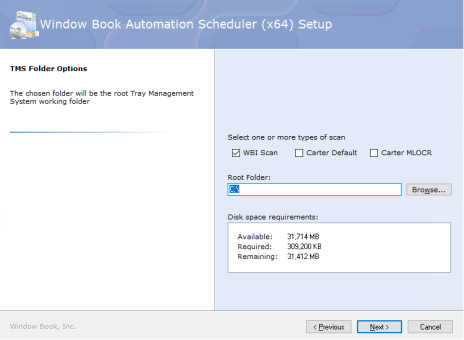
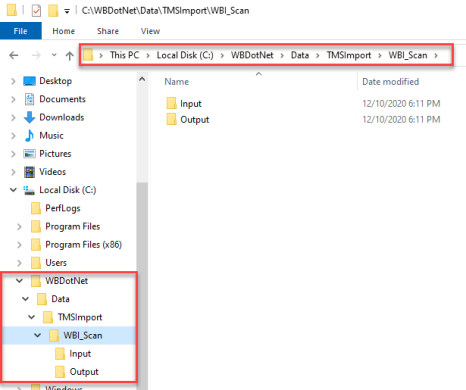
When the Scheduler installation completes, the input and output data folders for each scan type enabled in the TMS Folder Options screen will be automatically be created under the ‘WBDotNet’ directory on the computer or server.
-
The Choose Start Menu group screen will appear. It has the Start Menu group specified and provides other options to be enabled (for example, Create a Desktop Shortcut. Leave the Start Menu Group as the default and select the other options as needed). When ready, click Next to continue.

-
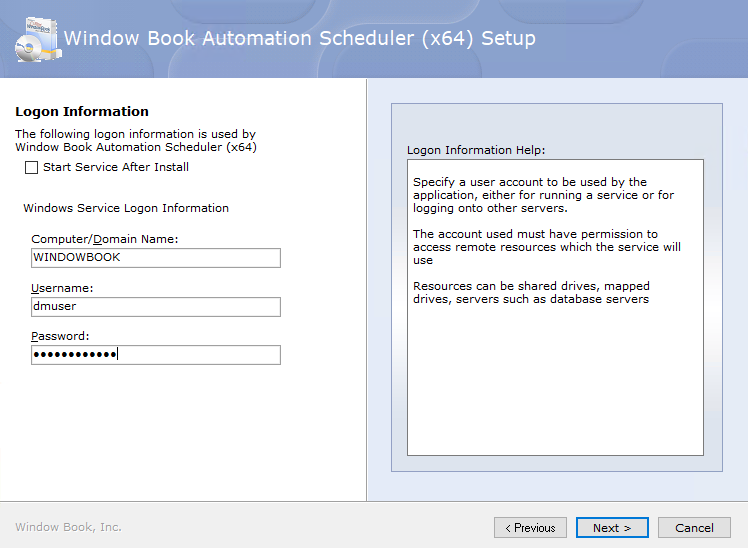
The Logon Information screen will display. Here the installer sets up a service called the Window Book Scheduler service. The steps are below.
Leave the Start Service After Install checkbox deselected. If enabled, depending on the server or computer’s settings, errors may occur during installation that results in the installation not completing successfully.
Windows Service Logon Information:
The Computer/Domain Name will default to the name of the computer or server that the Scheduler is installed on.
The Username will default to the login ID used to log onto that same computer. Therefore, you need to change the Username to your service-specific logon and then enter its Password.
See Service Log On Permissions for more information.
There will be instructions on starting the service after the installation and registration steps are complete.
-
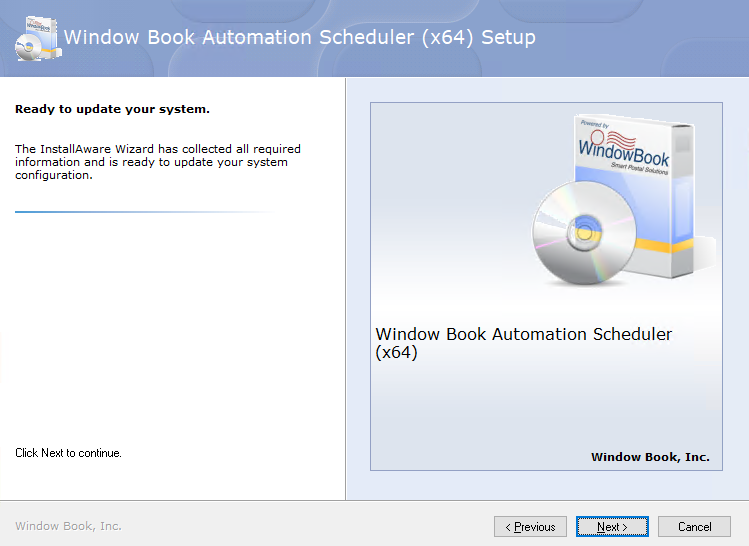
The Ready to update your system screen will appear. Click Next to continue.
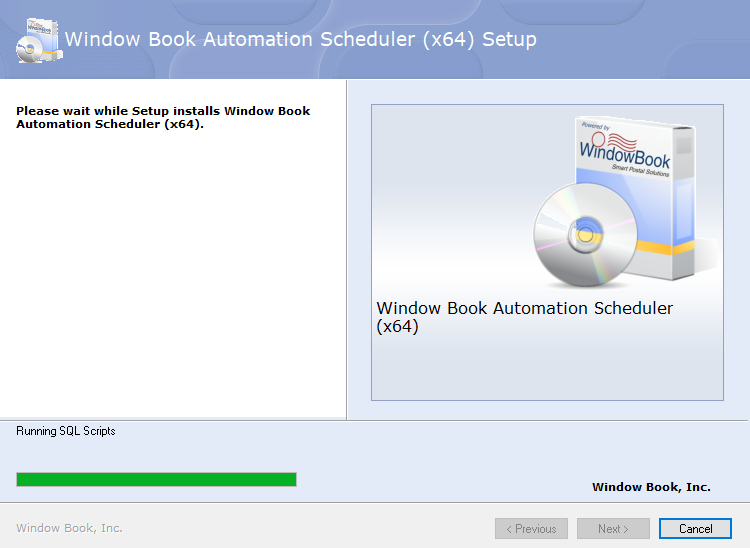
Please wait screen will display, and it will take a few moments to complete the setup.
-
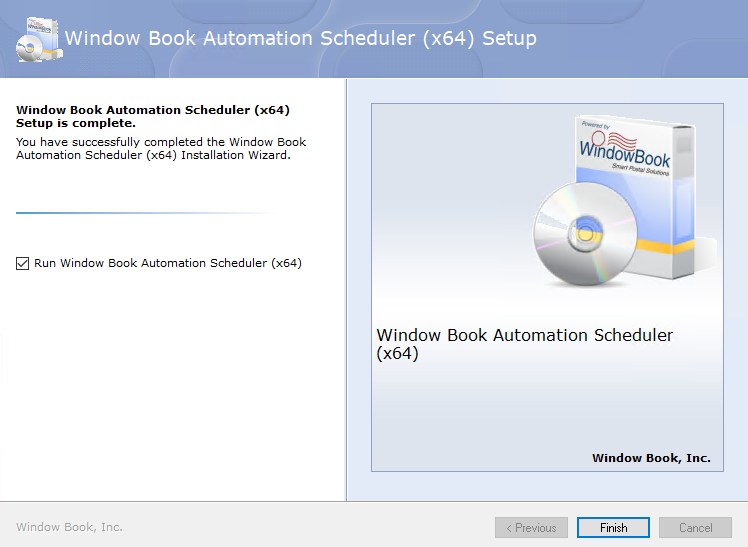
The Window Book Automation Scheduler (x64) Setup is complete screen will appear, click Finish.
-
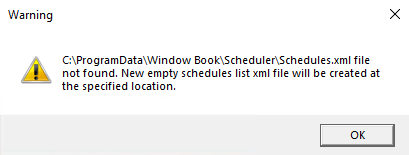
A Warning dialog may appear; click OK.
-
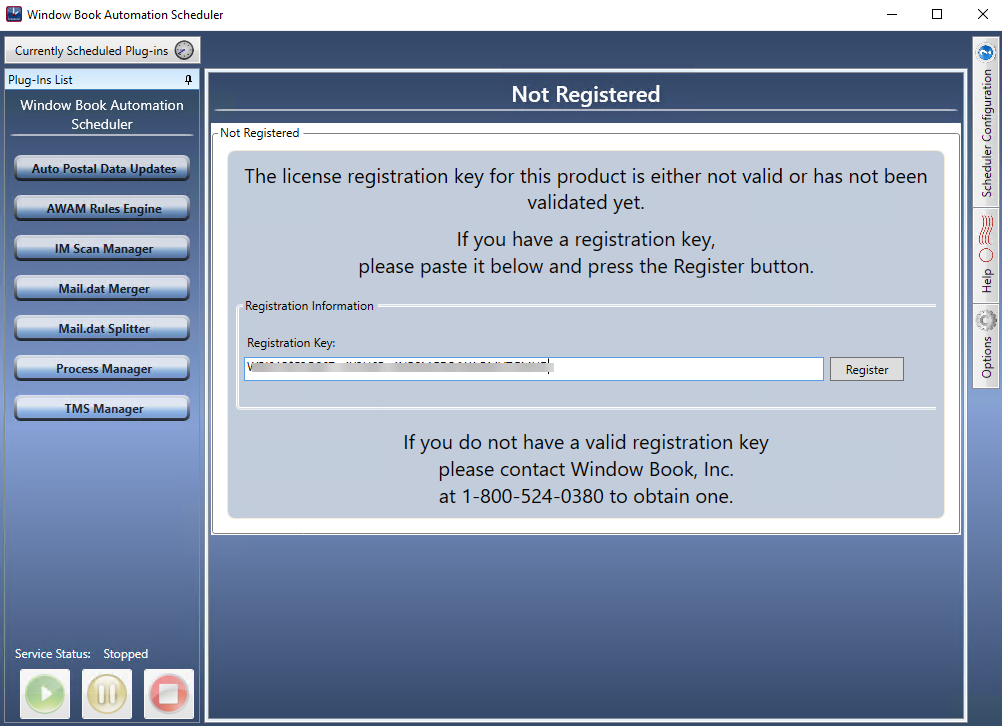
After a few moments, Scheduler will launch to the Not Registered screen, paste or enter the registration key provided. After you enter the key, click Register.
-
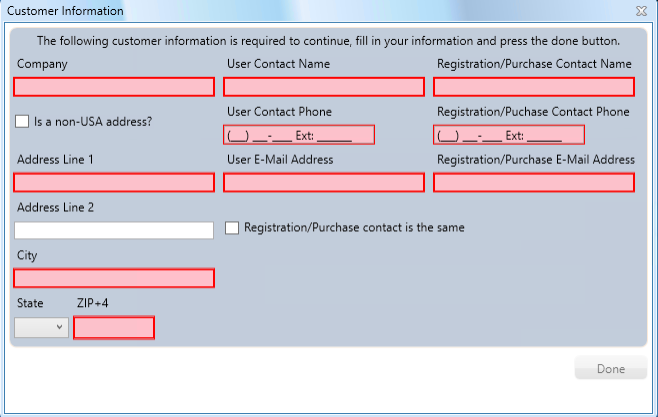
The Customer Information screen will appear, enter your Company and contact information. Once complete, click Done.
The User Contact Name and User E-Mail Address are used when you create a help ticket.
-
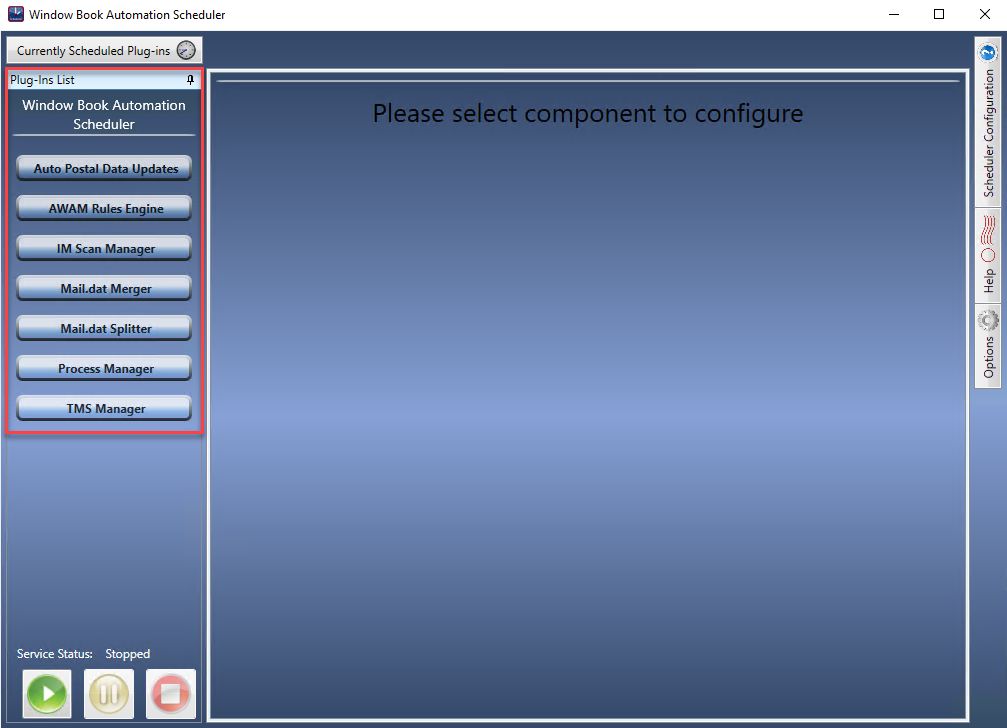
The Scheduler main screen will display. Installed plug-ins enabled through the registration key will display in the menu to the left. Confirm that the plug-ins selected during the installation are listed.
-
At this time, before attempting the installation of PostalWeb Connector (PWC), you must start the service and then run the Scheduler for a few moments.
You will see that the current Service Status is Stopped.
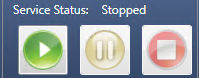
Click
 Start to change the status to Running.
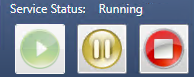
After the service has run a few moments, click
 Stop.
Stop. If the Service does not start, then see Scheduler - Starting the Service - Required. Keep Scheduler open; once you resolve the issue, make sure to Start the Scheduler Service within the application, before installing SSMS, if applicable and PWC.
-
Close Scheduler.
We assume that you already have SSMS installed, so you are ready to install PWC.
Continue Step 2 - PostalWeb Connector (PWC) Installation Steps.