AWAM - Creating a Post Process Profile
For a description of Post Process profiles, refer to AWAM - Post Process Profiles.
Post Process profiles are used in conjunction with DAT-MAIL’s AWAM Post-Import Process Mail.dat Files utility, which is used with Mail.dat files that have already been imported into DAT-MAIL. They can be created before use from within AWAM or created while using the utility mentioned above.
This section describes how to create a Post Process profile through AWAM (ahead of time). Instructions for using/applying a Post Process profile can be found under AWAM - DAT-MAIL's Post-Import Process Mail.dat Files Utility.
Post Process profiles can be created from the server, a stand-alone, or a workstation in a server-with-workstations environment. To create a Post Process profile, perform the following:
This procedure assumes that AWAM has already been launched at least once on the server.
-
From DAT-MAIL, click the
 AWAM icon to launch AWAM.
-
The Control Center will display. Click the Edit Profiles.

-
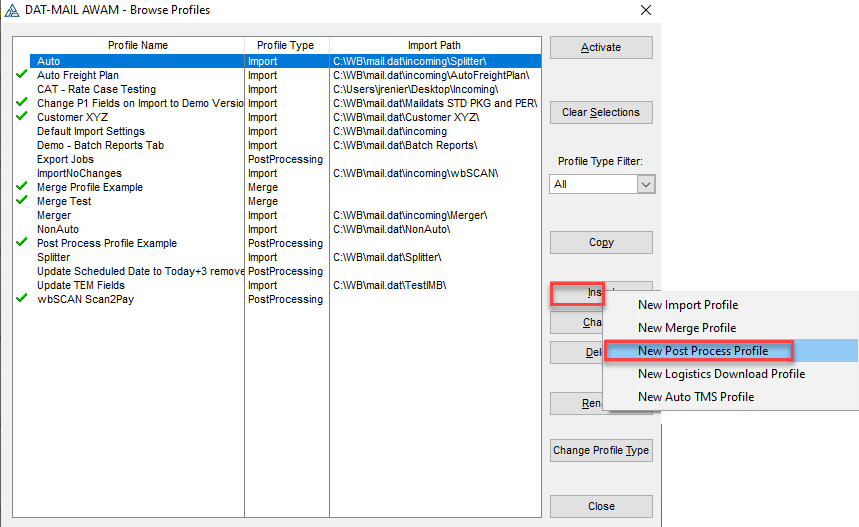
The Browse Profiles screen will display. Any previously created profiles (active and deactivate) will be listed, along with the import path they use. To create a new profile, click Insert and select New Post Process Profile.
-
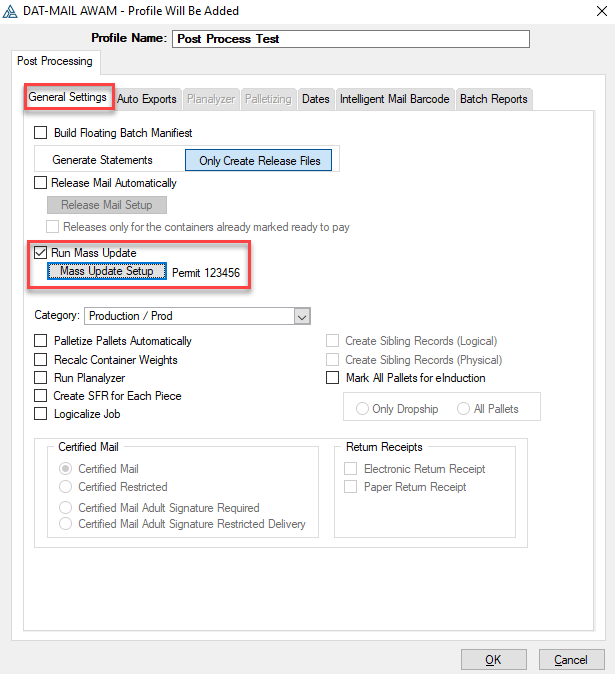
A Profile Will Be Added screen will display. Enter a profile-specific name (in the example here, "Post Process Test" is entered for the Post Process profile’s name).

-
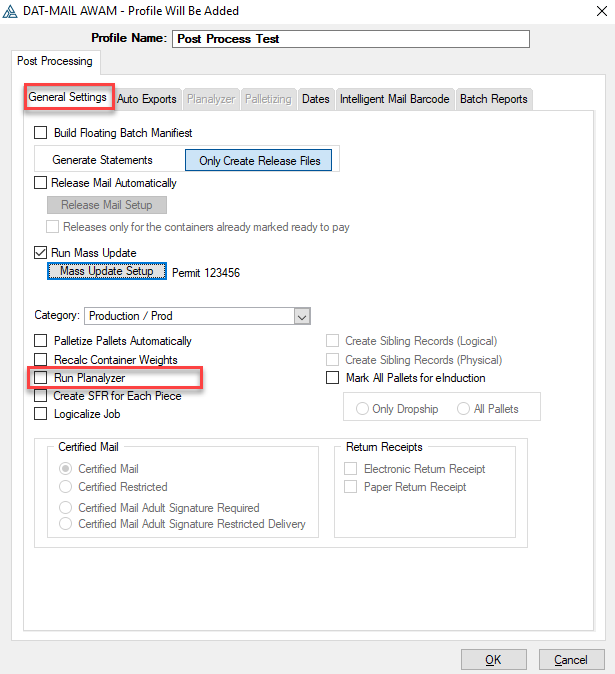
From within the screen’s General Settings tab, set or enable any of the available actions that should occur in the selected Mail.dats in DAT-MAIL.
If an option exists in both DAT-MAIL and an AWAM profile, the options in the AWAM profile will override the DAT-MAIL setting when files are imported, merge, or have post-processing actions applied to them using that profile.
The Apply Mass Update function is enabled in the example here, and the existing Mass Update Profile of ‘Permit 123456’ is selected. This Mass Update Profile is set up to change any existing permit to a permit value of “123456” in the Mail.dat’s MPA file.
For more information about the Run Mass Update function, refer to AWAM - Creating and Using the Run Mass Updates Function.
As mentioned in AWAM - Post Process Profiles, please check out using the Category field, see File > Category Maintenance.
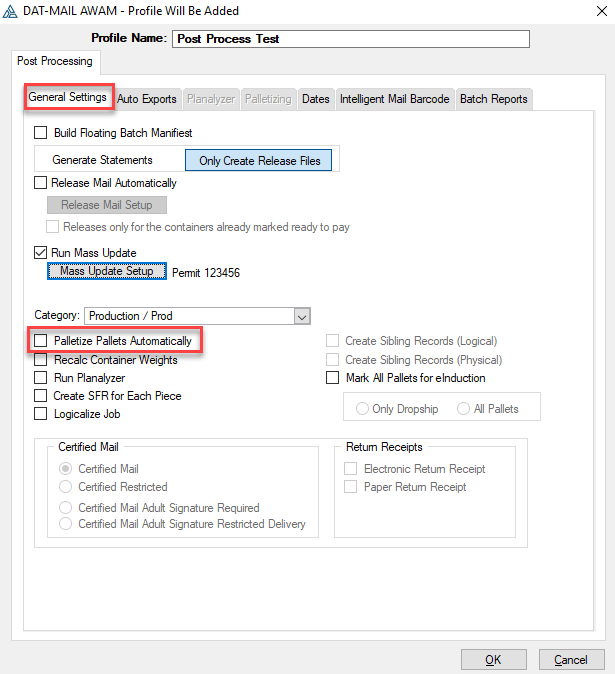
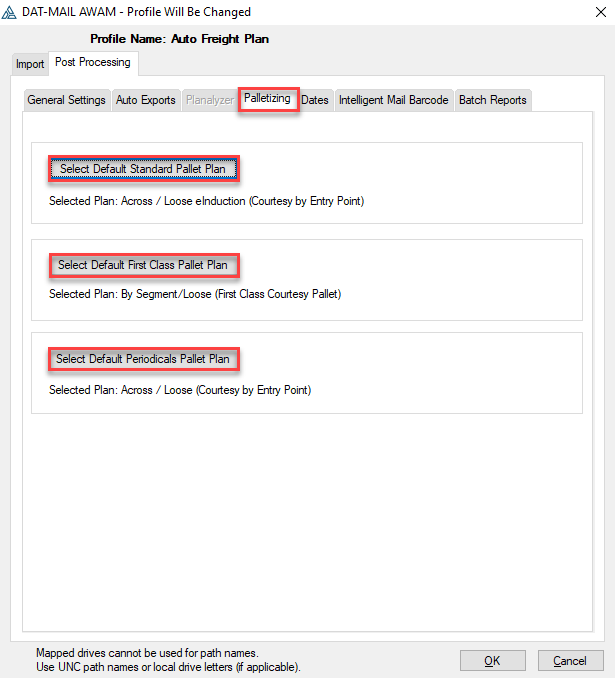
Selecting the option to Palletize Pallets Automatically will enable and display the Palletizing tab to be used for additional configurations.
The DAT-MAIL Toolbox or the DAT-MAIL Editor with the Palletization add-on are required to use the Palletizing option. For more information about the Palletization module, see Advanced Navigator - Vertical Panel - Palletization Module or View Pallets.
Auto Palletize
Post Processing Screen Prior to enabling Palletize Pallets Automatically
After selecting the Palletize Pallets Automatically checkbox, you are automatically moved to the Palletizing tab to set your pallet plans. All three classes require a pallet plan.
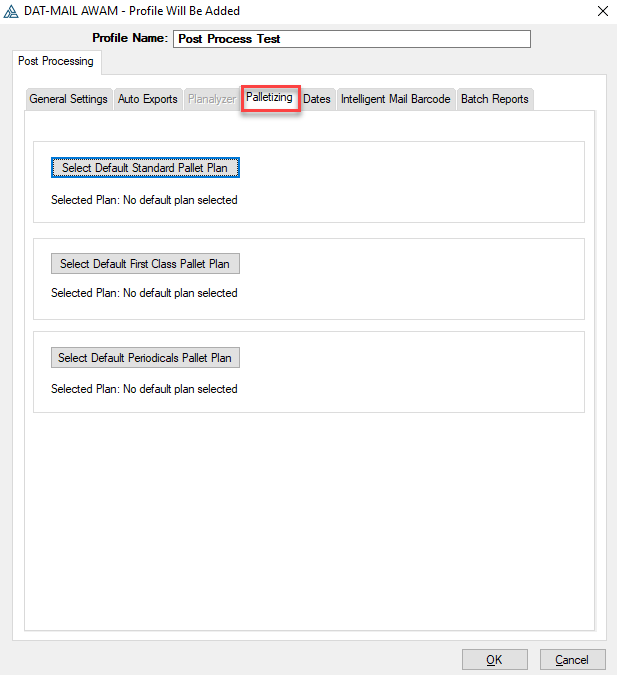
The Palletizing tab, after pallet plans are selected. For more information on Pallet Plans, see Advanced Navigator - Vertical Panel - Palletization Module or View Pallets.
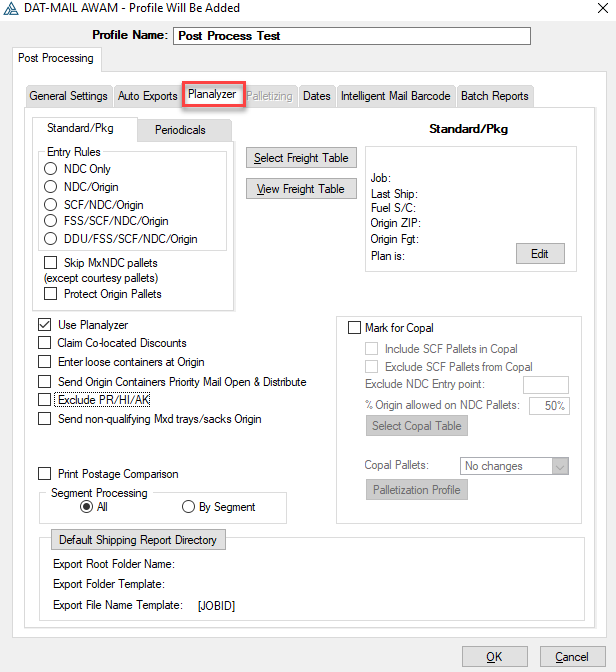
Selecting the Run Planalyzer option will enable and display the Planalyzer tab for additional configurations.
The DAT-MAIL Toolbox is required to use the Planalyzer option. For more information about Planalyzer, see Advanced Navigator - Freight Planning.
Auto Freight Planning
Post Processing Screen Prior to enabling Run Planalyzer
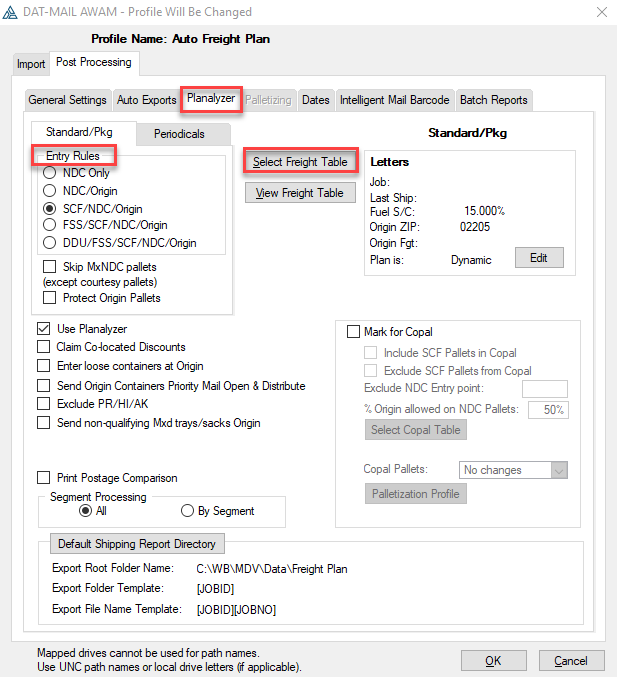
After selecting the Run Planalyzer checkbox, you are automatically moved to the Planalyzer tab to set your freight planning strategy.
-
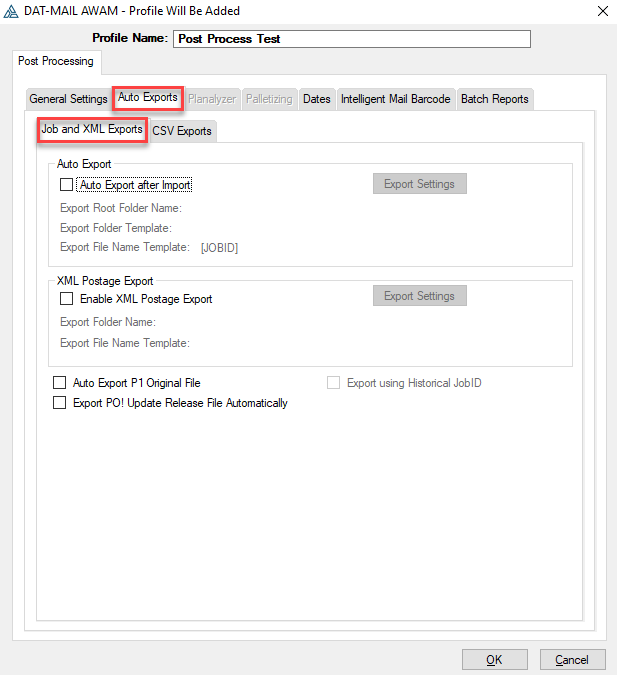
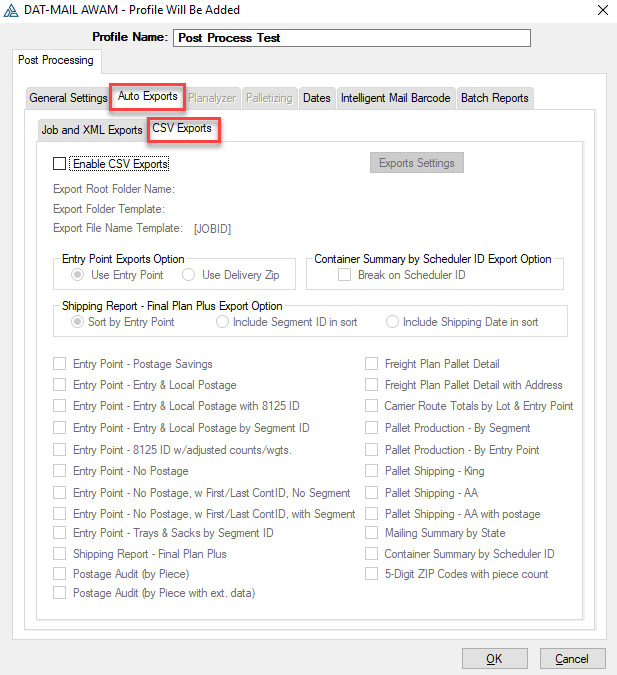
Select the Auto Exports tab. Set or enable any of the available actions that should occur in the selected Mail.dats in DAT-MAIL.
-
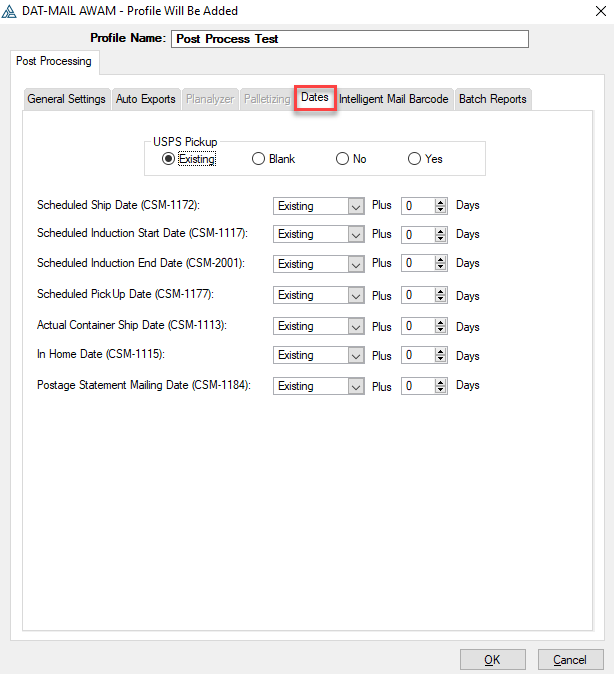
Select the Dates tab. Set or enable any of the available actions that should occur in the selected Mail.dats in DAT-MAIL (for more information on how to use the functions located under the Dates tab, refer to AWAM - Using the Dates Tab).
-
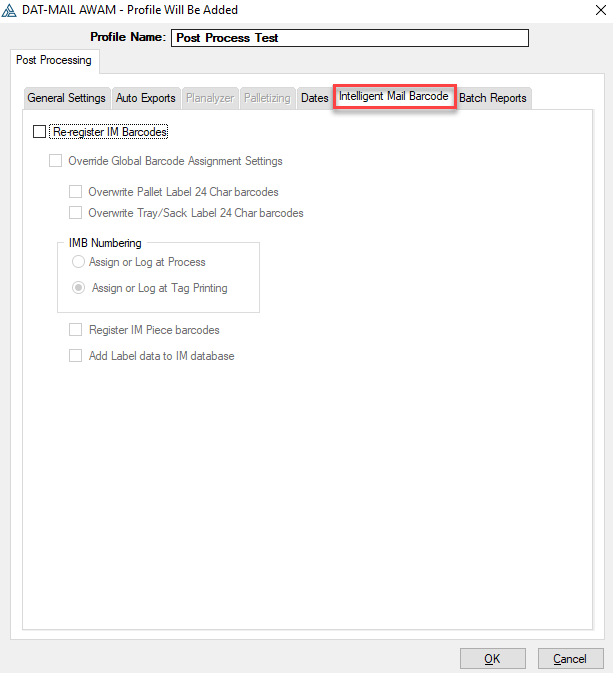
Select the Intelligent Mail Barcode tab. Then, set or enable any of the available actions that should occur in the selected Mail.dats in DAT-MAIL (for more information on how to use the functions located under the Intelligent Mail Barcode tab, refer AWAM - Using the Intelligent Mail Barcode Tab).
-
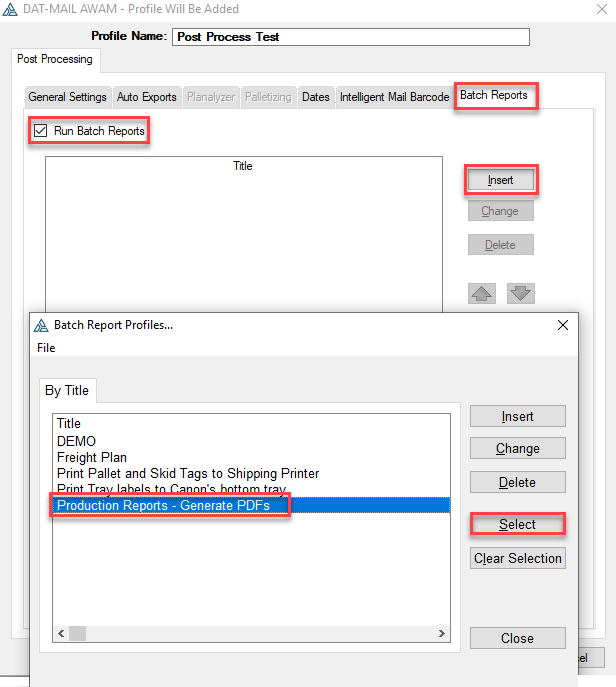
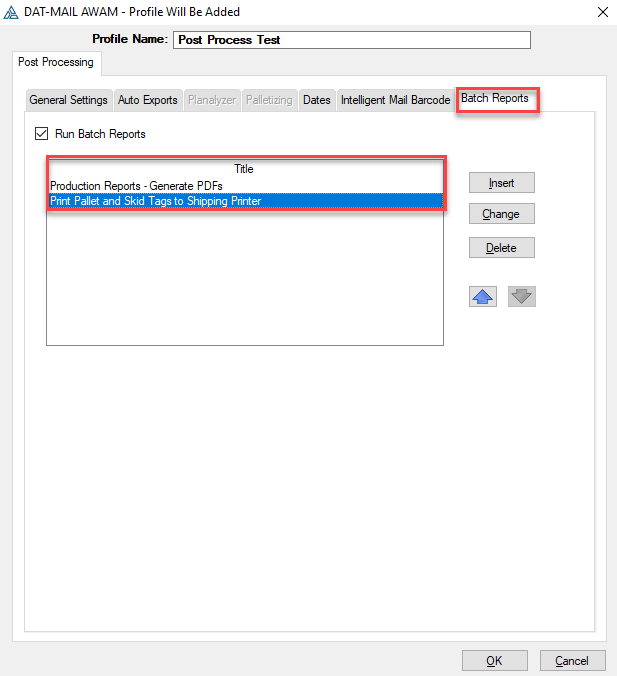
Click on the Batch Reports tab. If you need to generate production reports, select the Run Batch Reports checkbox and then Insert to add Batch Reports profiles you have already created or insert new ones.
You can select multiple Batch Reports profiles. Since you can select various profiles, you can send reports to multiple printers and save reports to PDF.
-
Click OK when finished entering all of the necessary criteria for the new Post Process profile ("Post Process Test").
-
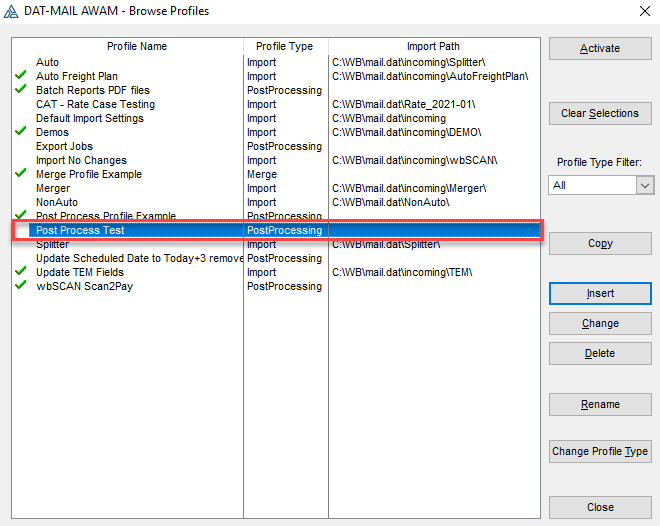
The Profile Will Be Added screen will close, and the Browse Profiles screen will display and contain the newly created profile ("Post Process Test").
-
At this time, the new profile "Post Process Test" can be activated by highlighting it and clicking Activate, or the profile can be activated later when it is selected for use through the AWAM Merge Mail.dat Files utility in DAT-MAIL.
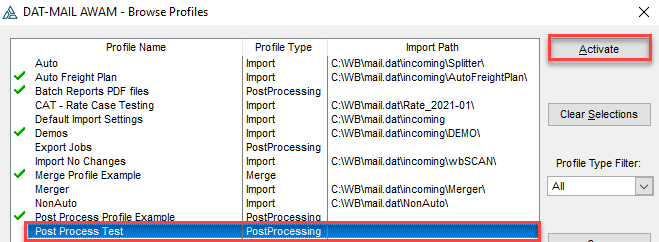
When the profile is active, a
 green check mark will display next to it in the list.
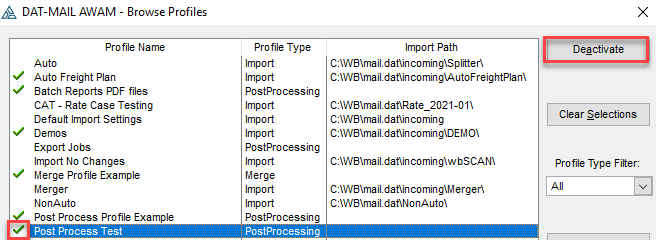
-
Click Close to close the Browse Profiles screen.
Instructions for using/applying Post Process profiles can be found under AWAM - DAT-MAIL's Post-Import Process Mail.dat Files Utility.
Continue AWAM - Batch Reports