Step 3b. DAT-MAIL - Installation Steps
You must install DAT-MAIL software on the same computer or server where Scheduler and PostalWeb Connector (PWC) are installed.
Workstation installations must occur after the server installation in a server-with-workstation environment. Only DAT-MAIL and PostalWeb Desktop Dashboard (PWDD), if applicable, will be installed on the workstations.
The installation wizard also installs the Window Book DAT-MAIL Database service. This service is specific to DAT-MAIL and requires further action after the installation completes. In Step 9, an installation wizard screen will display, providing instructions on the necessary additional steps.
The steps involved for downloading and installing DAT-MAIL are as follows and should be performed in this order, depending on the installation type selected (Server, Stand-alone, or Workstation):
Do not restart the server or stand-alone if prompted by the installation wizard – proceed to steps B and C below, first.
B - Enter Logon Credentials for Service and start the service for server and stand-alone installation types only.
Entering credentials will not be necessary when installing the software on a workstation.
C - Create a Data Backup Directory- this is only necessary if the DAT-MAIL data and the MS SQL data reside on a different server.
D - Restart the Server or Stand-alone - this is only required if prompted by the DAT-MAIL installation wizard to do a restart (shown in Step 8).
E - Share Over the Network - this pertains to the server in a server-with-workstations environment only.
Registration will not be required for workstation installations.
A - Install the Software
The installation of the DAT-MAIL software documented is broken into two procedures: 1) Server and Stand-alone types, and 2) Workstations. Before installing the software can begin, download it from the Window Book website.
-
Close any open Window Book software application.
-
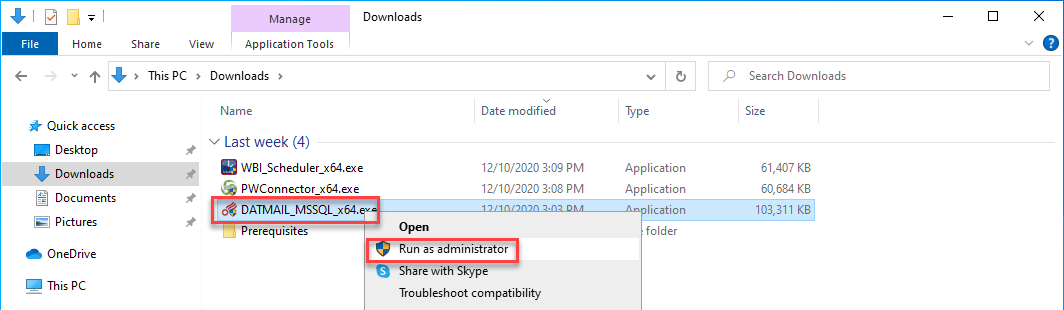
When the download completes, navigate to the download folder on the server, right-click on the downloaded file, and select Run as administrator.
-
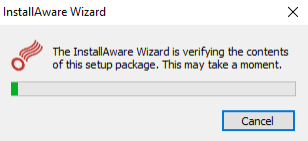
The InstallAware Wizard will begin verifying the contents of the setup package to confirm all the prerequisites are installed.
A. Install - Server and Stand-alone Types
To install the DAT-MAIL software for Server or Stand-alone installation types, perform the following.
-
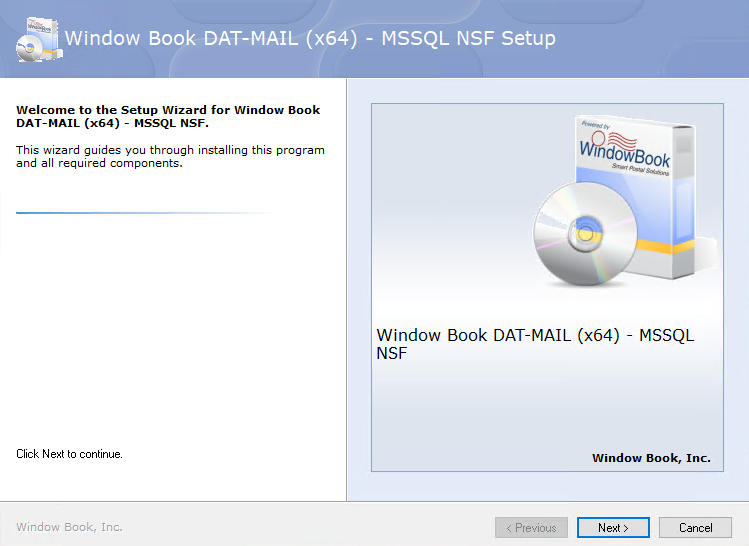
The Welcome to the Setup Wizard for Window Book DAT-MAIL (x64) - MSSQL NSF will appear; click Next to continue.
-
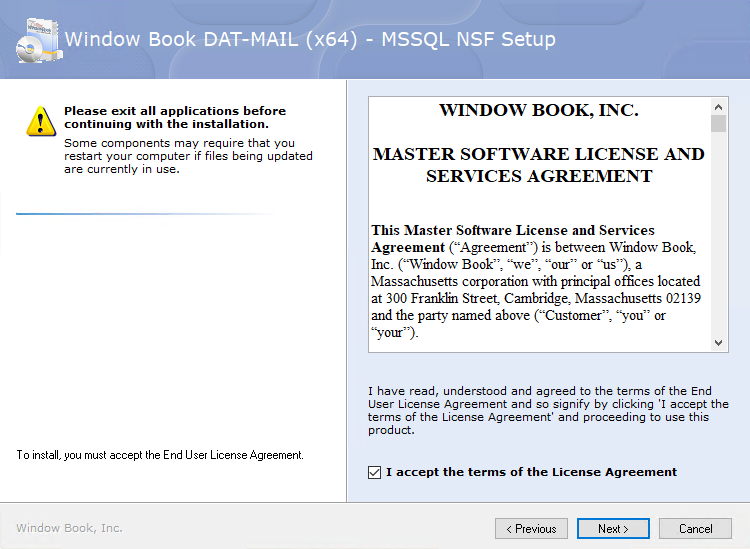
When the Please exit all applications screen appears, select the I accept the terms of the License Agreement checkbox. Click Next to continue.
-
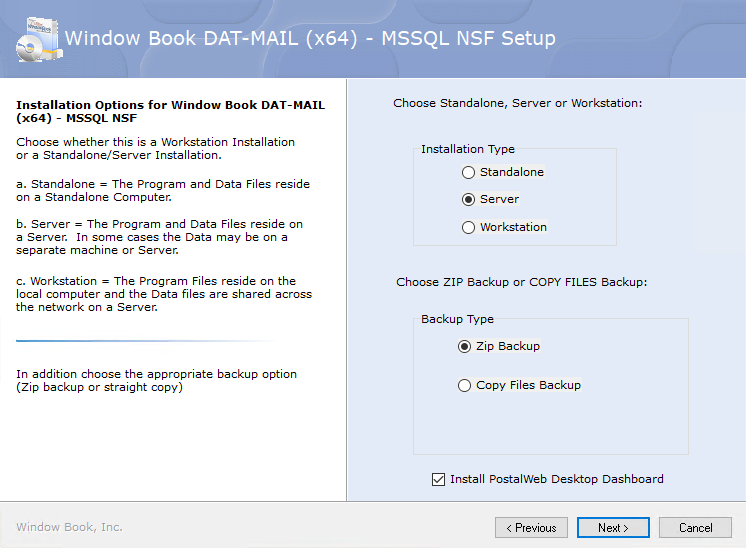
The Installation Options screen will display. Once you have chosen the Installation Type, Backup Type, and whether to install PWDD, click Next. See below for more details about these options.
-
Installation Type: Choose Standalone or Server (server-with-workstations environment).
-
Backup Type: Select which type of backup you would prefer: Zip Backup or Copy Files Backup.
-
Install PostalWeb Desktop Dashboard, if licensed:
-
If you choose a Server install and you wish to have PWDD installed on the server, as well as the workstations, select the Install PostalWeb Desktop Dashboard checkbox.
-
If installing a Stand-alone type, select the Install PostalWeb Desktop Dashboard checkbox.
-
Do not select ‘Workstation’ for this procedure. Installation instructions for Workstations are on the Step 3c - DAT-MAIL - Workstation Installation page.
In this example, we select the Server option. The installation steps are the same if you choose Standalone, except you will not see the Choose/Confirm NetBookshelf screen.
-
-
The Choose the application folder screen will appear. Click Next to continue.
Window Book recommends using the default locations provided (see screen image below). However, in some server installation instances, some Clients request that one or both Data folders (MDV and PMW) be located on a different drive (one example would be drive size).
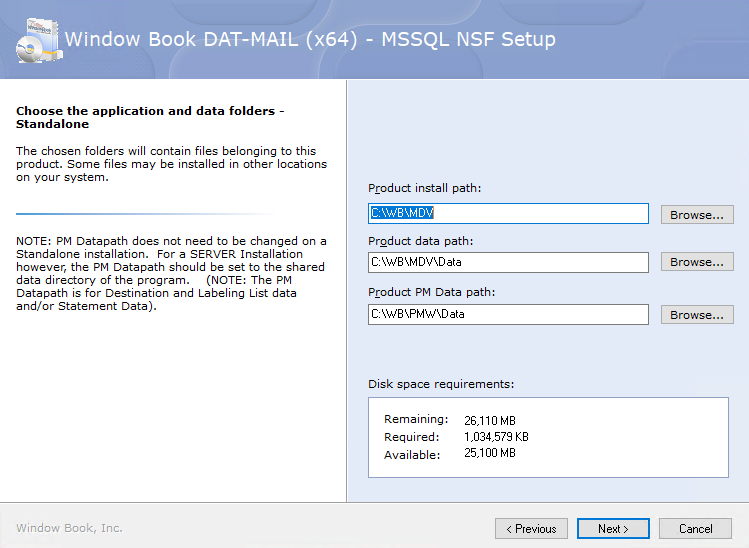
In a server-with-workstations environment, if you change the drive for one or both of the data folders, make sure to share the Data and Product Install folders. If not shared, there will be problems with data transfers (refer to E - Share Over the Network section).
-
The Choose/Confirm NetBookshelf screen will display. Click Next to continue.
Window Book strongly recommends using the default location provided for NetBookshelf.
If a Stand-alone installation, this screen will not appear.

-
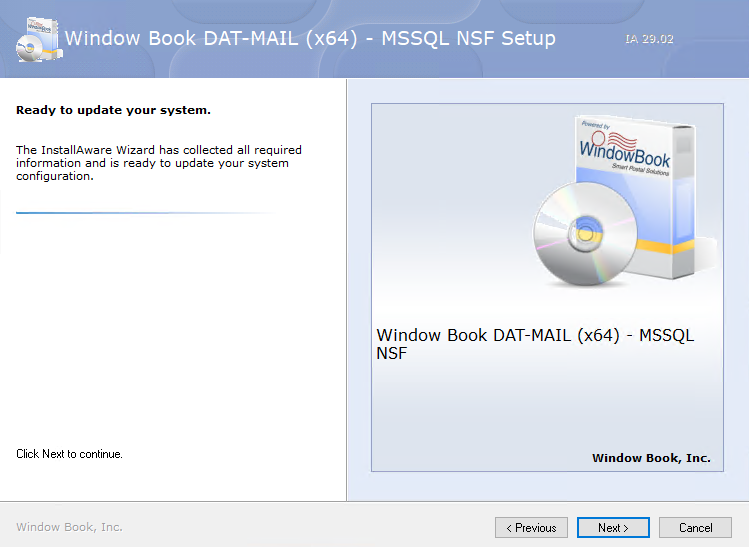
The Ready to update your system screen will display. Click Next to continue.
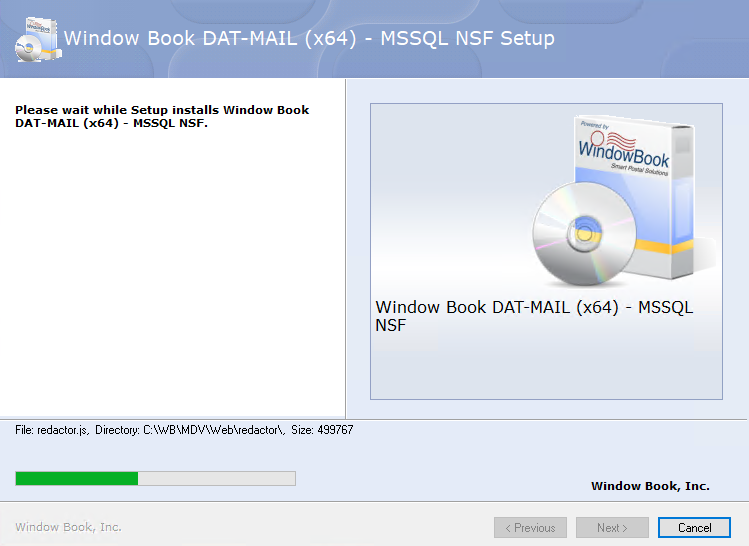
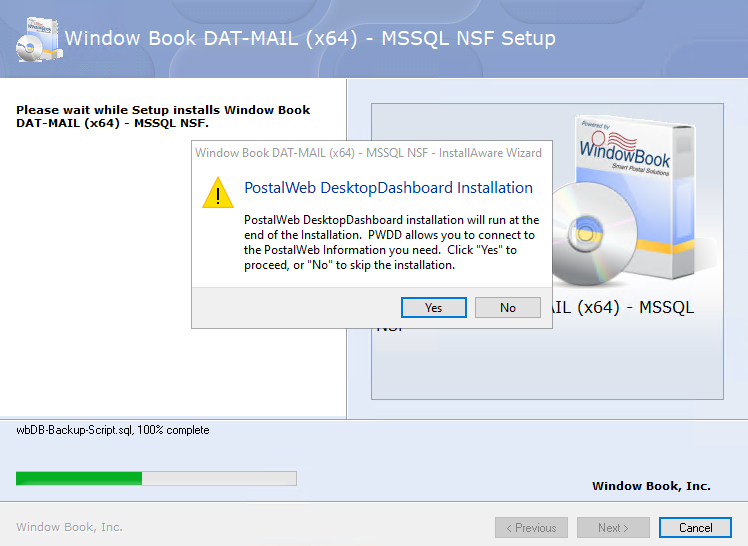
The Please wait while Setup installs Window Book DAT-MAIL (x64) - MSSQL NSF screen will appear. It will run through various scripts before it completes installing the databases etc., this will take some time to complete, but shortly the PWDD dialog will pop up.
-
When the PostalWeb Desktop Dashboard Installation dialog appears on top of the Please wait while Setup installsscreen. Click Yes. It will continue creating scripts and installing DAT-MAIL.
-
A Reboot Required dialog may appear; click OK.
The installer will continue creating directories and other functions required to run DAT-MAIL. This process will take a few moments to complete.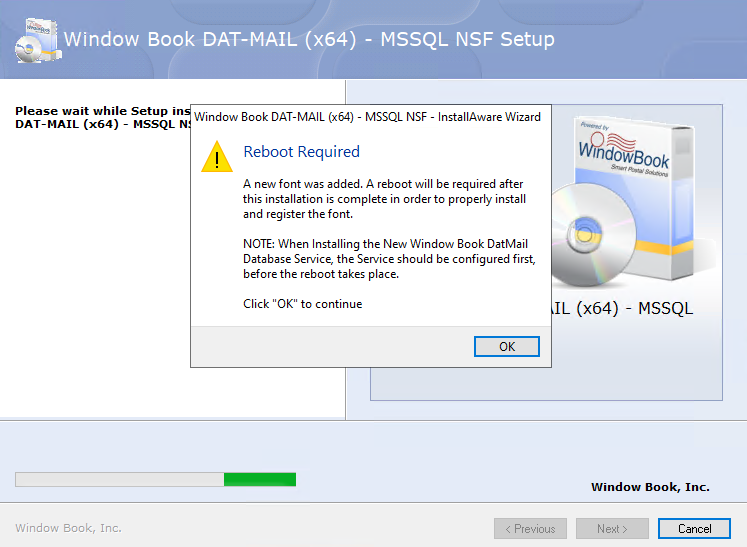
In some instances, the server DAT-MAIL is installed on will require a reboot or restart for certain changes to take effect. If this is the case, a dialog will display after the confirmation screen instructing the user to reboot or restart the server. Make sure to complete steps B – Enter the Service Logon Credentials and C – Create a Data Backup Directory (server and stand-alone installation types only) BEFORE re-booting the server.
-
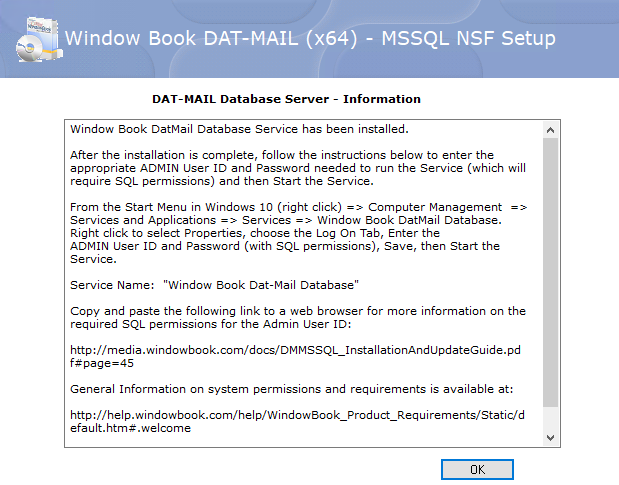
A DAT-MAIL Database Server - Information screen will appear with information about updating and then running the service. When finished reading or snapping a print screen, click OK.
-
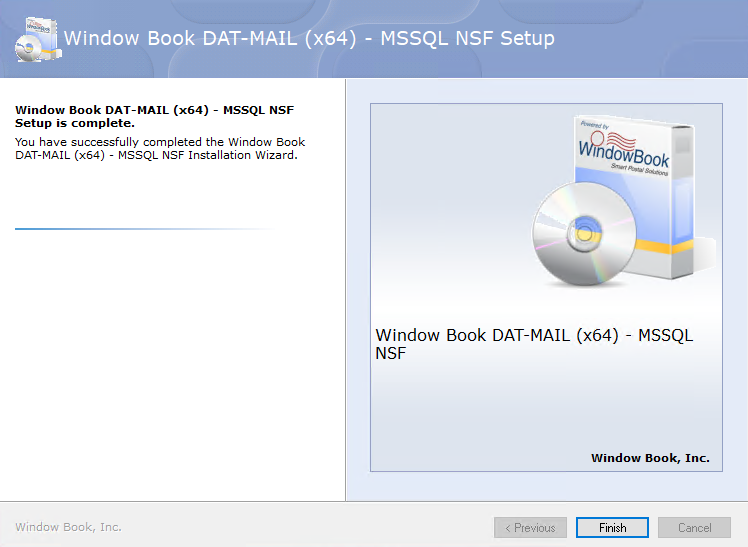
DAT-MAIL setup is complete; click Finish. If not installing PWDD, proceed to B - Enter Logon Credentials for Service. Otherwise, continue below.
-
After clicking Finish above, then the About to run PostalWeb Desktop Dashboard installation dialog will appear. When ready, click Yes.
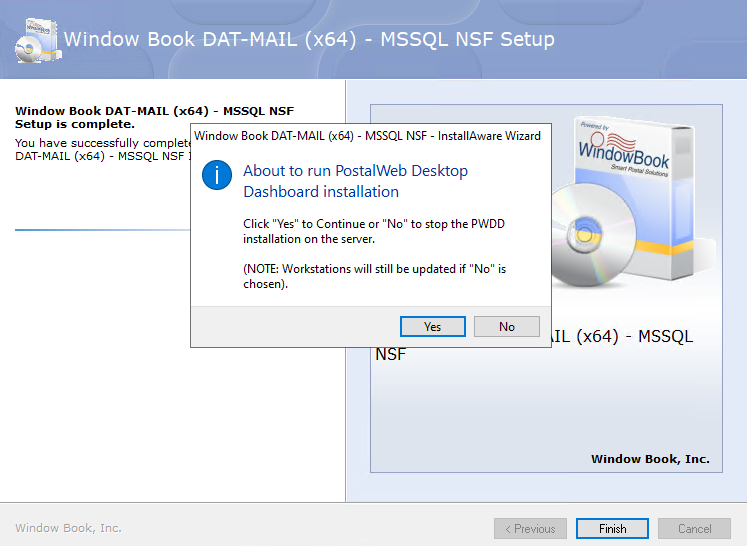
The InstallAware Wizard will appear.
-
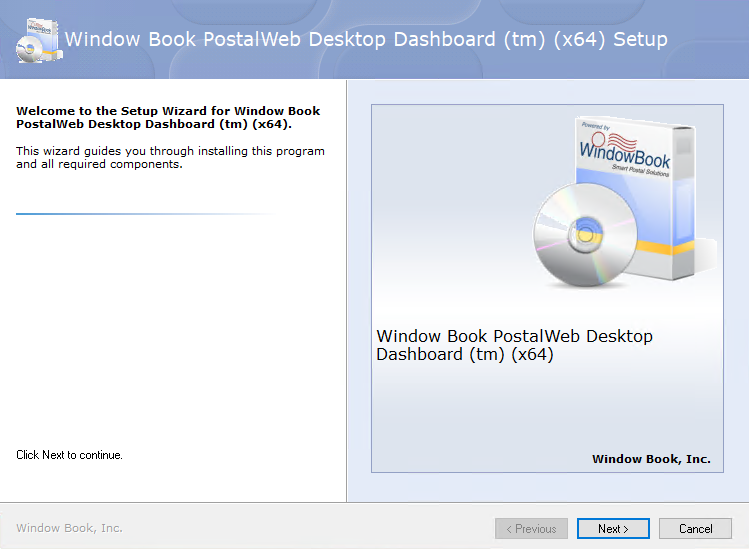
It may take a few moments, but then the Welcome to the Setup Wizard for PostalWeb Desktop Dashboard (tm) (x64) will appear, click Next to continue.
-
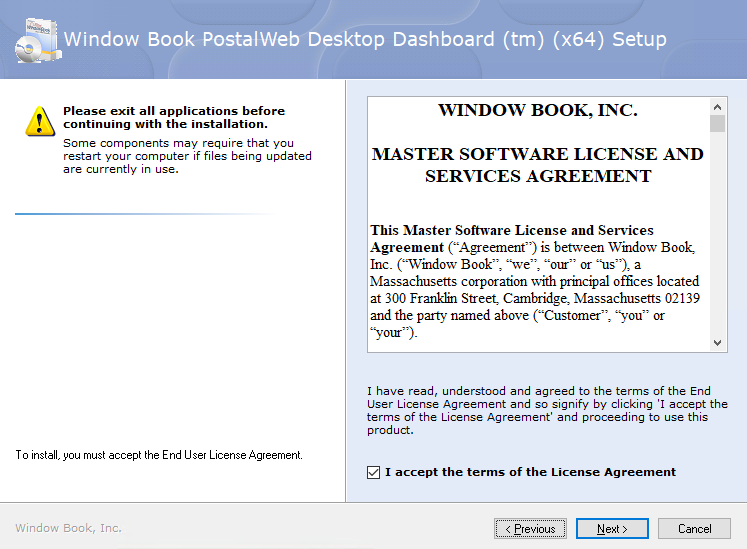
Select the I accept the terms of the License Agreement checkbox. Click Next to continue.
-
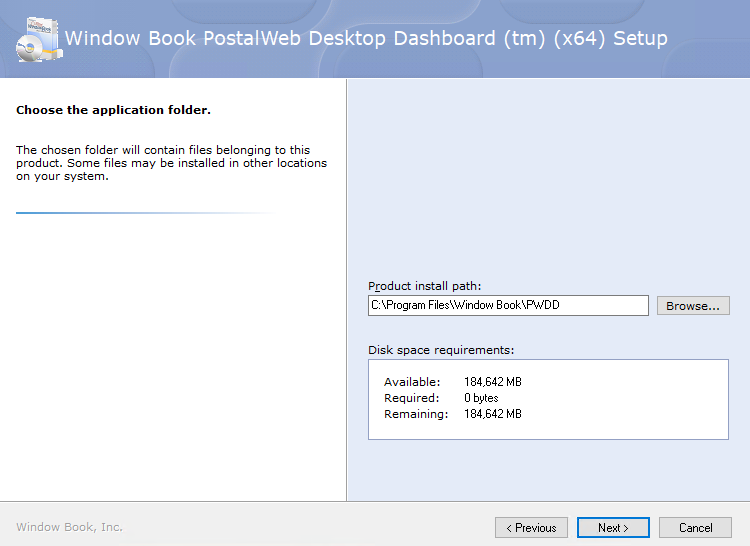
The Choose the application folder screen will display. Click Next to continue.
Window Book strongly recommends using the default provided. However, if installed on a server where program files are on a different drive changing the drive letter to match is okay, but please leave the path structure.
-
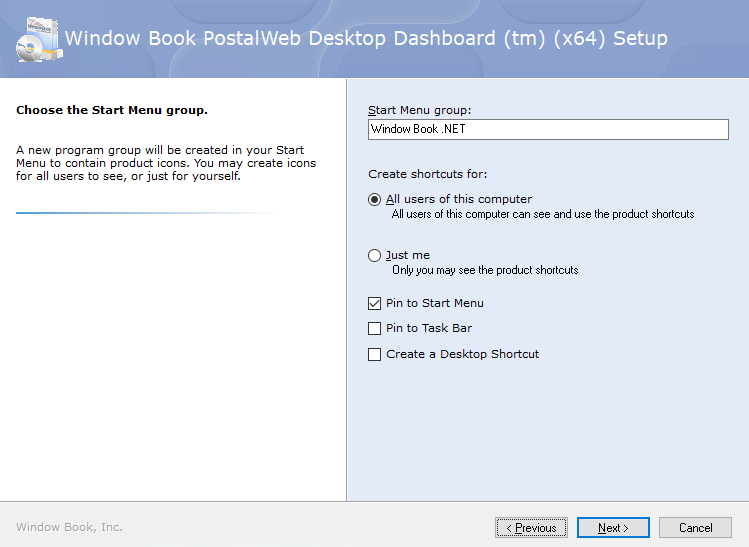
The next screen will ask to create the Start Menu group. Leave the Start Menu Group as the default and enable any other options if needed (for example, Create a Desktop Shortcut). When ready, click Next to continue.
-
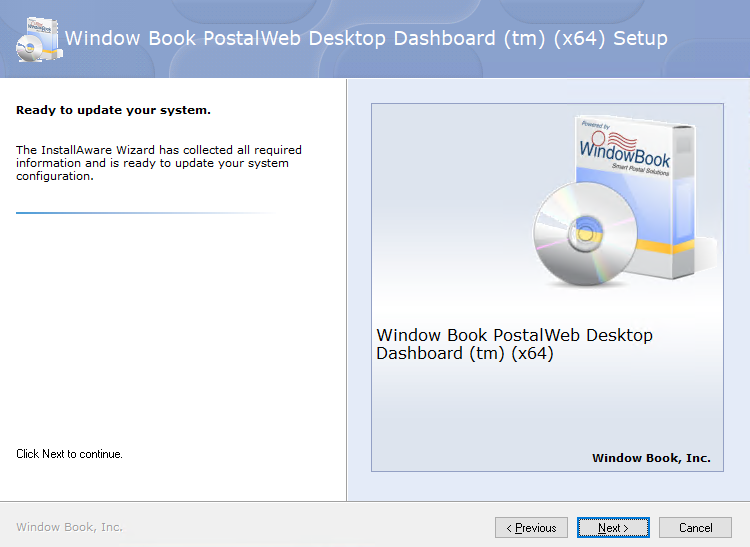
The Ready to update your system screen will appear; click Next to continue.
The Please wait screen will display, and it will take a few moments to complete the setup.

-
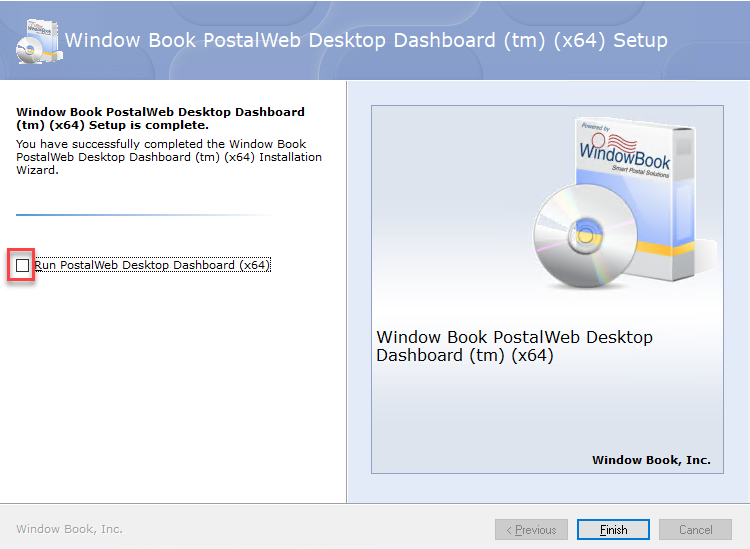
The Window Book PostalWeb Desktop (tm) (x64) Setup is complete screen will appear, deselect the option to Run PostalWeb Desktop Dashboard (x64) and click Finish. The installation wizard will close.
Proceed to B - Enter Logon Credentials for Service.
B - Enter Logon Credentials for Service
These are the same steps as Scheduler, except instead of it being the 'Window Book Scheduler' service, the 'Window Book DAT-MAIL Database' service needs to have the logon information entered, and the service started. See Scheduler - Starting the Service - Required for additional information.
C - Create a Data Backup Directory
This step is only necessary if the DAT-MAIL data and the MS SQL data reside on different or separate servers.
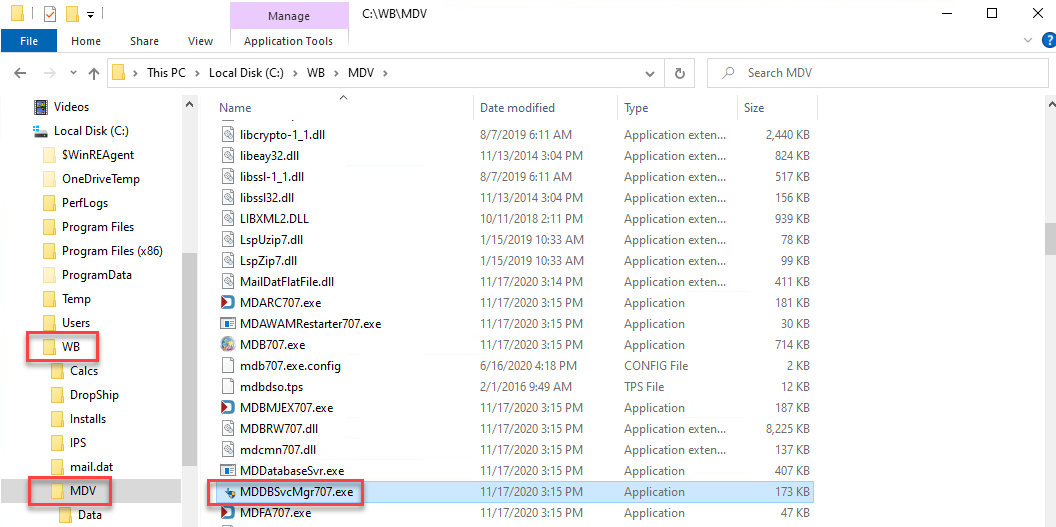
If the DAT-MAIL data and the SQL data reside on the same server, the default backup directory will be the location of the existing DAT-MAIL data directory ('\\...WB\MDV\Data').
-
Open a File Explorer window and go to the DAT-MAIL program directory ('\\...WB\MDV'). Next, locate the MDDBSvcMgr707 file - double-click on the application file to launch it.
-
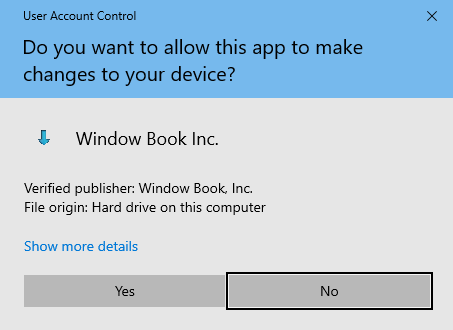
A User Account Control dialog will display. Click Yes to continue.
-
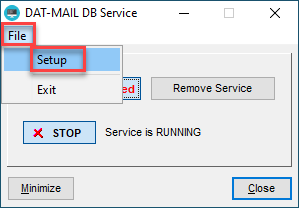
The DAT-MAIL DB Service Control… application will open. Select the File > Setup.
-
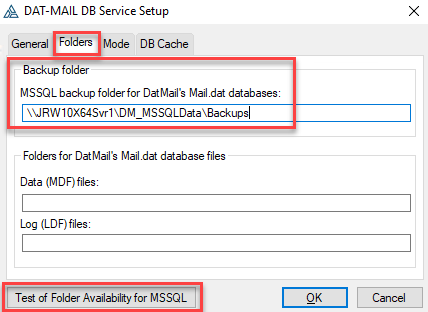
The DAT-MAIL DB Service Setup screen will display. Click the Folders tab. After you select the backup folder directory, click Test of Folder Availability for MSSQL.
If you choose a Server installation, enter a location for the backup directory using a UNC pathname. *IMPORTANT*: The backup directory must be on the server where the SQL data resides! In the example (see image below), the server's name that the SQL data resides on is “JRW10X64Svr1”. Therefore, the full path in this example is '\\JRW10X64Svr1\DM_MSSQLData\Backups.'
-
The application will attempt to locate the backup directory. If it can make a connection, a Success dialog will display. Click OK to close the dialog.
If a connection to the backup directory fails, ensure it exists and has been shared over the network (specifically, the server DAT-MAIL data resides on has read/write access to it). Once you confirm these two items, re-boot the server and attempt the connection again.
-
Click OK to close the DAT-MAIL DB Service Setup screen.
-
Click Close to exit the DAT-MAIL DB Service application.
D - Restart the Server or Stand-alone
This action is only required if the software installation wizard prompts the user to restart the server or stand-alone when the DAT-MAIL installation completes. Refer to Step 8 under Step 3b. DAT-MAIL - Installation Steps
After you restart the computer or server (if applicable), see below.
E - Share Over the Network
The instructions found in this section are intended for a server in a server-with-workstations environment only and performed only on the server where DAT-MAIL is installed. Thus, for example, if you left the product install path as the ‘C:’ drive and set the data folders (MDV and PMW) on a different drive (for example, ‘D:’), you must share the ‘WB’ directory on both drives (‘C’ and ‘D’).
If the DAT-MAIL installation type was ‘Stand-alone,’ proceed to F - Register DAT-MAIL.
After the DAT-MAIL installation is complete, the directory must be shared with all pertinent users with full control (read/write) to be accessible by individual workstations and PostalOne! (‘WB’ is the default directory specified during the installation process).
If the Data folder(s) are on a different drive, the same procedure must be completed.
To share the directory DAT-MAIL was installed under (for example: 'C:\WB'), perform the following:
-
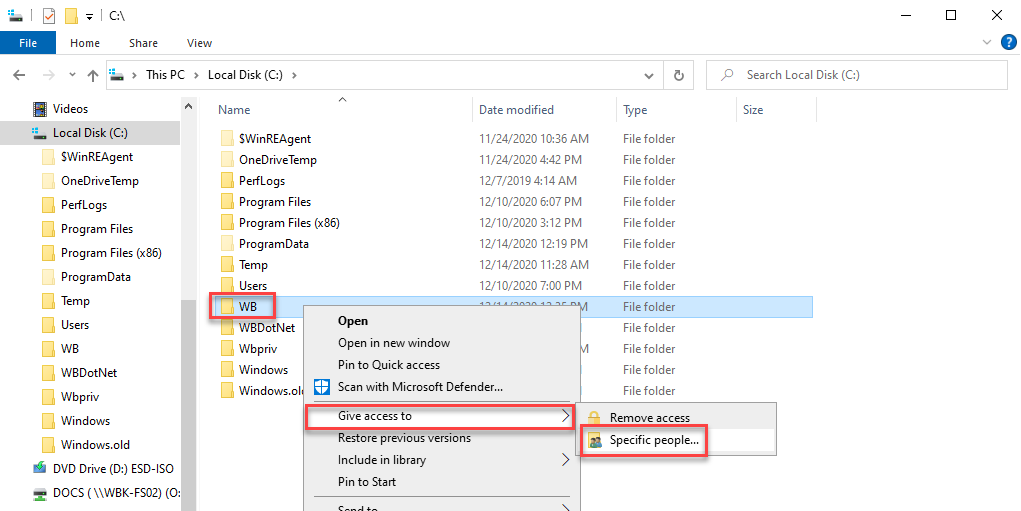
From the server where DAT-MAIL is installed, open File Explorer, right-click on the ‘WB’ directory and select Give access to> Specific people….
-
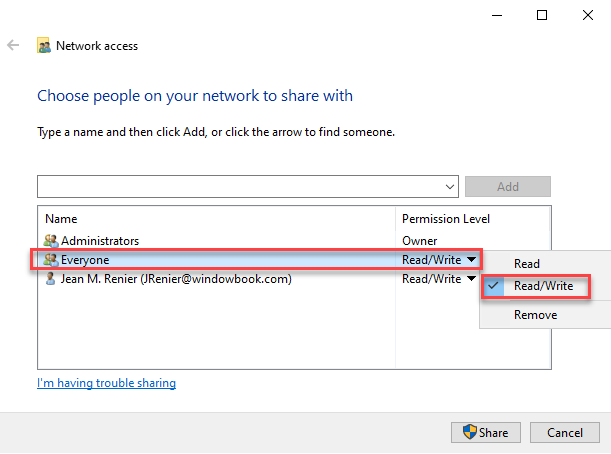
A Network access dialog will display. First, click the drop-down arrow and select the Everyone option. When Everyone is selected, change the Permission Level to Read/Write. If Everyone was not already there, click Add after selecting from the drop-down and then set the Permission Level.
A Client may have a specific user group created for users operating DAT-MAIL. That particular user group will need share access vs. 'Everyone' noted above if that is the case.
-
Once you add Everyone and permission changed, click Share.
-
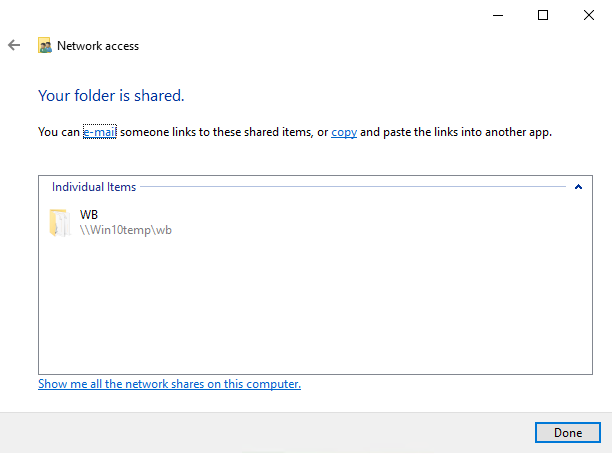
A Your folder is shared dialog will display confirming the 'WB' folder is shared. Click Done when finished. Proceed to F - Register DAT-MAIL.
F - Register DAT-MAIL
Make sure to perform all the necessary and applicable preceding steps before registering DAT-MAIL.
Registering DAT-MAIL is required for both stand-alone and Server installation types. To register DAT-MAIL, perform the following:
-
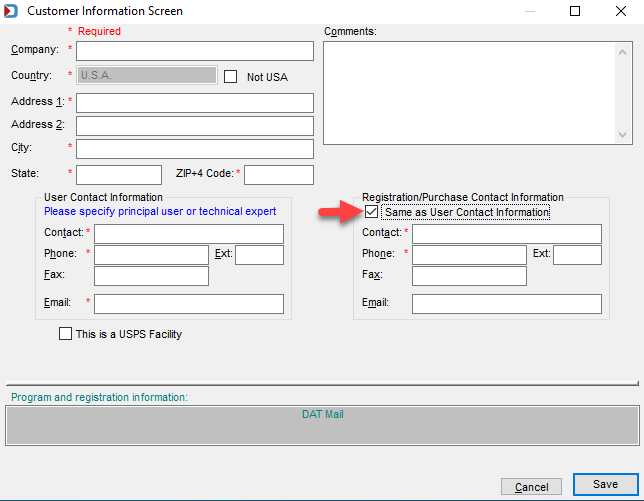
Launch DAT-MAIL and the following Customer Information screen will display. If the Registration and Contact Information are the same, check Same as User Contact Information. Then, enter the correct information for the required ( * ) fields. Once complete, click Save.
-
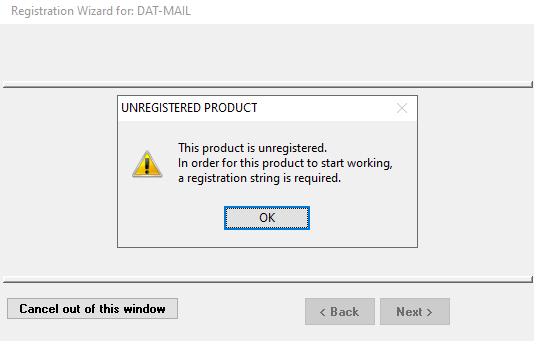
An UNREGISTERED PRODUCT dialog will appear; click OK.
-
The first screen of the Registration Wizard for DAT-MAIL screen will display. Click Next to continue.
-
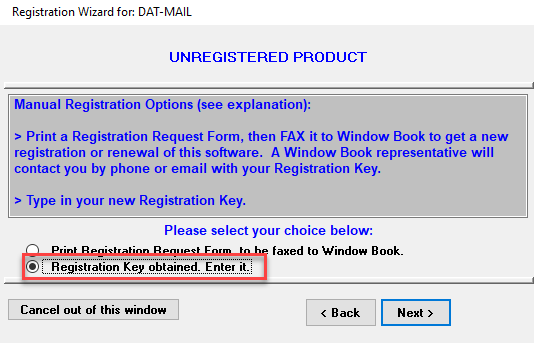
Select Registration Key obtained. Enter it. and click Next.
-
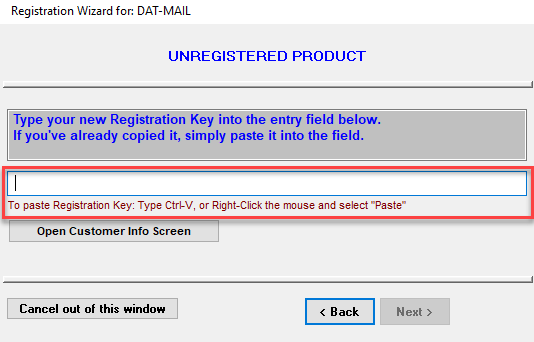
Paste in or enter the registration key in the field provided and click Next to continue.
-
On the next screen of the wizard, click
 Save Registration Key and then
  Finish.
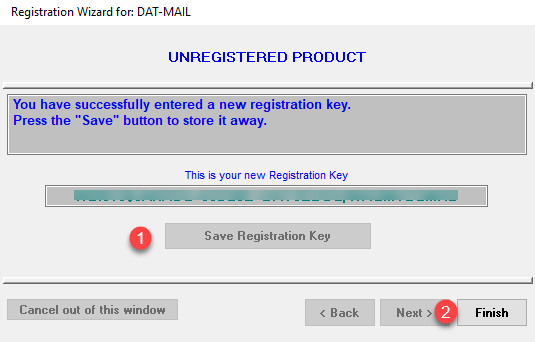
-
The NEW REGISTRATION ACCEPTED dialog will appear; click OK.
In a server-with-workstation environment, it is time to set up all three products, possibly four if you licensed PWDD. Until you configure the server with all the required settings noted in each product's setup guide, wait to install the workstations.
Here is the order suggested to complete the setup of the products. Since you will need a PWN site for your Company, we recommend registering for PWN first:
PostalWeb®(PWN) for Mail Owners (MO) - Setup Guide
or
PostalWeb®(PWN) for Mail Service Providers (MSP) - Setup Guide
PostalWeb Connector™(PWC) - Setup Guide
Window Book Automation Scheduler™- Setup Guide - , at a minimum