Disclaimer: This document is intended for internal support use this guide at your own risk.
 PostalWeb Connector™(PWC) - Installation Guide
Requirements
-
Refer to the for the most complete and up-to-date Operating Systems and SQL Server requirement information.
-
If you have not installed another Window Book, Inc. product that utilizes SQL Server, this will be part of the process. A list of requirements for installing PWC is on our website https://www.windowbook.com/Support/Downloads/PWC.
Installation Steps
The version information for PWC depicted in these screen images is subject to change as new product releases occur. As a result, Window Book’s website may not reflect the version number displayed here.
-
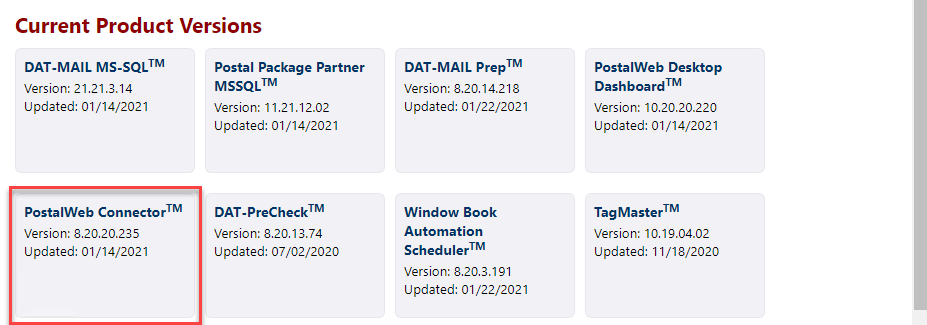
To download the installer, go to https://www.windowbook.com/Support/Downloads, click the PostalWeb Connector™ tile.
-
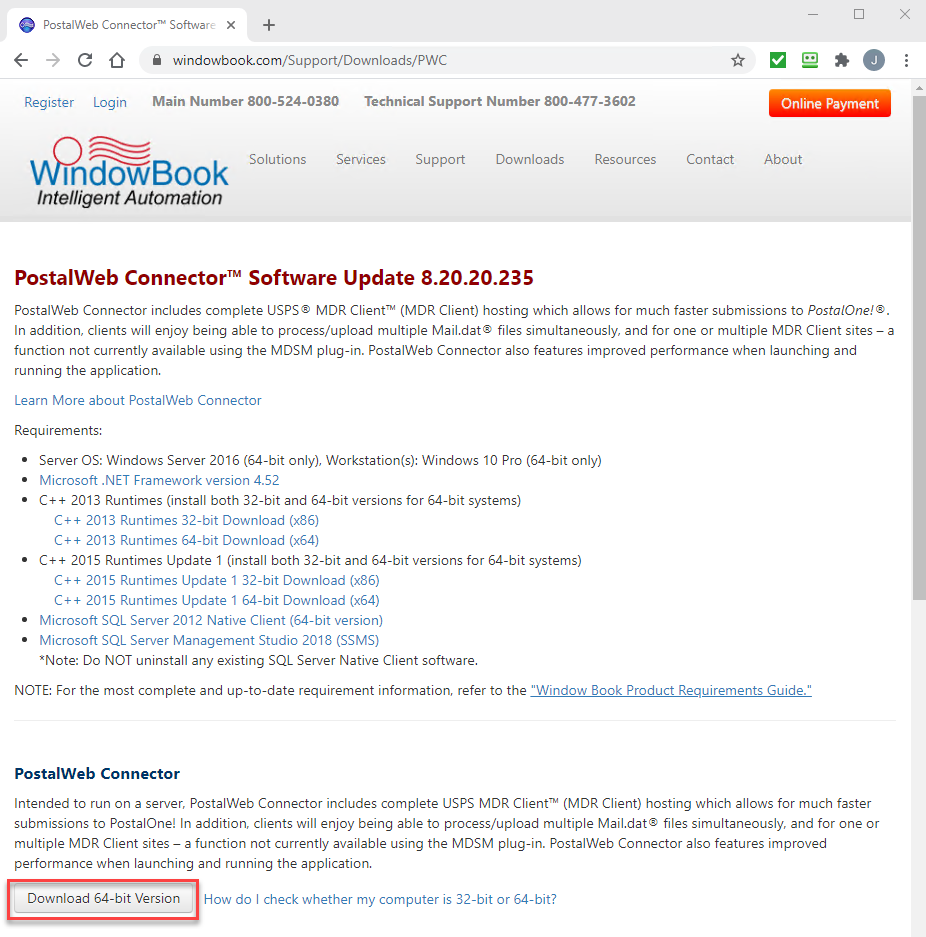
The PostalWeb Connector™ Software Update 8.20.20.235 screen will display, scroll down and click Download 64-bit Version.
-
Close any open Window Book software application.
-
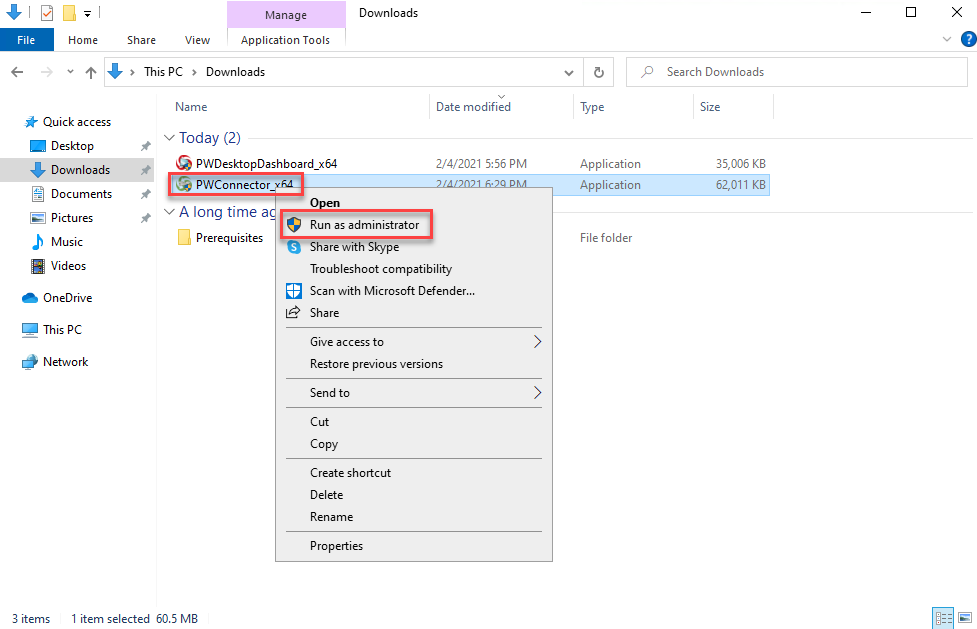
After the download is complete, navigate to the downloaded file on the computer or server using File Explorer, right-click on the file and select Run as administrator.
-
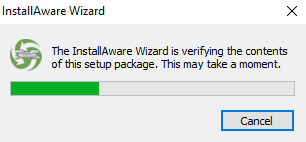
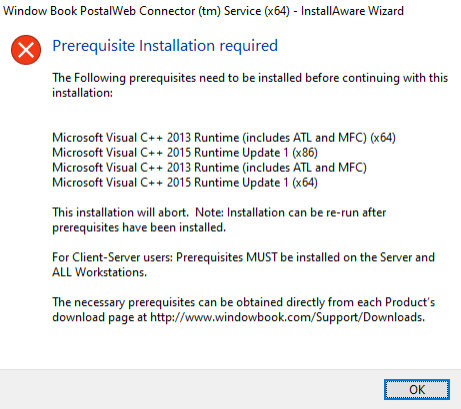
The Window Book InstallAware Wizard will run automatic system checks and confirm all software prerequisites are installed.
If this message appears, you need to install whatever prerequisites are listed in the message, before you can install PWC.
-
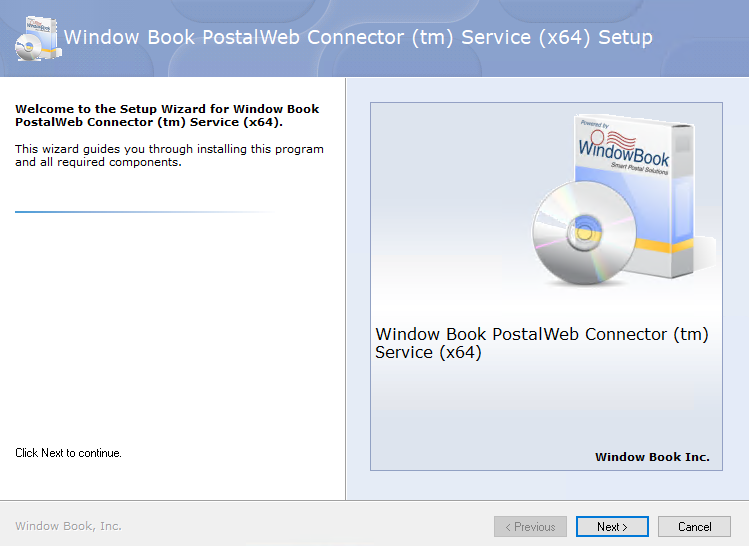
The Welcome to Setup Wizard for Window Book PostalWeb Connector (tm) (x64) will appear. Click Next to continue.
-
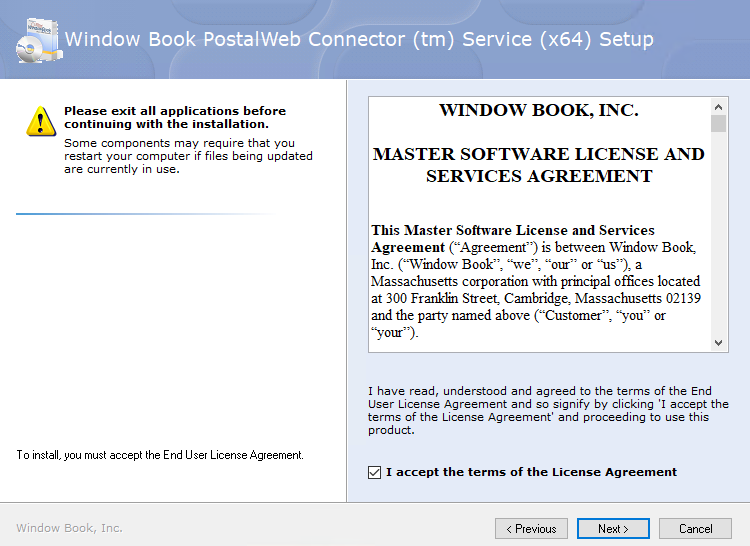
When the Please exit all applicationsscreen appears, select the I accept the terms of the License Agreement checkbox. Click Next to continue.
-
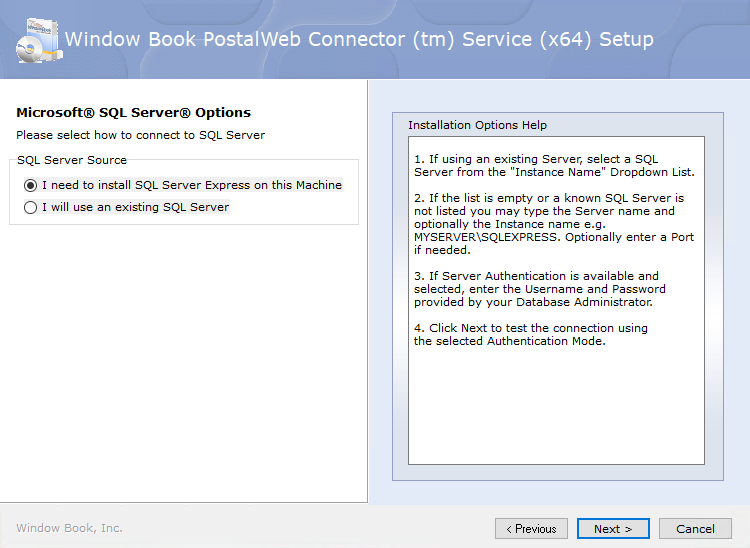
The Microsoft® SQL Server® Options screen will appear, if you plan to install SQL Server Express, select I need to install SQL Server on this machine and click Next.
If you already have an existing SQL Server, to continue with the installation, click here - Install Using Existing SQL Server.
-
The Choose the application folder screen will display. Click Next.
Window Book strongly recommends using the default provided. However, if installed on a server where program files are on a different drive changing the drive letter to match is okay, but please leave the path structure.

-
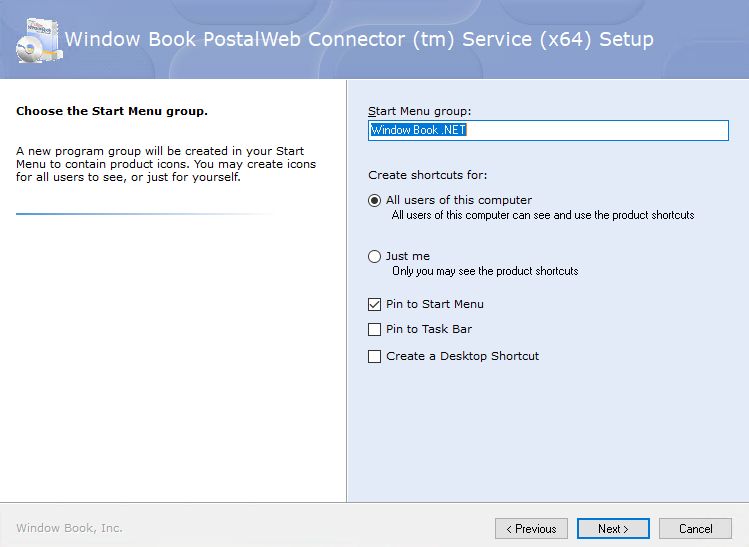
The Choose Start Menu group screen will appear. It has the Start Menu group specified and provides other options to enable (for example, Create a Desktop Shortcut). When ready, click Next to continue.
-
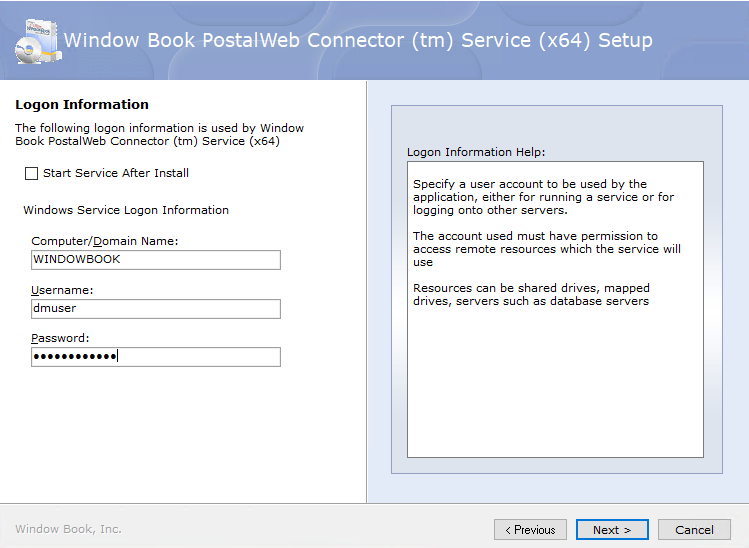
The Logon Information screen will display. Now, the installer sets up a service called the Window Book PostalWeb Connector service. Next, we will show the steps below.
Leave the Start Service After Install checkbox deselected. If enabled, depending on the server or computer’s settings, errors may occur during installation that results in the installation not completing successfully.
Windows Service Logon Information:
The Computer/Domain Name will default to the name of the computer or server that PWC is installing on.
The Username will default to the login ID used to log onto that same computer, you will need to change the Username to your service-specific log on and then enter its Password.
See Service Log On Permissions for more information.
-
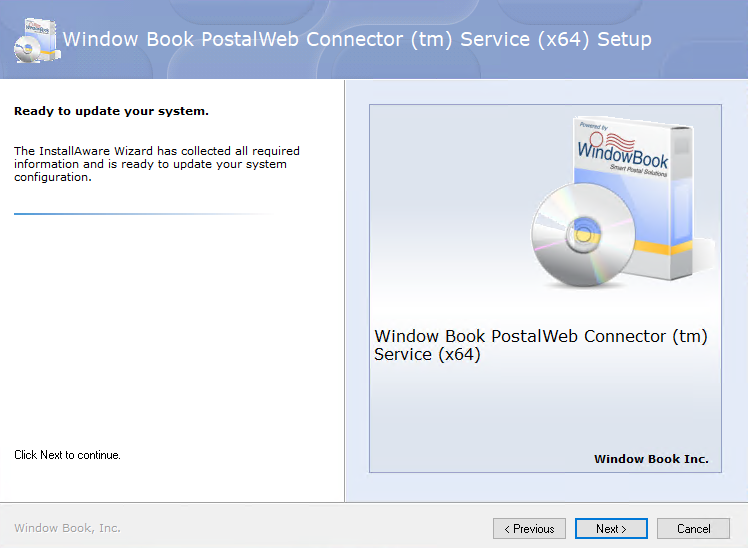
The Ready to update your system screen will appear; click Next to continue.
-
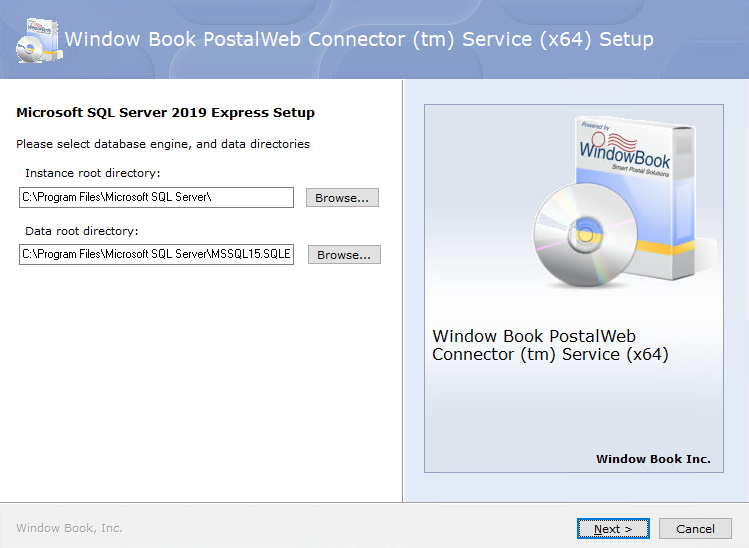
The Microsoft SQL Server Express Setup screen will display. Click Next to continue.
Window Book strongly recommends using the default provided. However, if installed on a server where program files are on a different drive changing the drive letter to match is okay, but please leave the path structure.
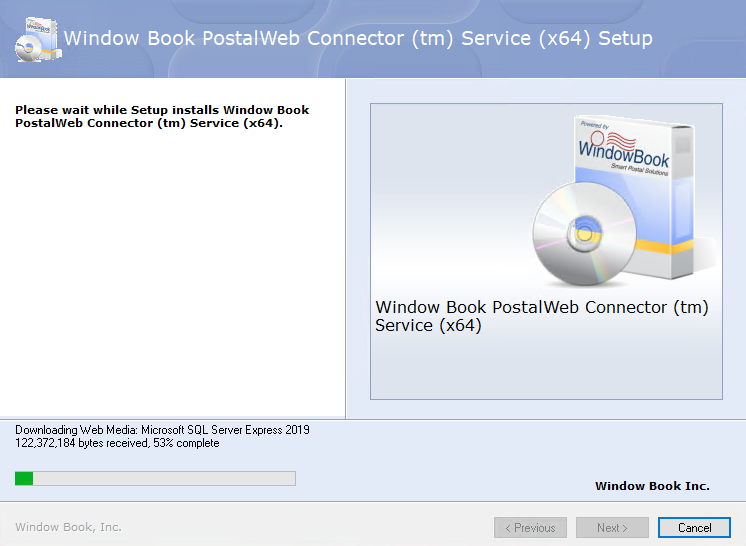
The Please wait screen will display. It will need to download and install SQL Server Express, which will take a few moments.
-
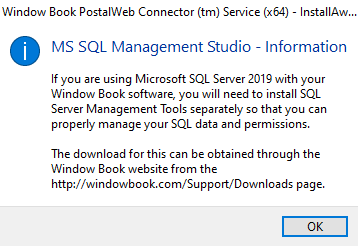
When the MS SQL Management Studio - Information dialog appears, click OK to continue with PWC installation. The installation will take a few moments to complete.
-
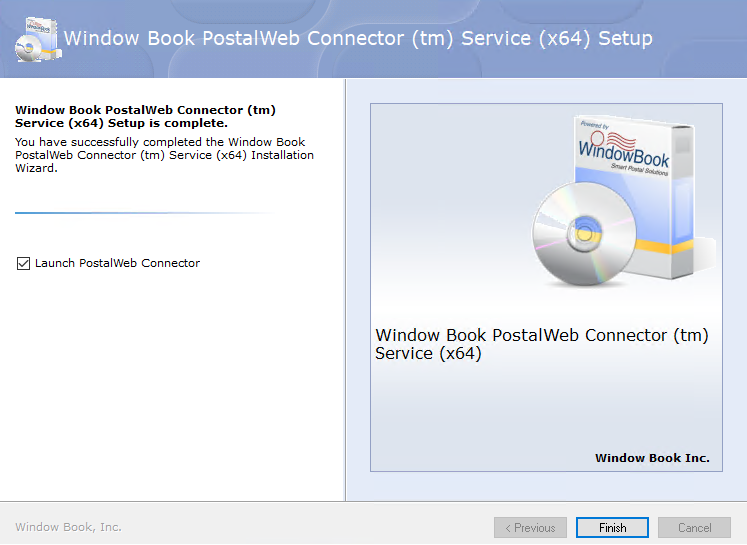
The Window Book Postal Web Connector (tm) Service (x64) Setup is Complete screen will appear, click Finish.
-
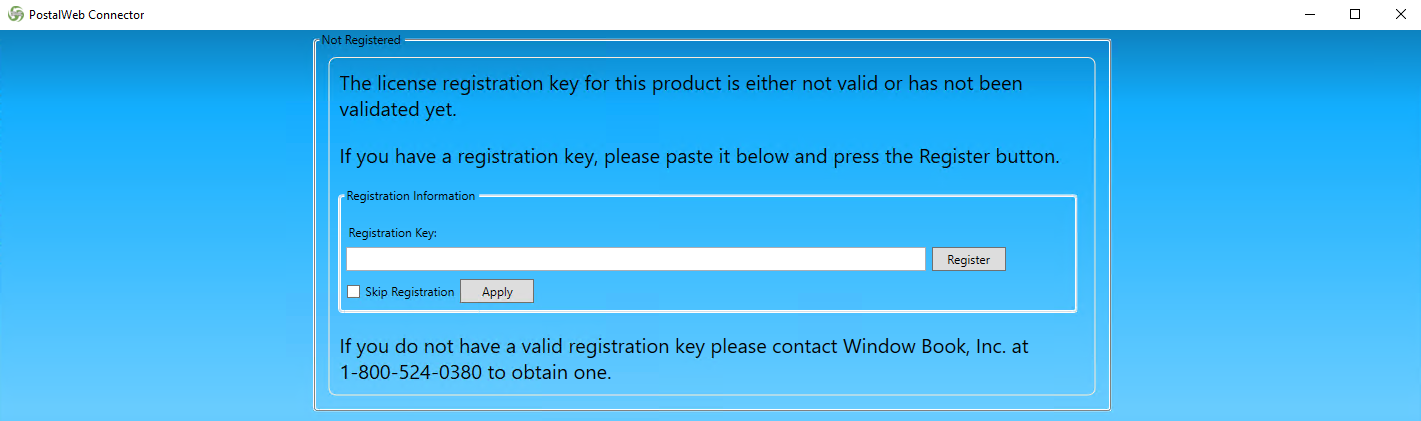
After a few moments, a Not Registered screen will display. Paste or enter your registration key and click Register.
-
The Update Registration screen will appear, enter the required information in the Customer Information section, then click Save.

-
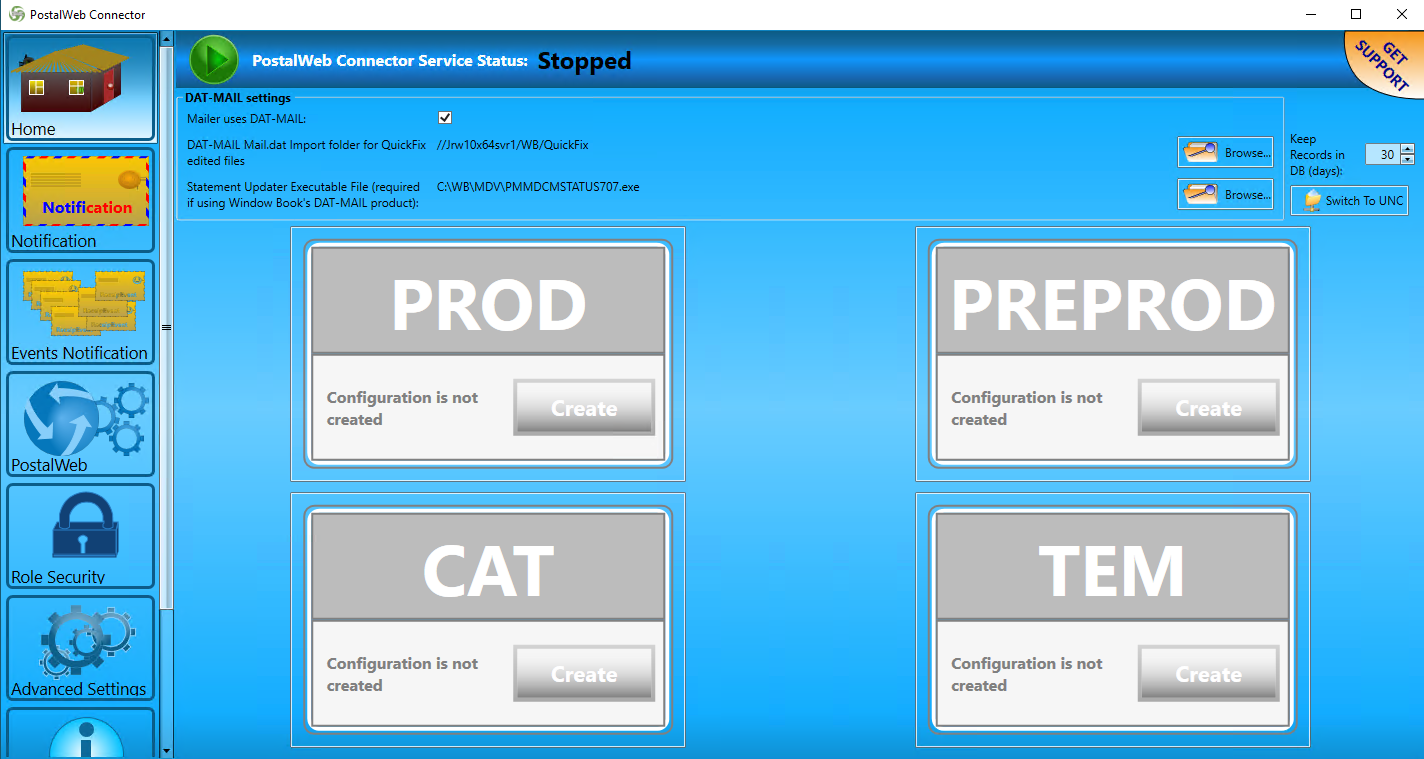
The PWC Home screen will appear if you have not registered for PWN good idea to get started with this since the next step of installing SSMS takes time.
After you have created your Company's PWN site, you need to contact Window Book to turn on the services your Company subscribed to, and after this is complete, provision PWN in PWC. To create and register PWN, go to PostalWeb®(PWN) for Mail Service Providers (MSP) - Setup Guide or PostalWeb® for Mail Owners - Setup Guide.
-
Close PWC and install SSMS. See Installing SSMS, for assistance.
-
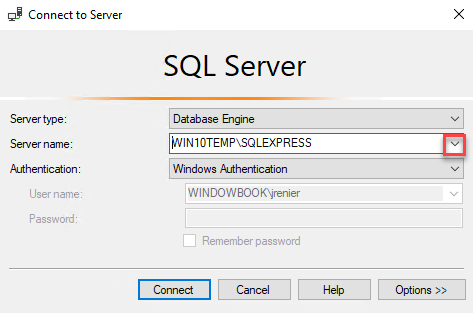
Open SSMS. It takes a few minutes to open. When opened, you should see your "server or computer name"\SQLEXPRESS where you just installed PWC shown in the Connect to Server window. If you do not, click the drop-down on Server Name and click Browse to select it. Click Connect.
-
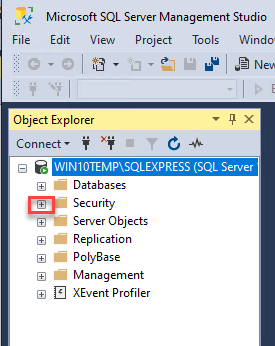
In the Object Explorer pane, click the plus sign to the left of Security.
-
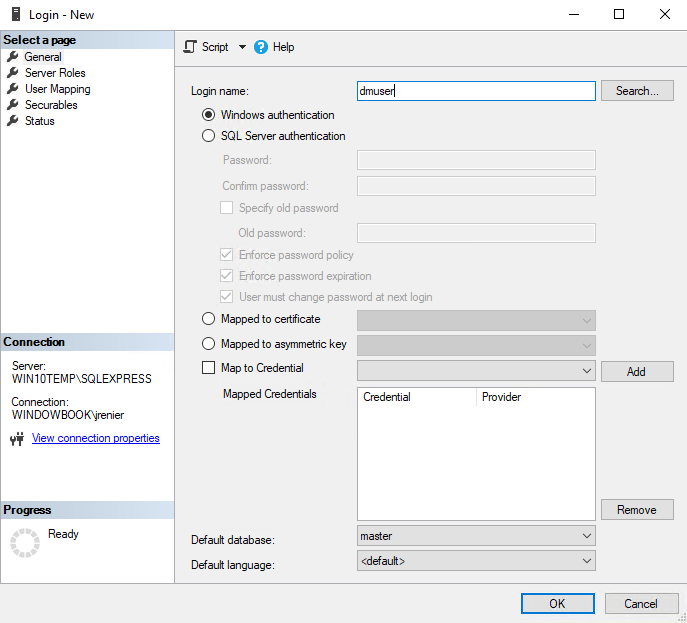
Right-click on Logins and select New Login. The Login - New screen will open; click Search.
-
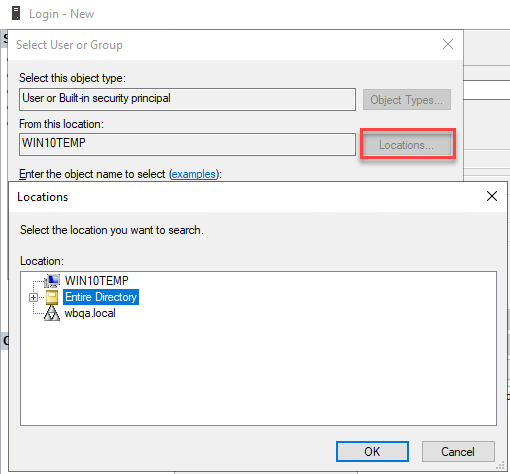
When the Select User or Group screen appears, click Locations to select your domain. In the example below, Window Book employees select Entire Directory and click OK. If you do not know what to choose, please request assistance from your IT department.
-
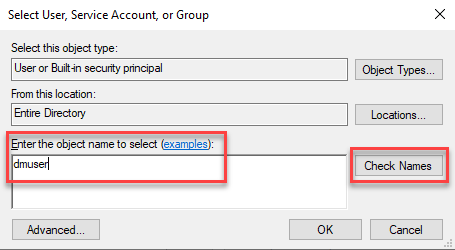
You will be returned to the Select User, Service Account, or Group window in the Enter the object name to select pane, enter your service name and click Check Names.
-
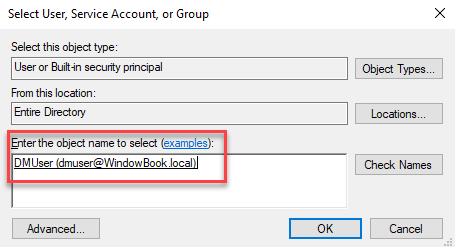
It should show the domain of this service account in that same pane; click OK to complete.
-
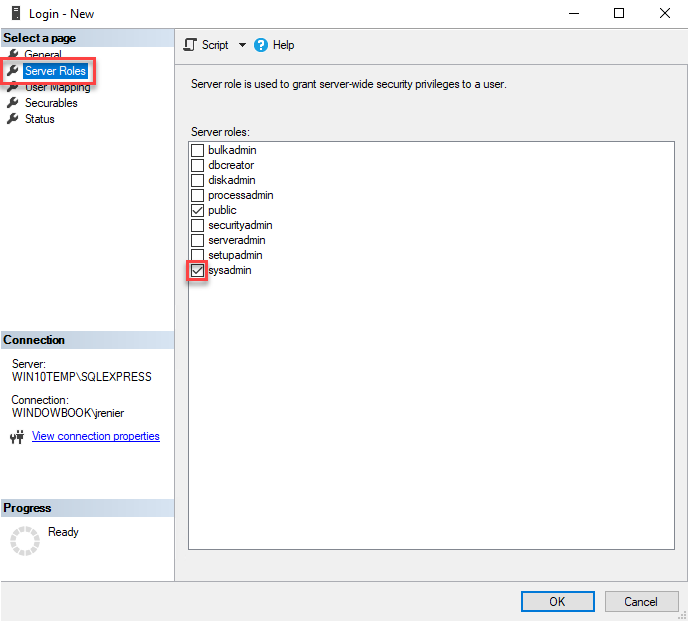
The Login - New screen will redisplay, click on Server Roles from the left pane and select the sysadmin checkbox.
-
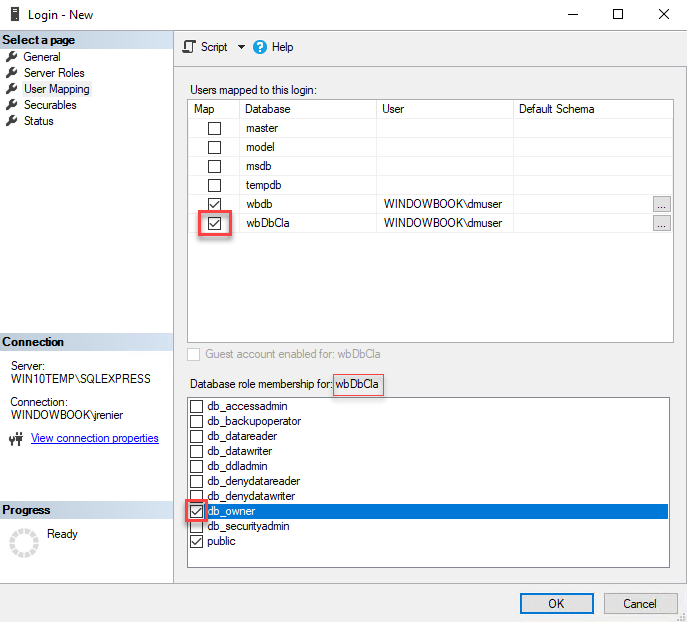
Now, click on User Mapping and select the wbdb checkbox, and in the Database role member for wbdb, select the db_securityadmincheckbox. And do the same for wbdbcla, shown in the second print screen below.
-
Click OK once both databases (wbdb and wbdbcla) user mapping is completed. The setup in SSMS is complete. Next, open PWC and create the PROD MDR Client. Creating the MDR Client needs to occur before installing PostalWeb Desktop Dashboard (PWDD) or DAT-PreCheck (DPC).
Continue PostalWeb Connector - Setup Guide's Home Screen Setup - Creating an MDR Client Site Configuration
After this is complete, then continue to DAT-PreCheck™(DPC) - Installation & Setup Guide and PostalWeb Desktop Dashboard™(PWDD) - Installation Guide.